Designer: Fraukreativkopf
Instagram: @fraukreativkopf
Etsy Shop: Fraukreativkopf
Calling all crochet lovers — today’s pattern is extra adorable…
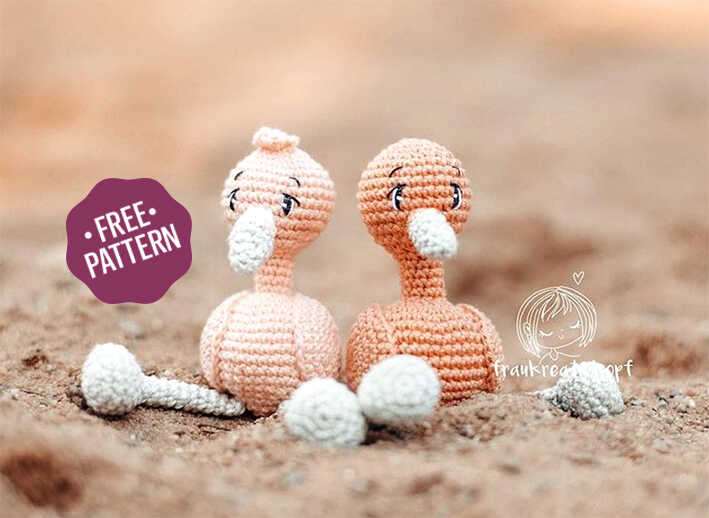
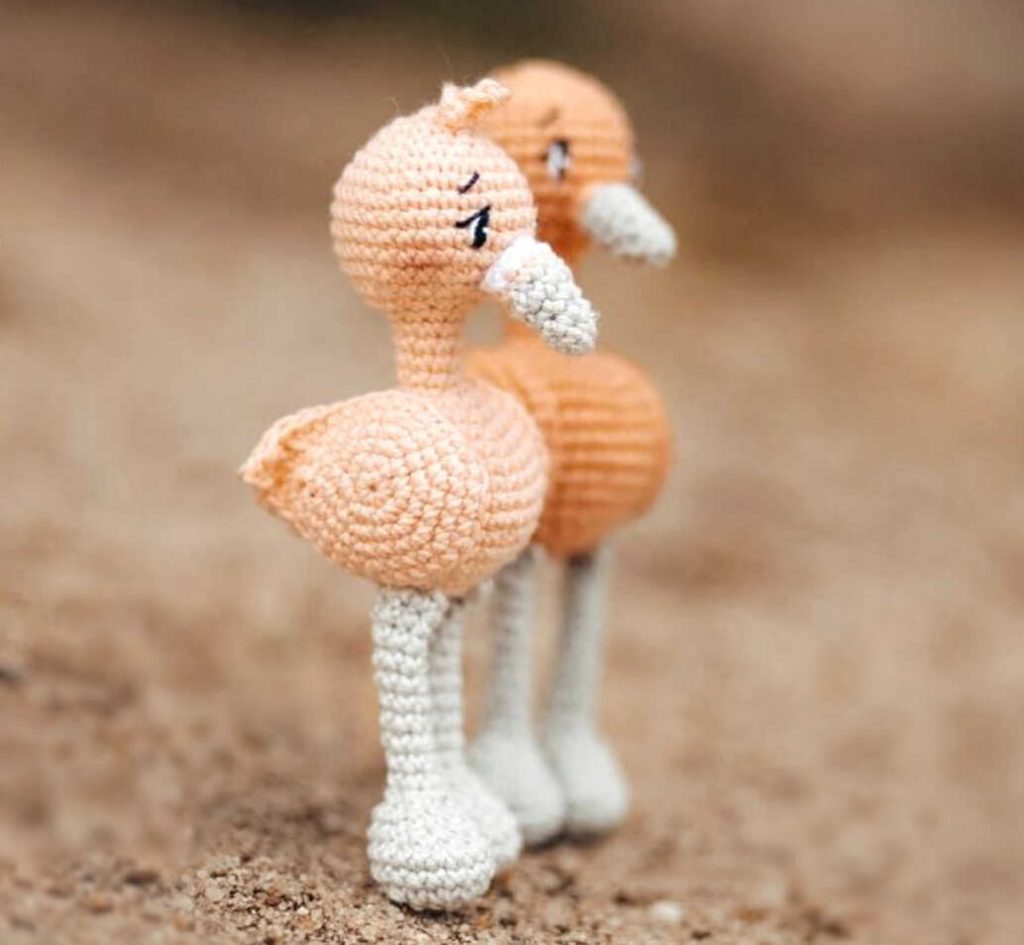
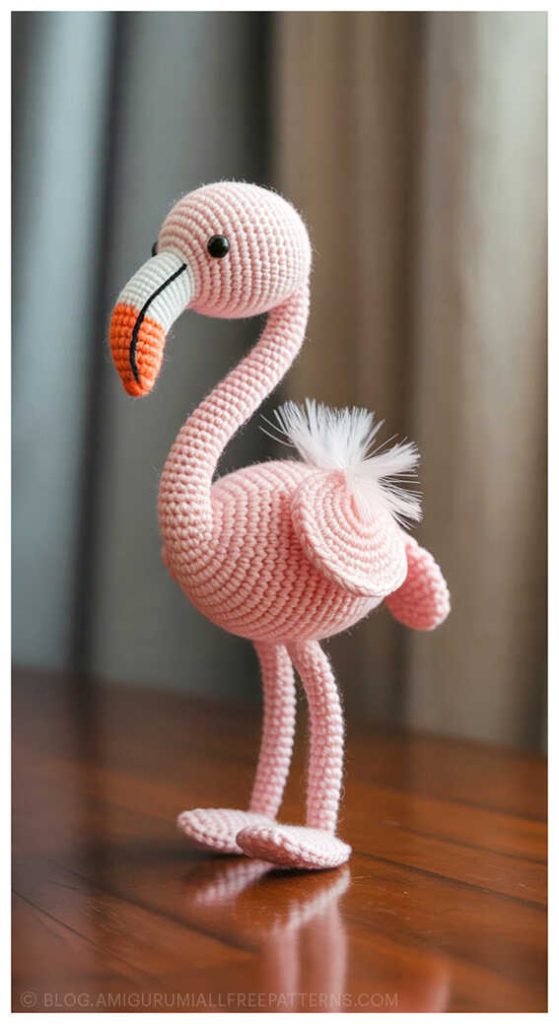
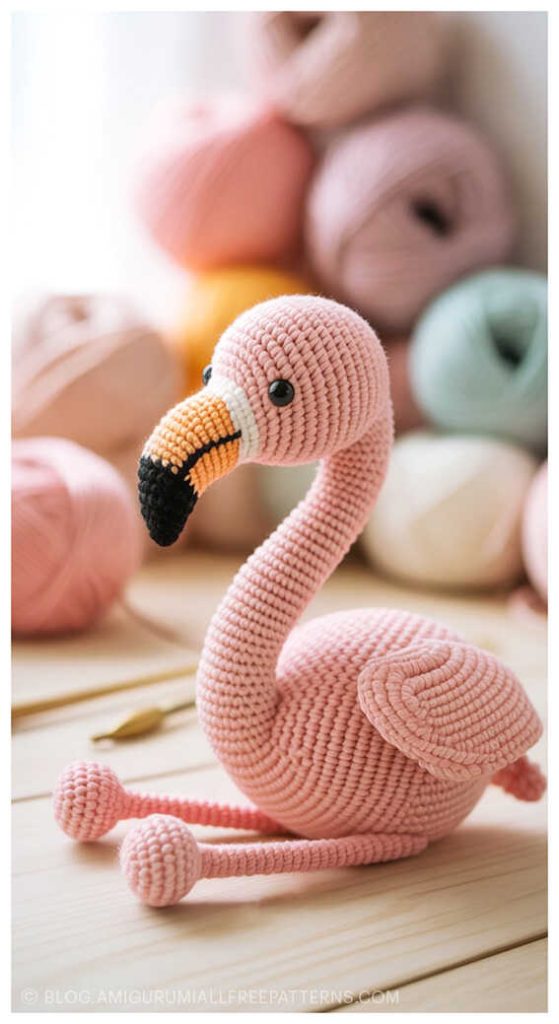
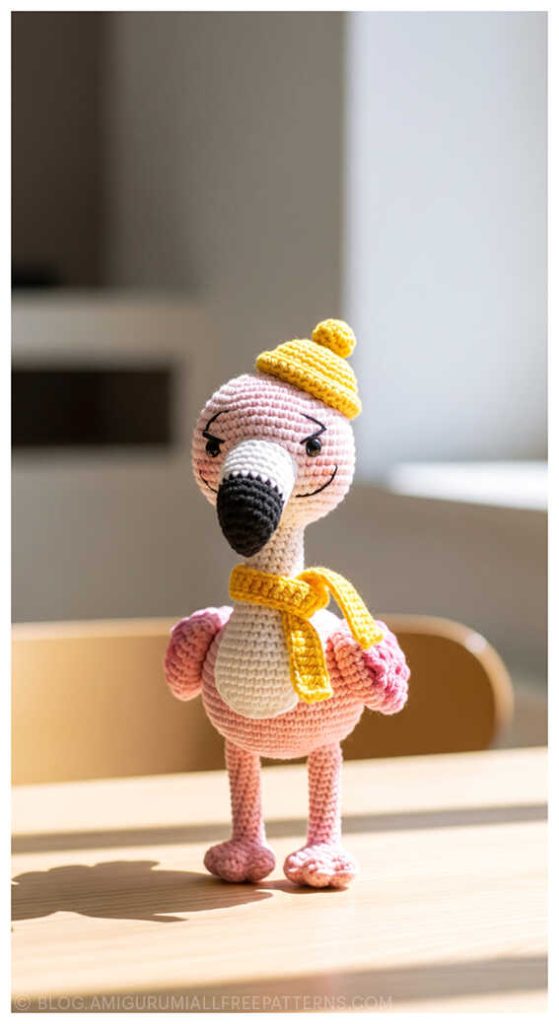
Add a splash of tropical elegance to your crochet collection with the Amigurumi Fanny the Flamingo Free Crochet Pattern, designed by the talented Fraukreativkopf (crazypatterns). This charming flamingo is crocheted with 25g of peach cotton yarn, 15g of grey cotton yarn, and small amounts of white yarn, brought to life with black and white crochet thread for the finer details. Using a 2.5 mm crochet hook, stuffing material, sewing needle, scissors, and optional 6 mm safety eyes, you’ll create an adorable handmade toy that’s both playful and decorative.
Perfect for confident beginners and experienced crocheters alike, Fanny the Flamingo is a project that combines simplicity with eye-catching details. Whether you make it as a sweet gift, a cuddly friend, or a unique piece of home décor, this pattern is sure to bring joy. A huge thanks to Stefanie for sharing this delightful free design—and don’t forget to explore even more inspiring Amigurumi Flamingo ideas at the end of the tutorial!
Materials
• 25g cotton yarn in peach
• 15g cotton yarn in grey
• Rest cotton yarn in white
• Crochet yarn in black and white
• Safety eyes 6mm (if you want to)
• Crochet hook 2,5 mm
• Stuffing material
• Sewing needle
• Scissors
Abbreviations
MR– magic ring
Sc – single crochet
St– stitch
Ch– chain
Inc– increase
Dec– decrease
Hdc– half double crochet
Dc– double crochet
Tr– treble crochet
Slst– slip stitch
(..)– crochet into one stitch
AMIGURUMI FLAMINGO FREE PATTERN
Legs (x2)
Rnd 1. MR, 6sc (6)
Rnd 2. (inc)*6 (12)
Rnd 3. (1sc, inc)*6 (18)
Rnd 4-5. 18sc (2rnd)
Rnd 6. 5sc, (dec)*4, 5sc (14)
Rnd 7. 5sc, (dec)*2, 5sc (12)
Rnd 8. (dec)*6 (6)
Stuff lightly
Rnd 9-18. 6sc (10rnd)
If you like, put a piece of wire in the leg to make it moveable. You don’t need to stuff it.
Rnd 19. 1ch, crochet opposites with 3sc together (3)
Cut the thread and sew it or crochet it into the body later.
Crochet a second leg.
Head & Body
Rnd 1. MR, 6sc (6)
Rnd 2. (inc)*6 (12)
Rnd 3. (3sc, inc)*3 (15)
Rnd 4. (4sc, inc)*3 (18)
Rnd 5. (2sc, inc)*6 (24)
Rnd 6. (3sc, inc)*6 (30)
Rnd 7-11. 30sc (5rnd)
Rnd 12. (3sc, dec)*6 (24)
Rnd 13. (2sc, dec)*6 (18)
If you are using safety eyes place them between round 10-11 with a visible space of 5 stitches.
Rnd 14. (dec)*9 (9)
Stuff
Rnd 15-20. 9sc (6rnd)
Rnd 21. (inc)*9 (18)
Rnd 22. (2sc, inc)*6 (24)
Rnd 23. (3sc, inc)*6 (30)
Rnd 24. (4sc, inc)*6 (36)
Rnd 25-28. 36sc (4rnd)
Rnd 29. (4sc, dec)*6 (30)
Rnd 30. 30sc
Rnd 31. (3sc, dec)*6 (24)
Rnd 32. (2sc, dec)*6 (18)
In the next round, you gonna crochet the legs in.
The legs stitch towards the head an the toes towards you.
Rnd 33. 5sc, 3sc with leg 1, 5sc, 3sc with leg 2, 2sc
Stuff
Rnd 34. (1sc, dec)*6 (12)
Rnd 35. (dec)*6 (6)
Cut the thread long. Close the remaining opening and sew the thread.
Wings (x2)
Rnd 1. MR, 6sc (6)
Rnd 2. (inc)*6 (12)
Rnd 3. (1sc, inc)*6 (18)
Rnd 4. (2sc, inc)*6 (24)
Rnd 5. (3sc, inc)*2, hdc, 1 dc, 1hdc, inc, (3sc, inc)*3 (30)
Rnd 6. 10sc, (1 hdc, 1 dc), (1 tr, 3 ch, 1 slst into 1 ch, 1 tr), (1 dc, 1 hdc), 17sc (33)
Cut the thread. Finish the round invisible and use the thread later for sewing.
Crochet a second wing.
Tail
Rnd 1. MR, 6sc (6)
Rnd 2. 6sc
Rnd 3. (1sc, inc)*3 (9)
Crochet in rows:
a. 4sc, 1 turning ch (4)
b. 5sc, 1 turning ch (5)
Rnd 4. 9sc
Close the round with 1 slst in the first stitch.
Cut the thread and use it later for sewing.
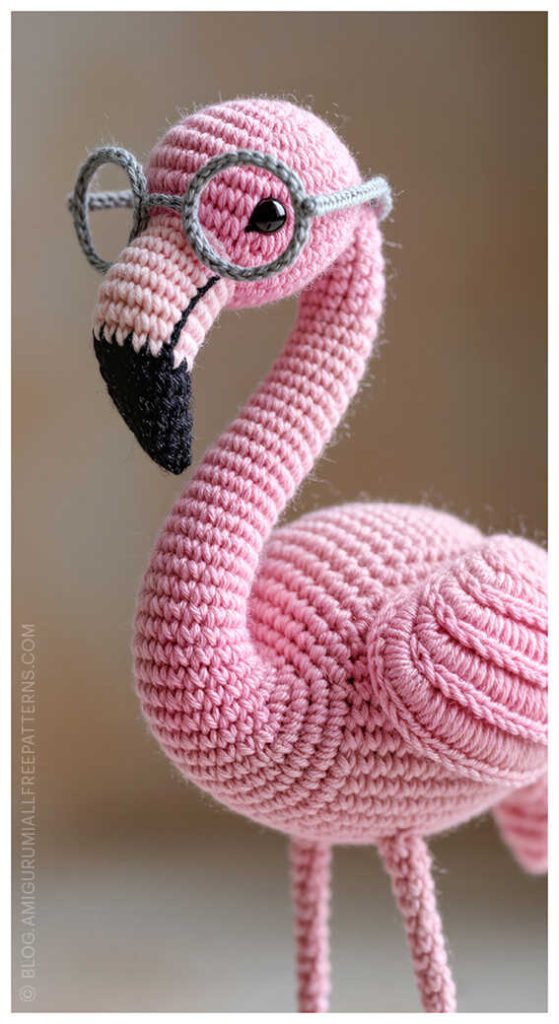
Beak
Start with grey
Rnd 1. MR,4sc (4)
Rnd 2. (1sc, inc)*2 (6)
Rnd 3. 6sc
Rnd 4. (1sc, inc)*3 (9)
Rnd 5. 4sc, inc, 4sc (10)
Change color to peach
Rnd 6. dec, 6sc, dec (8)
Change color to white
Rnd 7. 8sc
Cut the thread. Close the round invisible and use the thread later for sewing.
Completion
• Sew wings to the body. The tip stitch to the back. Place them sideways 1st above the legs. Just sew the front part. The wings do have a visible distance of about 10 stitches from each other (seen from the belly).
• Sew the tail to the body between the wings on the back, above round 26-28. Stuff it lightly when sewing. Depending on the direction of the row part of the tail, the tail is facing up or down (my rows facing downwards).
• Sew the beak to the center of the head over rounds 11-12. The threads from the color change will suffice for stuffing. The increase from round 5 is on top.
• Embroider the eyes to the right and left of the beak, 1 stitch apart of it, over rounds, 10-11. Feel free to embroider them as you like them best.
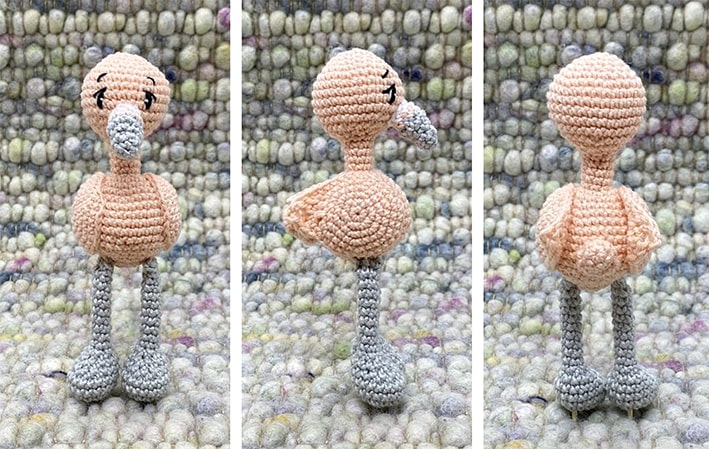
Congratulations, that is all.
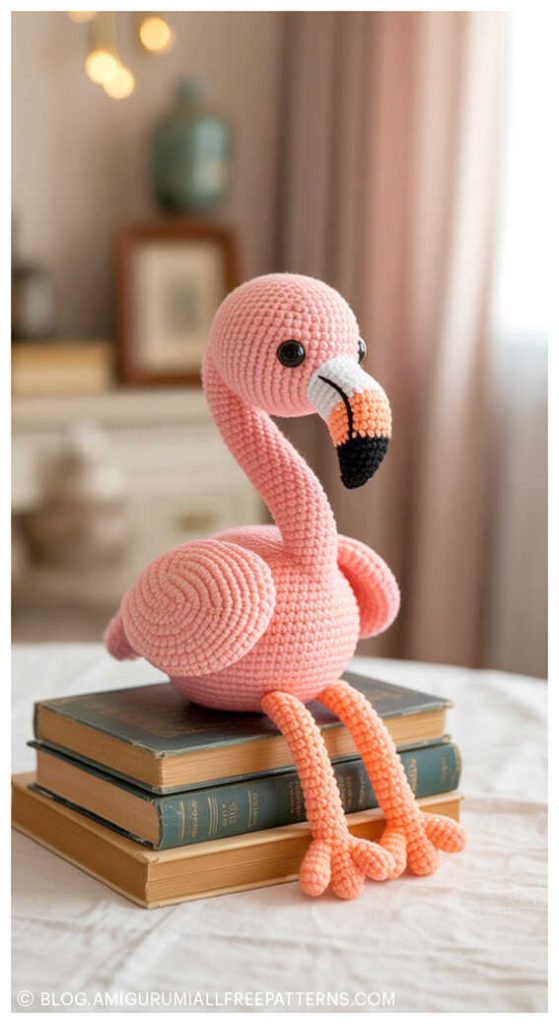
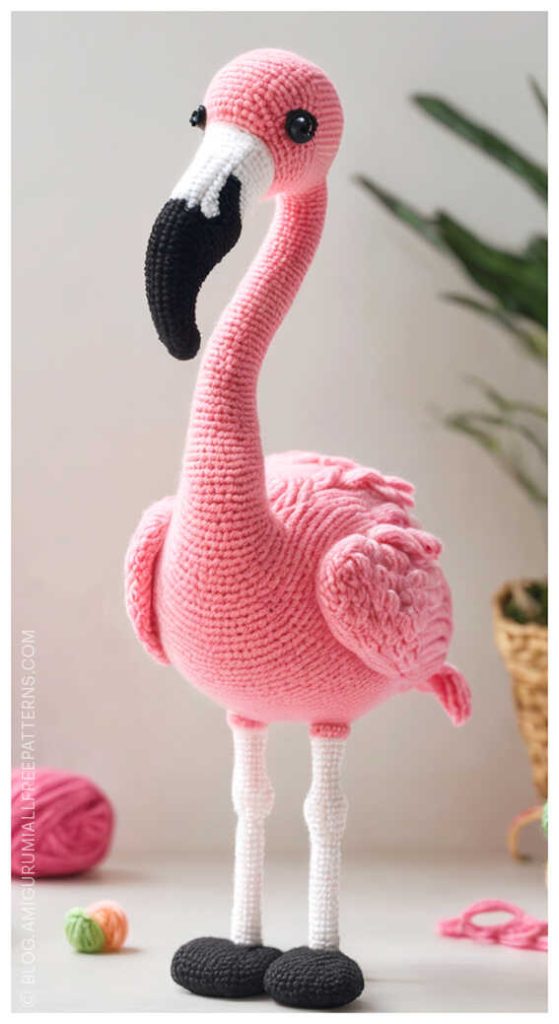
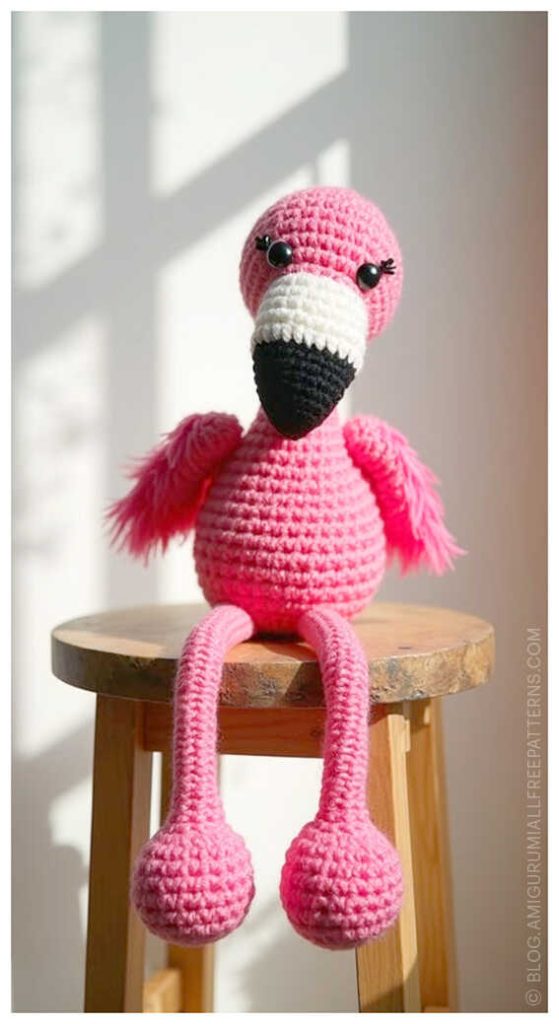
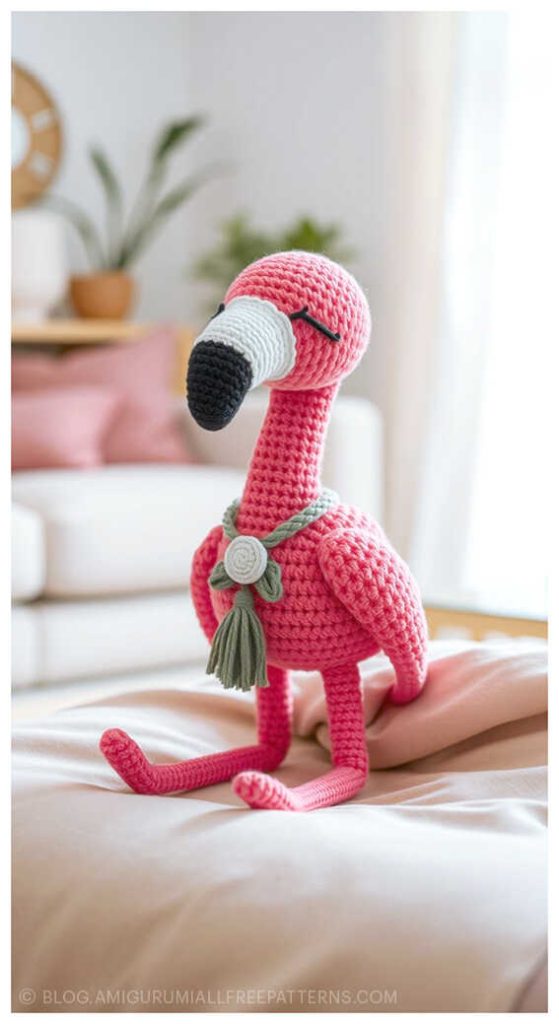
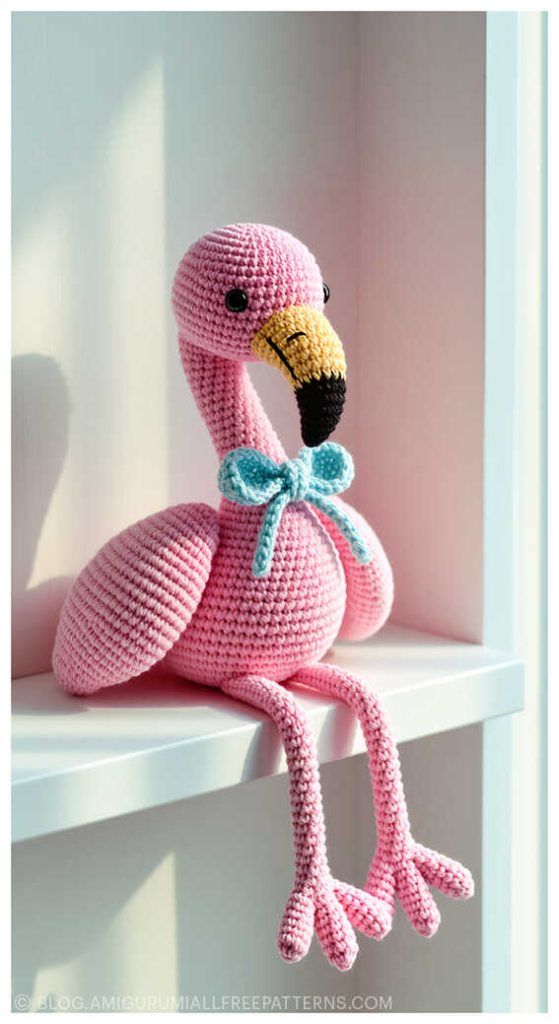
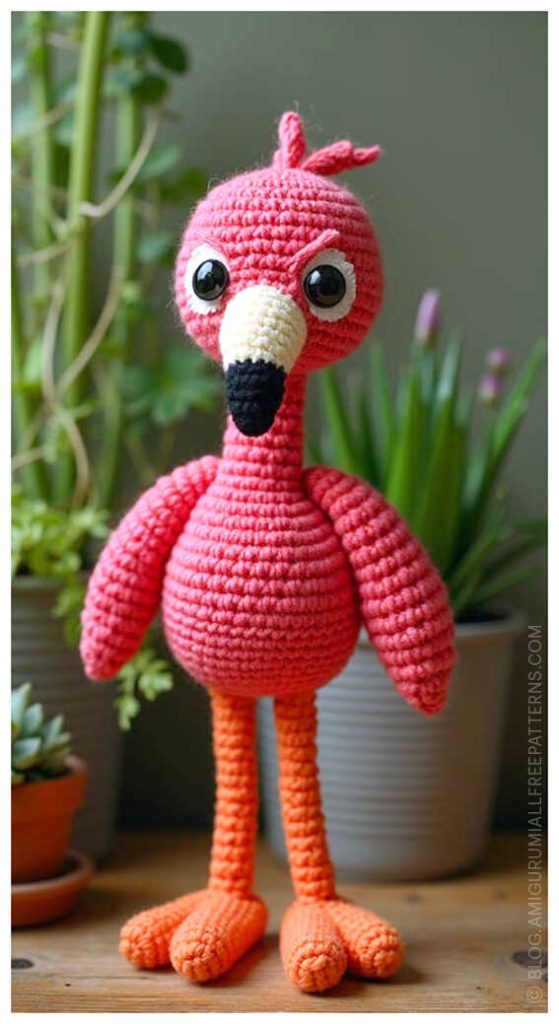
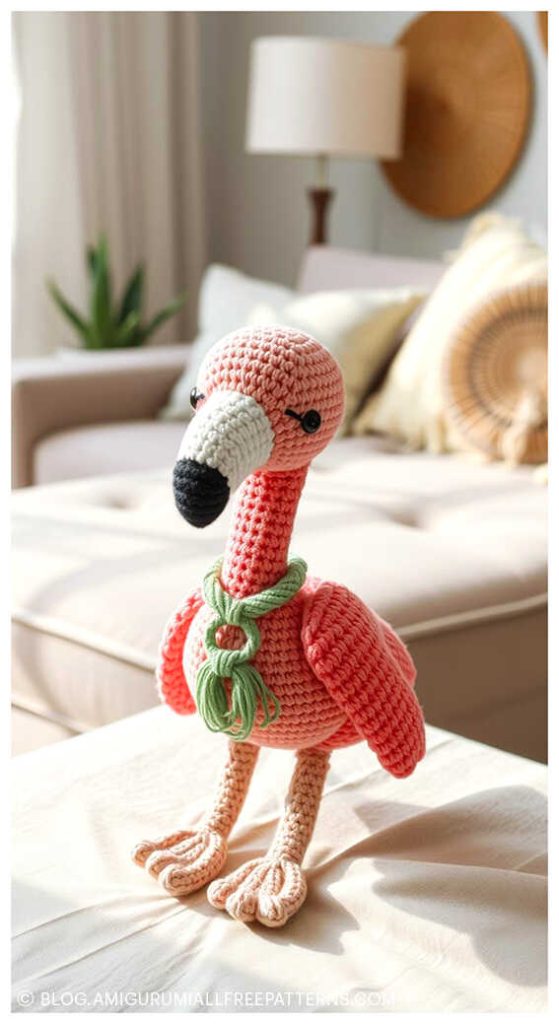
Crochet Flamingo ideas to try

Craft Your Own Amigurumi Wonderland
Step into a world of handmade charm with step-by-step tutorials for every amigurumi animal – from adorable amigurumi cats, amigurumi dogs, and amigurumi bunnies to magical amigurumi unicorns, gentle amigurumi elephants, and towering amigurumi giraffes. Explore patterns for amigurumi bears, amigurumi foxes, amigurumi pandas, amigurumi monkeys, amigurumi lambs, amigurumi pigs, amigurumi birds, amigurumi penguins, amigurumi llamas, amigurumi hippos, amigurumi dinosaurs, and whimsical amigurumi dolls and amigurumi clowns.
Each pattern includes clear instructions and inspiring images, perfect for beginners and experienced crocheters. Don’t miss out on the latest amigurumi creations – stay connected with us at blog.amigurumiallfreepatterns.com, join our Facebook page and Facebook group, and bring these delightful toys to life stitch by stitch!
Keywords: free amigurumi patterns, crochet toys, amigurumi animals, beginner-friendly crochet, amigurumi dolls, DIY crochet patterns, easy crochet