Designer: Anami Toys
VK: @anamitoys
This one’s for all the amigurumi lovers out there…
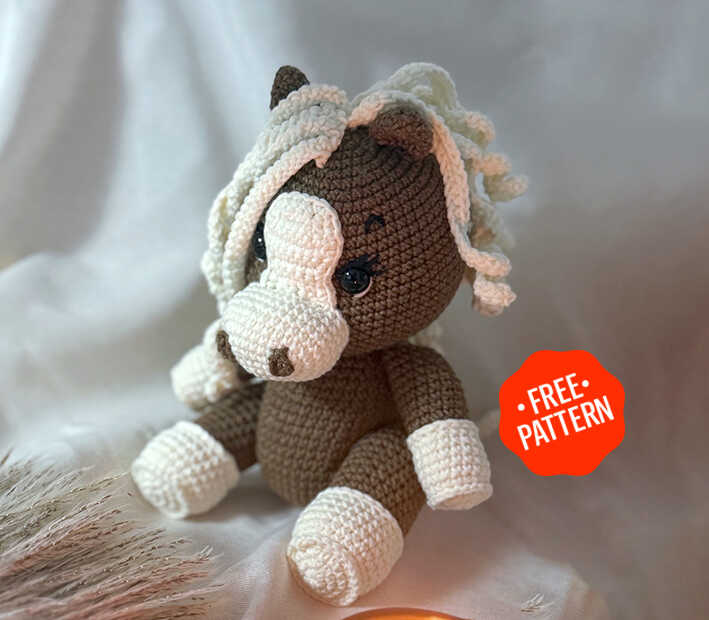
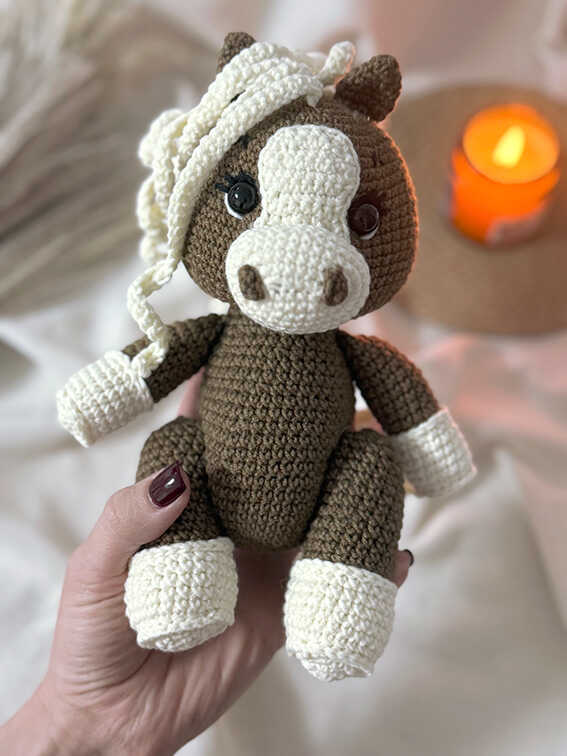
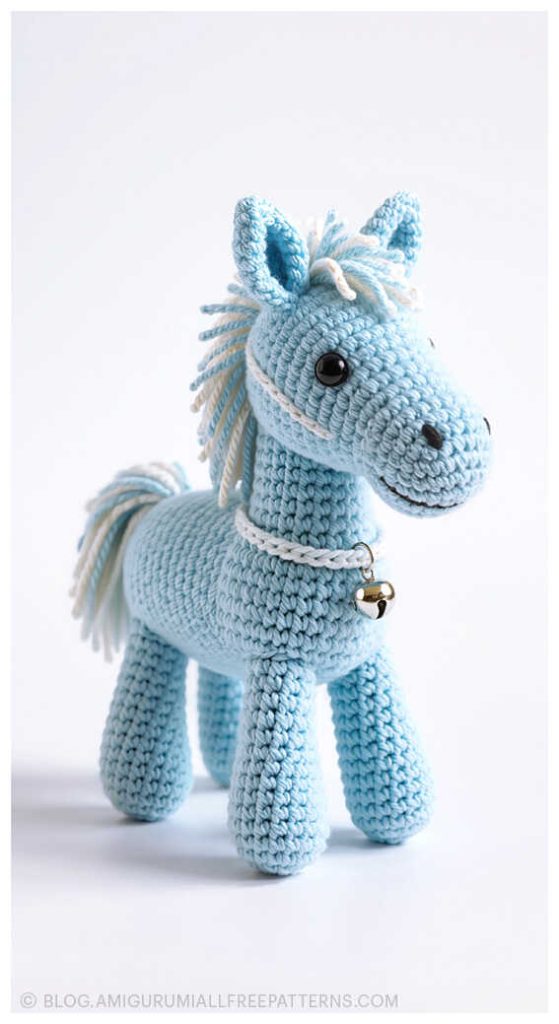
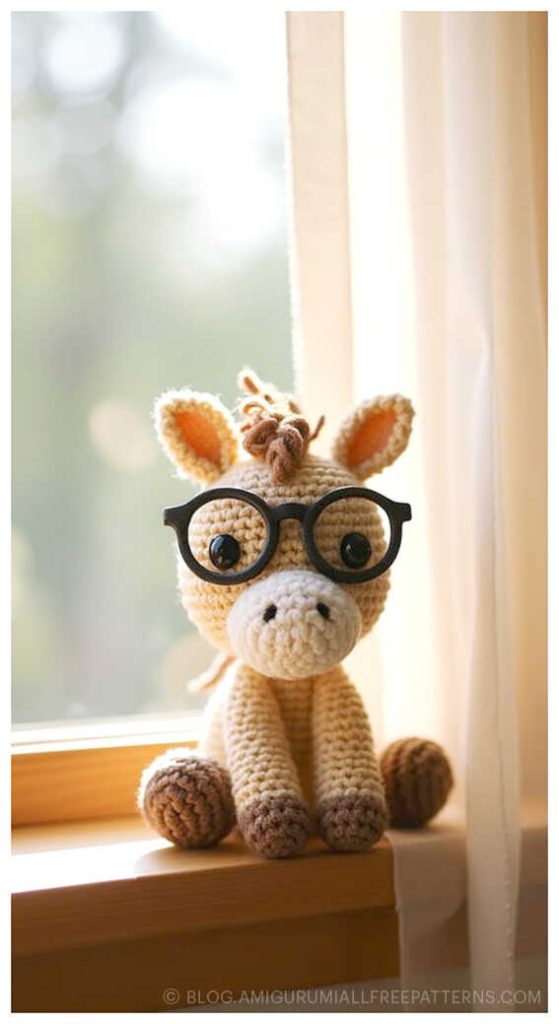
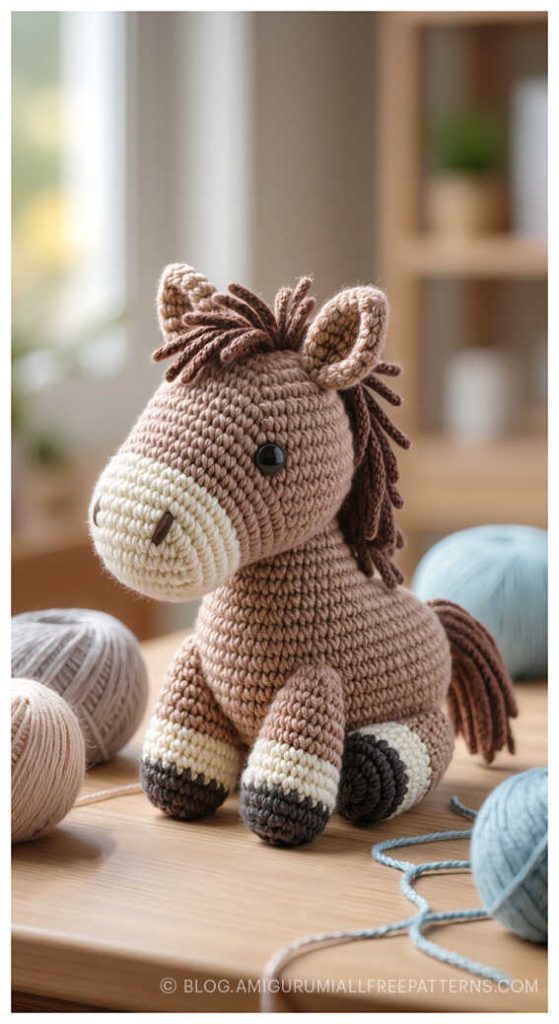
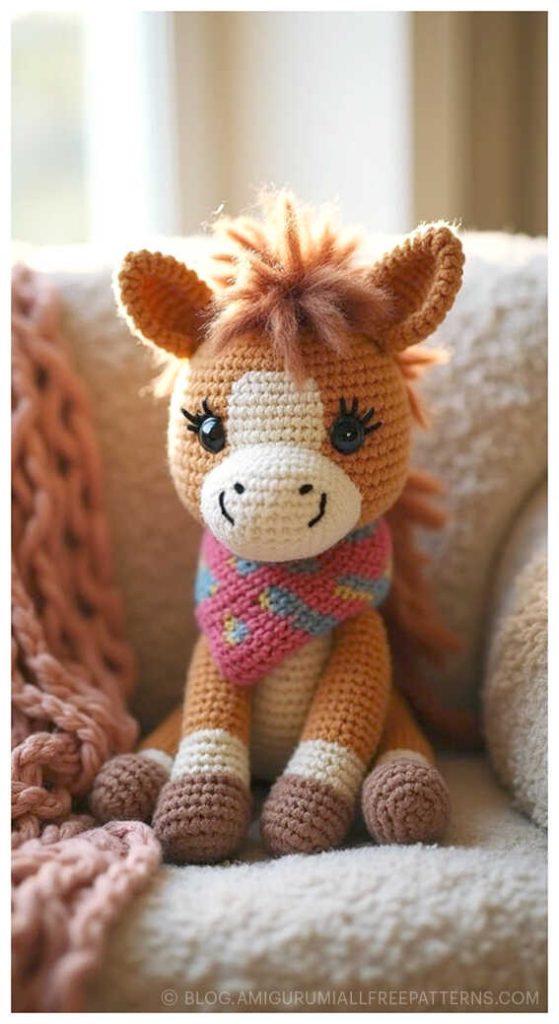
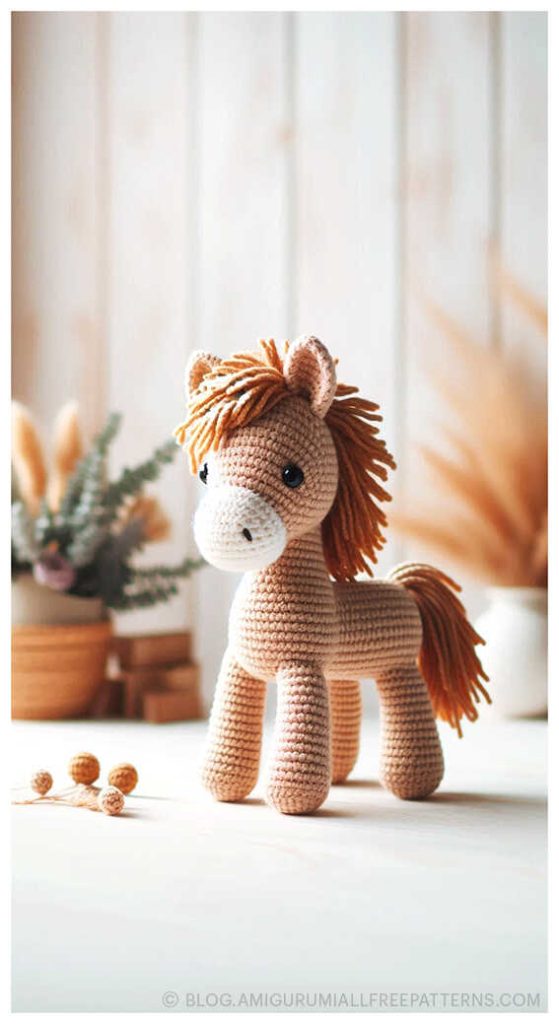
Meet Milka the Crochet Horse, an adorable and gentle design created by Anami Toys! This Amigurumi Milka the Horse Free Crochet Pattern is beautifully detailed yet beginner-friendly, offering step-by-step instructions that make it perfect for crocheters of all skill levels. To make your own Milka, you’ll need YarnArt Jeans main color (1 skein), YarnArt Jeans milk (03) (1 skein), 12 mm safety eyes, white and black thread for the eyes, 2 buttons (if you plan to make movable legs), along with a needle and scissors. Every detail helps bring this sweet horse to life with charm and personality.
A heartfelt thank you to Anami Toys for designing and sharing this delightful crochet pattern with the community. At the end of this tutorial, you’ll also discover wonderful Amigurumi Horse ideas for even more inspiration. Whether you’re crafting Milka as a thoughtful handmade gift or as a new favorite in your collection, this cute crochet horse will surely gallop its way into your heart!
Materials:
– YarnArt Jeans main color – 1 skein
– YarnArt Jeans milk (03) – 1 skein
– 12 mm safety eyes
– White and black thread for the eyes
– 2 buttons, if you plan to make movable legs like this horse (both options will be described in the tutorial)
– needle
– scissors
Head
R1. 6 sc MR
R2. 6 inc (12)
R3. (1sc, inc) х6 (18)
R4. (2 sc, inc) х6 (24)
R5. (3 sc, inc) х6 (30)
R6. (4 sc, inc) х6 (36)
R7. (5 sc, inc) х6 (42)
R8. (6 sc, inc) х6 (48)
R9. (7 sc, inc) х6 (54)
R10-15. 54 sc – (6 rows)
R16. (8 sc, inc) х6 (60)
R17-22. 60 sc – (6 rows)
R23. (8 sc, dec) х6 (54)
R24. 54 sc
R25. (7 sc, dec) х6 (48)
R26. (6 sc, dec) х6 (42)
R27. (5 sc, dec) х6 (36)
R28. (4 sc, dec) х6 (30)
R29. (3 sc, dec) х6 (24)
Slst – leave a thread for sewing.
AMIGURUMI HORSE FREE PATTERN
Nose
We make 6 ch, from the 2nd loop from the crochet:
R1. Inc, 3 sc, 3 sc in 1 loop, on the other side: 3 sc, inc
R2. 2 inc, 3 sc, 3 inc, 4 sc, inc
R3. 2 inc, 6 sc, 3 inc , 7sc, inc
R4. 3 inc, 8 sc, 4 inc , 10 sc (32)
R5-9. 32 sc – 5 rows
R10. Next, 1ch and turning rows in the other direction: dec, 6, dec, ch (8)
R11. dec, 5, dec , ch (6)
R12-13. 6 sc – 2 rows (ch at the end of each row)
R14. inc, 5, inc, ch (8)
R15. inc, 6, inc, ch (10)
R16. dec, 6, dec, ch (8)
R17. dec, 4, dec, ch (6)
R18. dec, 2, dec, ch (4)
Attach the yarn to the base of the turning knitting on the right side, knit the turning rows.
Fasten off, leaving a thread for sewing.
Place eyes (12 mm) between rows 14 and 15, 9 sc between the eyes. Try it on so that the nose fits between the eyes. Make a tightening at the very end.
Body
R1. 6 sc in MR
R2. 6inc (12)
R3. (1 sc, inc) (18)
R4. (2 sc, inc)х6 (24)
R5. (3 sc , inc )х6 (30)
R6. (4 sc , inc)х6 (36)
R7. (5 sc , inc)х6 (42)
R8. (6 sc , inc)х6 (48)
R9. (7 sc , inc)х6 (54)
R10-14. 54 – (5 rows)
R15. (7 sc, dec) х6 (48)
R16-17. 48 sc – (2 rows)
R18. (6 sc, dec) х6 (42)
R19-20. 42 sc – (2 rows)
R21. (5 sc, dec) х6 (36)
R22-23. 36 sc – (2 rows)
R24. (4 sc, dec) х6 (30)
R25. 30 sc
R26. (3 sc, dec) х6 (24)
R27. 24 х2
Slst, cut thread, hide.
Hands (x2)
With light yarn:
R1. 6 sc in MR
R2. 6 inc (12)
R3. (1sc, inc) х6 (18)
R4. BLO: 18 sc
R5-9. 18 sc (5 rows)
Change the color to the main one.
R10. BLO: (4 sc, dec) x3 (15)
R11-19. 15 sc (9 rows)
To stuff.
R20. (3 sc, dec) х3 (12)
R21. 6 sc for both walls, leave a thread for sewing.
Turn the handle over and crochet 18 sc at the beginning and end of the hoof where we knitted through the back loops.
Tip:Attach the thread not at the beginning/end of the row, but somewhere in the middle. Sew the arms near the neck, slightly diagonally.
You may also like Amigurumi Cute Donkey Free Pattern
Legs (x2)
Note: Don’t finish crochet the legs right away if you plan to make them movable.
R1. 6 in MR
R2. 6 inc (12)
R3. (1 sc, inc) х6 (18)
R4. ( 2 sc, inc) х6 (24)
R5. BLO: 24 sc
R6-10. 24 sc (5 rows)
Change color.
R11. (2 sc, dec) х6 (18): For the back loops
R12-22. 18 sc (11 rows)
Turn the leg over and work 24 sc at the beginning and end of the hoof, where you crocheted the back loops. Tip: attach the yarn not at the beginning/end of the row, but somewhere in the middle.
If you plan to make regular legs, then at this stage knit 3 more rows of 18 sc, fold in half and knit 9 sc for both walls, sew to the body.
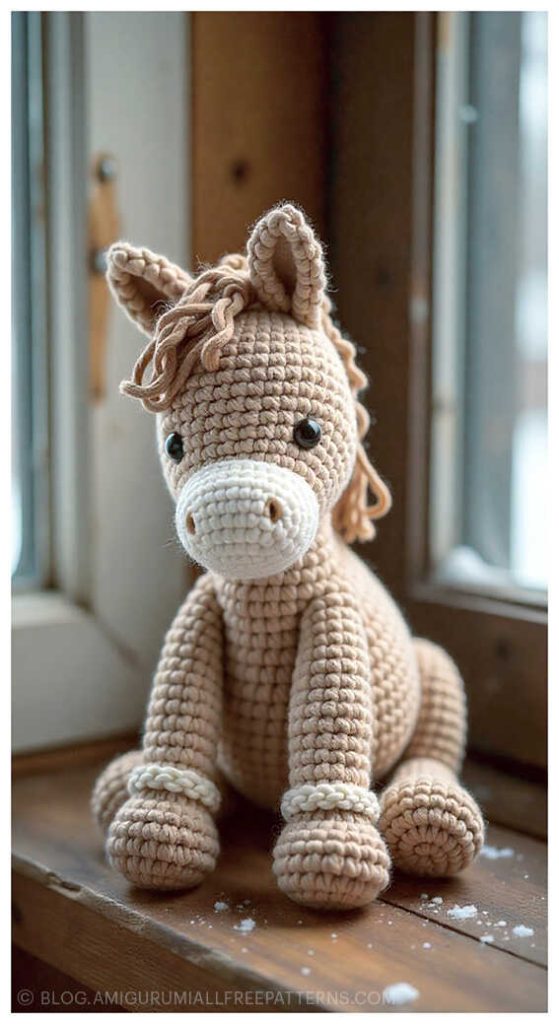
If you plan to make movable legs (in this case, the horse will be able to sit on its own), continue crochet according to the pattern:
Working with the first leg:
Insert the needle where the leg attaches to the body (be sure to insert it between the rows and posts), attach the button (if it’s a four-hole button, insert it through one and pull it out through the opposite one), and bring the thread out at the same place you inserted it. Note that there should be no stuffing between the button and the leg; the button should fit snugly. Stuff the leg as much as possible and finish knitting according to the pattern:
R3. (1 sc, dec) х6 (12)
R4. 12 sc
R5. 6 dec
R6. Tighten the hole, hide the thread.
Next, pull the thread through the body, bring it out where the second leg is attached, attach the button in the same way, and finish knitting. Insert it through the same hole on the body, and bring it out the same way to the first leg. Pull the thread tightly to prevent the legs from dangling. Use only strong threads. Tie the ends together and hide them in the body. The movable legs are ready.
Ears (x2)
R1. 6 in MR
R2. 6 sc
R3. (1 sc, inc) х3 (9)
R4. (2 sc, inc) х3 (12)
R5-7. 12 sc (3 rows)
Slst, leave thread for sewing.
Nostrils (x2)
You can embroider the nostrils, or make:
6 ch, sew to the nose.
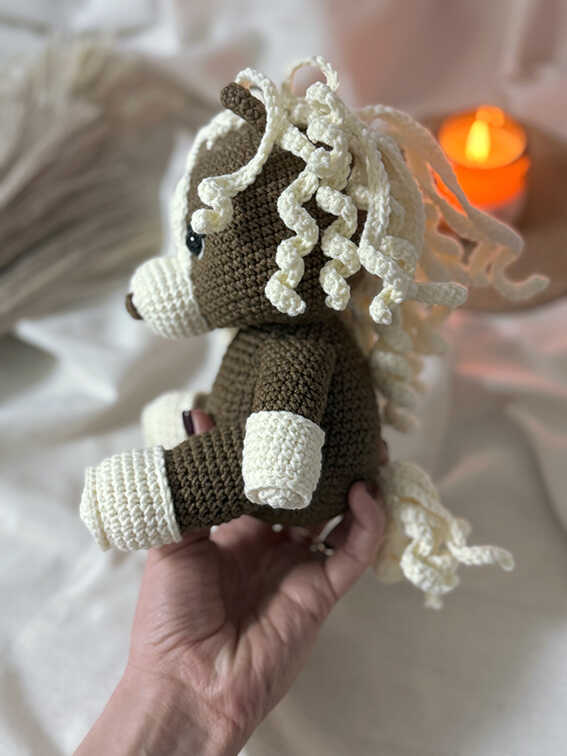
Hair
You can do it in any way convenient for you.
How I did it:
We collect as many ch as the length of the mane will be (starting between the ears and ending at the end of the head. Next, from the 2nd loop, 46 ch, from the 2nd loop, 45 sc, slst in the same loop, slst. We continue in the same way in each ch.
You can change the length of your hair as you like.
I made two of these pieces to thicken the hair. I sewed on the mane.
Tail
For the tail you need to make 3 parts:
51 ch, 50 sc from 2 loops.
Find the middle of each piece and sew them together. Sew on the tail.
Decoration:
1. Embroider the whites of the eyes
2. Embroider the eyelashes and eyebrows.
Your milka the horse is ready!
Imaginative amigurumi horse ideas:
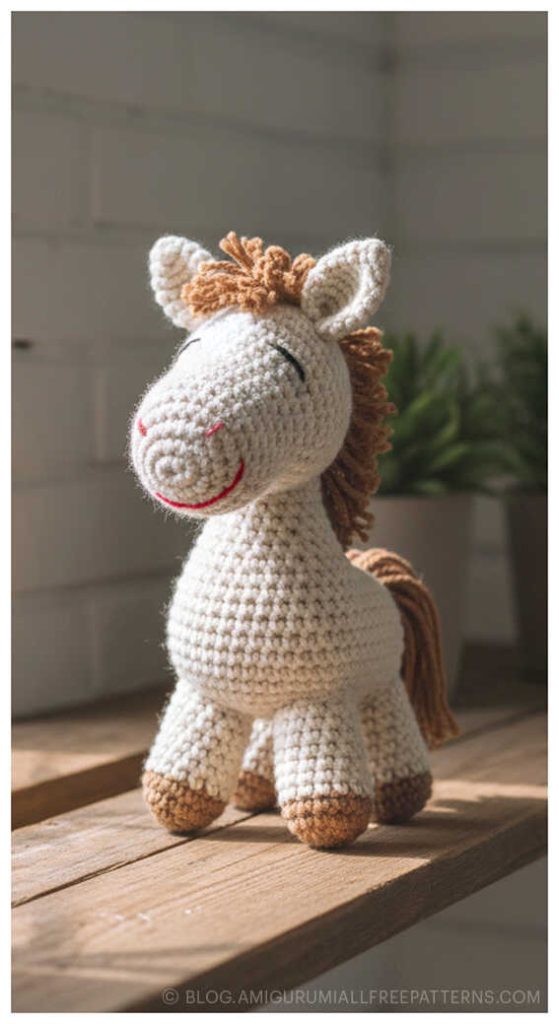
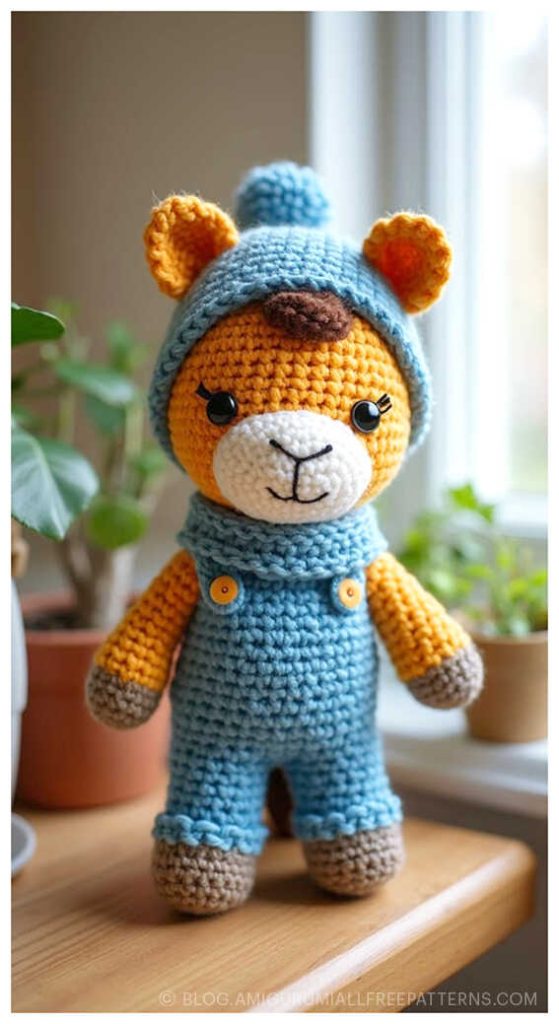
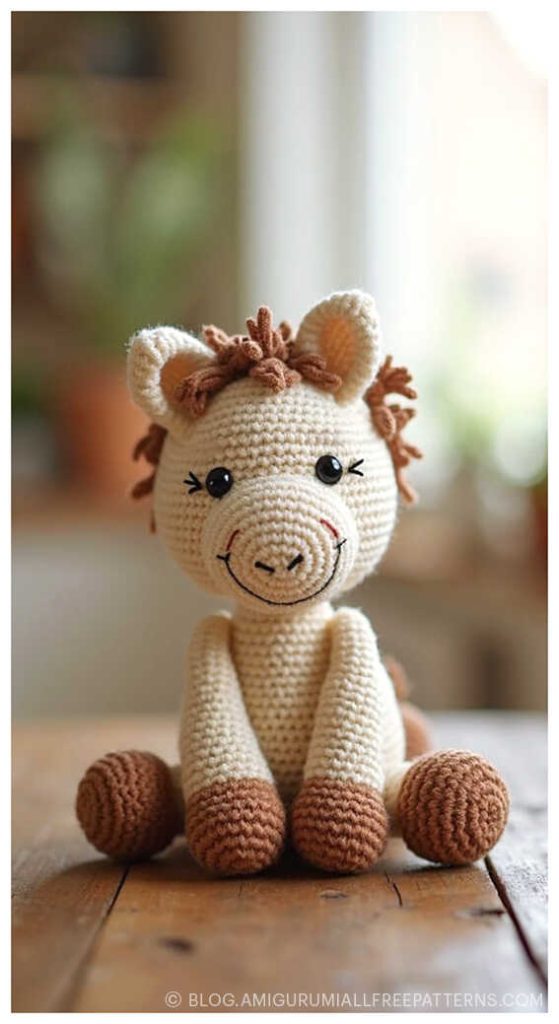
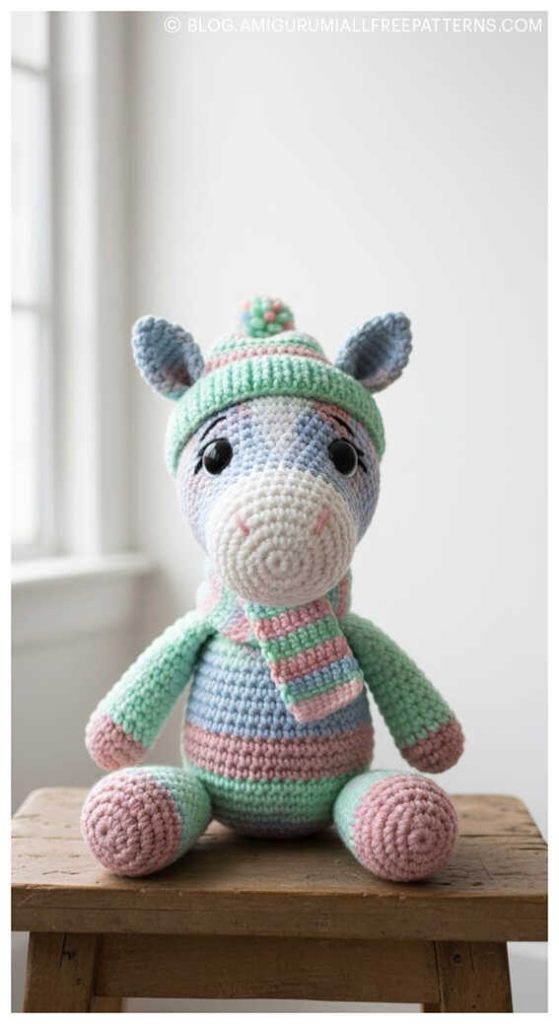
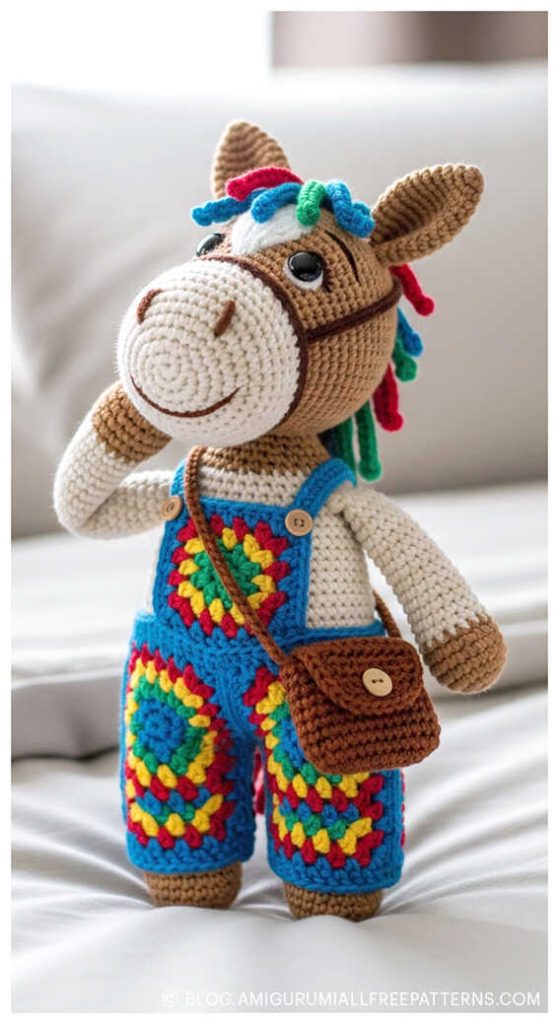
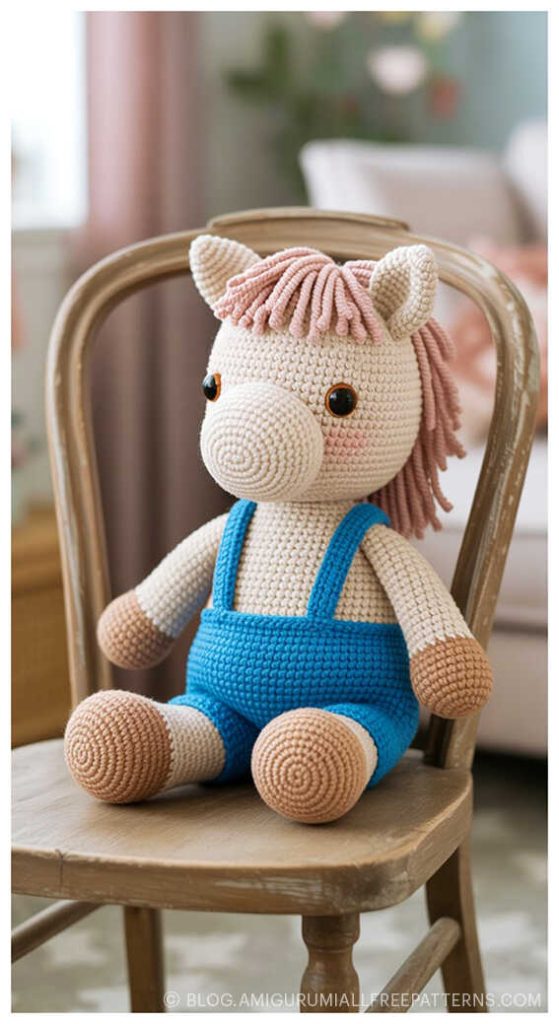
Craft Your Own Amigurumi Wonderland
Step into a world of handmade charm with step-by-step tutorials for every amigurumi animal – from adorable amigurumi cats, amigurumi dogs, and amigurumi bunnies to magical amigurumi unicorns, gentle amigurumi elephants, and towering amigurumi giraffes. Explore patterns for amigurumi bears, amigurumi foxes, amigurumi pandas, amigurumi monkeys, amigurumi lambs, amigurumi pigs, amigurumi birds, amigurumi penguins, amigurumi llamas, amigurumi hippos, amigurumi dinosaurs, and whimsical amigurumi dolls and amigurumi clowns.
Each pattern includes clear instructions and inspiring images, perfect for beginners and experienced crocheters. Don’t miss out on the latest amigurumi creations – stay connected with us at blog.amigurumiallfreepatterns.com, join our Facebook page and Facebook group, and bring these delightful toys to life stitch by stitch!
Keywords: free amigurumi patterns, crochet toys, amigurumi animals, beginner-friendly crochet, amigurumi dolls, DIY crochet patterns, easy crochet
I like the valuable info you provide in your articles. I’ll bookmark your blog and check again here regularly. I am quite sure I’ll learn plenty of new stuff right here! Best of luck for the next!