Designer: Fina Janine Calvillo
Instagram: @poppiesandami
Etsy Shop: PoppiesandAmiCrafts
Looking for a new amigurumi to crochet? I’ve got you…
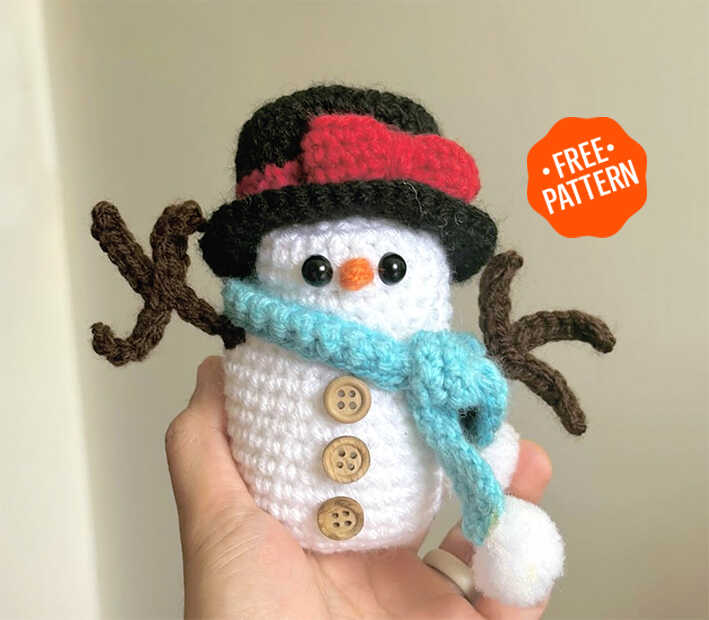
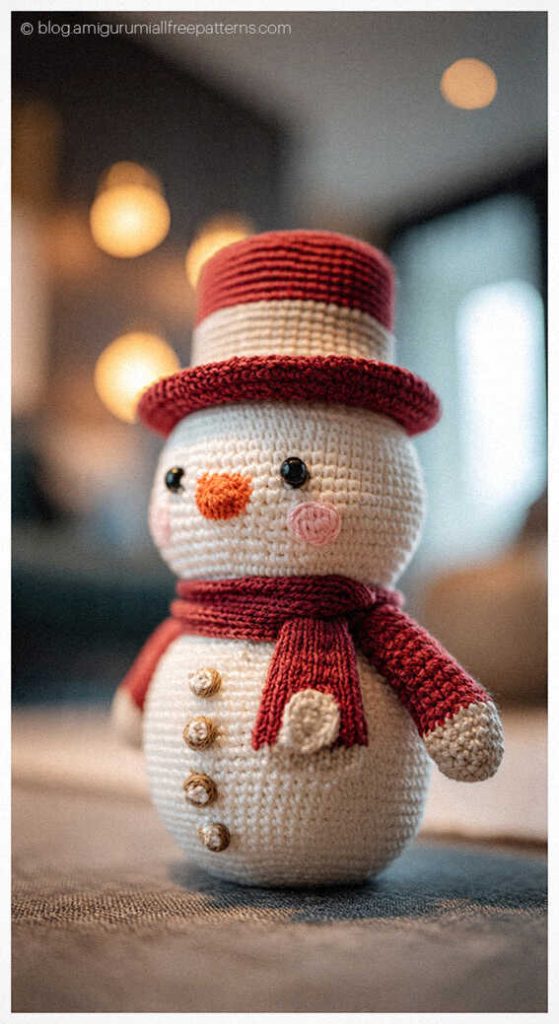
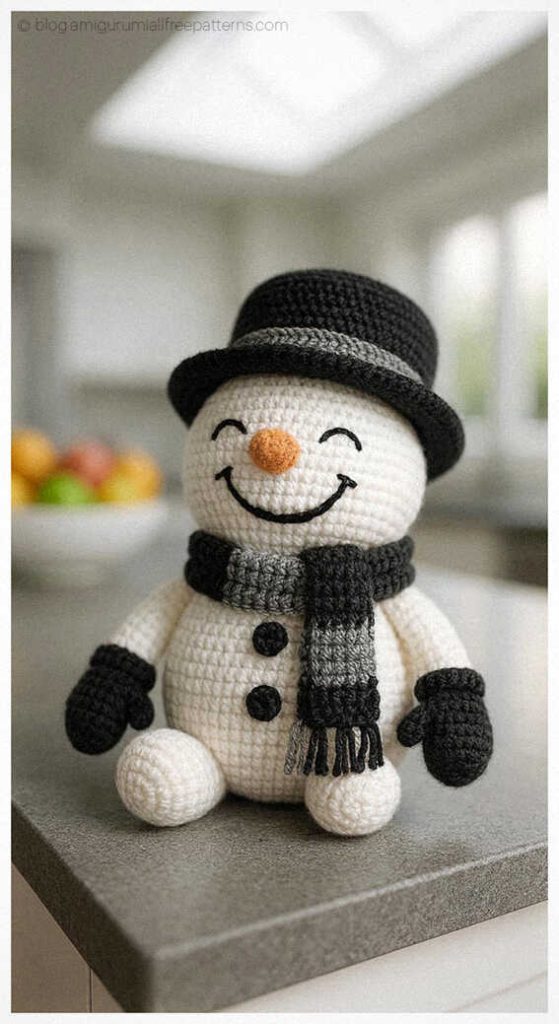
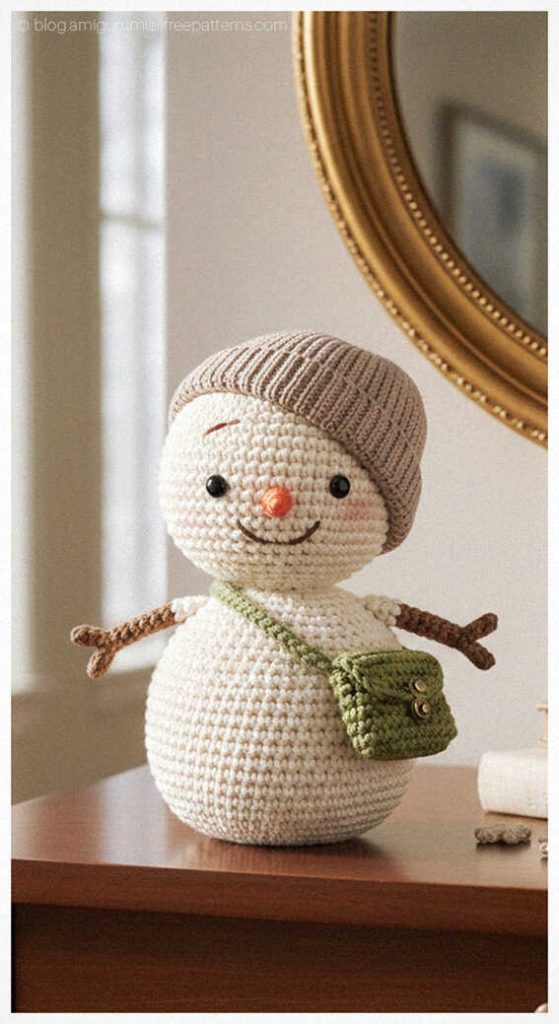
Welcome the holidays with this charming Little Snowman Ornament, designed by Fina Janine Calvillo (Ravelry). This step by step, beginner friendly tutorial (Difficulty level: Advanced beginner) guides you in creating a sweet ornament measuring about 5″ tall and 4″ wide when using the recommended yarn and hook. The materials include Patons Classic Wool in red, Red Heart Super Saver in white and blue, Caron Jumbo in brown (or any worsted/medium 4 yarn), yellow embroidery thread, and a 3.75 mm crochet hook. You’ll also find that At the end of the pattern wonderful snowman ideas are waiting for extra inspiration. Special thanks to the talented designer, Fina Janine Calvillo.
This Pinterest-friendly introduction leads you through shaping the snowman’s hat, body, and embroidered accents in a smooth and enjoyable way. Perfect for decorating your tree or gifting handmade ornaments, this little project works beautifully with classic worsted yarns. For those who want a more detailed walkthrough, you can visit the designer on Instagram at @finarian_crochet. Enjoy crafting your festive Little Snowman!
Materials and tools:
Yarn:
• Patons Classic Wool in red
• Red Heart Super Saver in white and blue
• Caron Jumbo in brown
or any worsted/medium 4 yarn brand of your choice.
Yellow embroidery thread for the light embroidery
3.75mm crochet hook
Tools and Notions:
Stitch marker, 8 mm or smaller safety eyes (Amazon), 3pcs of 6-8mm buttons, Polyfil stuffing (I used Fairfield), Alternative: cotton balls/scrap yarn, Scissors, Tapestry needle, Small Soft pom poms (half of an inch size and they come in packs), Glue gun and sticks if sewing is not preferred (optional).
Difficulty level: Advanced beginner.
Finished items size: From the tip of the hat, 5″ tall x the widest part of the body 4.00″ (If recommended yarn size and hooks are followed).
Abbreviations:
ch- chain
st- stitch
slst- slip stitch
sc- single crochet
hdc- half double crochet
dc- double crochet
inc- increase
dec- decrease
FO- fasten off
Note: The body and head of the pattern are worked as one piece. It is worked in chains at the beginning and will turn into continuous rounds.
FREE SNOWMAN ORNAMENT AMIGURUMI – CROCHET PATTERN INSTRUCTIONS
Body
In white yarn.
R1. Chain 7, sc around the chains starting in the 2nd ch from the hook. (12)
R2. inc in each st. around (24)
R3-4 sc around (24)
In this round, your work is supposed to be in an oblong shape.
R5. 3sc, inc x (30)
R6-13. sc around (30)
R14. 3sc, dec x 6 (24)
R15-18. sc around (24)
Note: Lay your work flat before inserting the safety eyes for the pattern is like a ‘sack’. It is kind of a flat oblong shape. The safety eyes are located in between R16 and 17.1 st. apart.
Note: For the safety eyes, I prefer to attach them with the wider part of the backing facing out. Use a strong glue before inserting the yes. In that way, they will be more secure.
R19. 2sc, dec x 6 (18)
R20. 1sc, dec x 6 (12)
R21. dec x 6 (6)
Stuff, sl st in the beginning sc of the round, FO and closing the opening is not necessary.
Hat
In black yarn.
R1 6 sc in a magic ring (6)
R2 inc in each st around (12)
R3 1sc, inc x 6 (18)
R4 2sc, inc x 6 (24)
R5 3sc, inc x 6 (30)
R6 Back loops only, sc around (30)
R7-9 Regular sc around (30)
Switch to red yarn or any color of your choice.
R10 sc around (30)
R11 8sc, dec x 3 (27)
Cut the red yarn.
Switch to black yarn.
R12 Front loops only, sc around (27)
R13 Regular sc, 2sc, inc x 9 (36)
R14 3sc, inc x 9 (45)
R15 sc around, FO and weave ends.
Mini Bow
In red yarn.
R1. ch 20 and join
R2-3. sc around (20)
To make this into a bow, sew this on the red stripe of the hat.
Sew on the center with vertical sts. Do this multiple times. Weave ends.
Scarf
In blue yarn.
R1. ch 51, sc in each st across starting in the 2nd ch from the hook, ch 1 and turn (50)
R2-3. sc across.
FO and weave ends.
Optional, attached pom poms.
At the both ends of the scarf or fringe.
Twigs (Make 2)
In brown yarn.
R1. ch 11, 6 slst across starting in the 2nd ch from the hook (5)
To work with the extra twigs on the side.
Left twig: ch 6, slst across.
Starting in the 2nd chain from the hook then slst back in the center (5).
Right twig: ch 6 on the opposite size. Slst starting in the 2nd ch from the hook (5).
To finish offf, slst until the very last ch. Leave a long tail for sewing.
Assembly and Embroidery
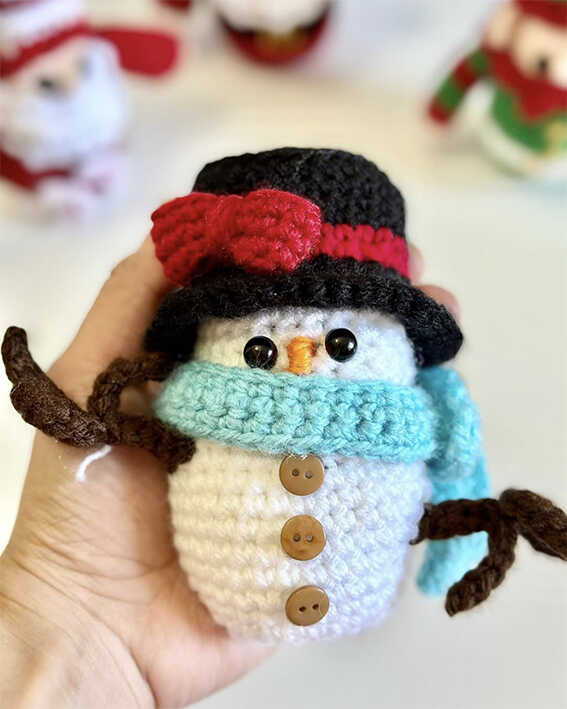
1) Sew the hat onto the head. Just sew from the lining of the hat, not the brim. Make it slightly slanted either to the right or left. Cover the back of the head. Use ballpins to secure the hat before sewing.
2) Sew the twigs on the side of the body, somewhat off from each other. 3 rounds below the eyes. Do this multiple times to stiffen the twigs.
3) In orange/mustard yarn, make small horizontal lines in between the eyes, size of 1 st only. Repeat multiples times until the nose is pointed. Pinch the nose to make it even more pointed.
4) Sew or use a strong glue to attach the 3 buttons on the center of the body to the bottom. Start the 1st button 4 sts below the nose.
5) Lastly, wrap the scarf around the neck. Tighten it so it will distinguish a shape between the head and the body. To make this an ornament, make a big loop with a string/yarn and slip stitch it at the back of the hat.
You may also like Amigurumi Elf Crochet Free Pattern
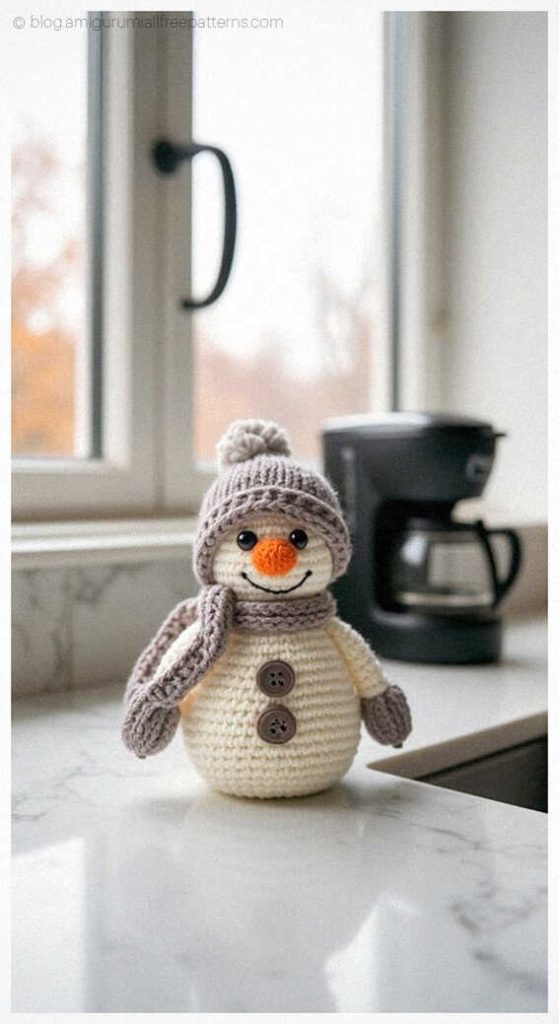
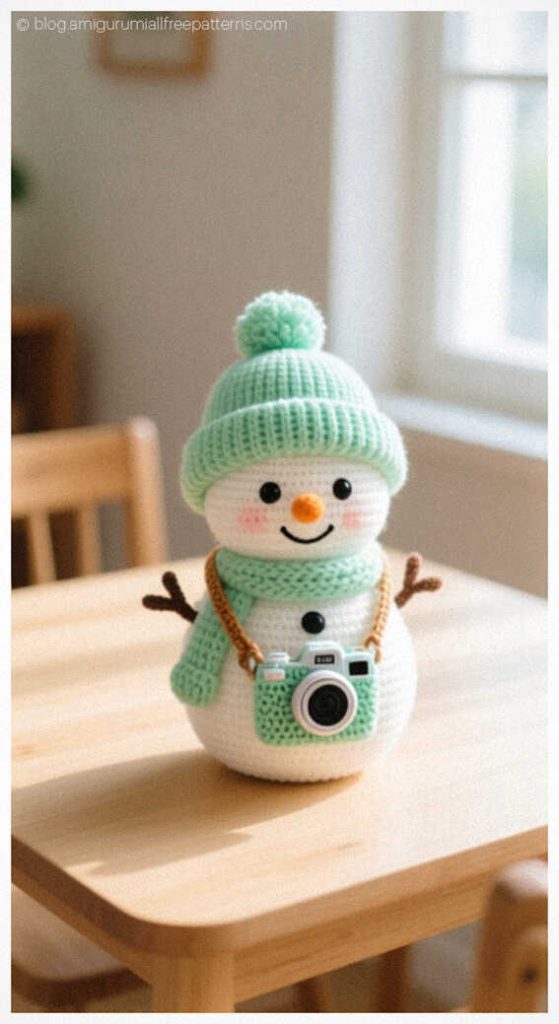
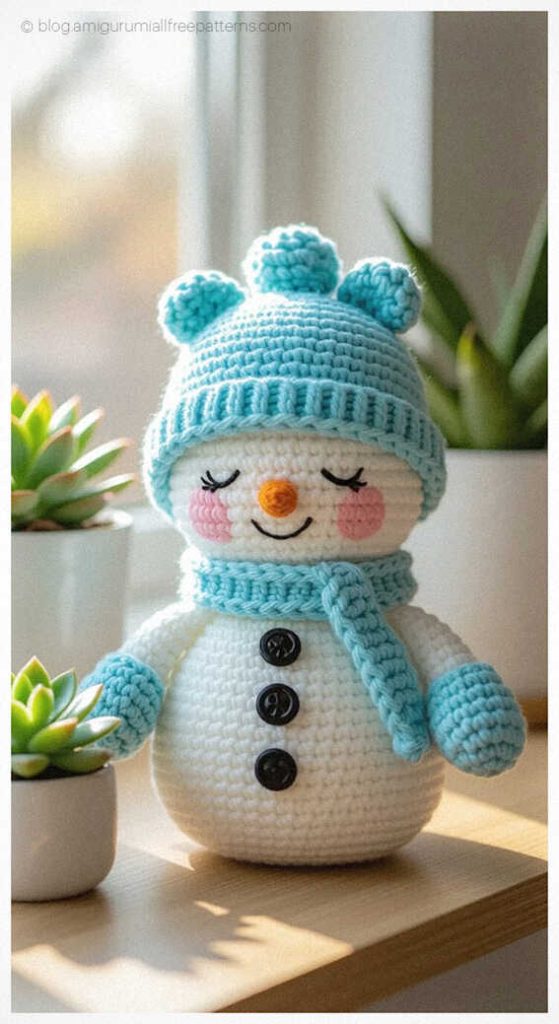
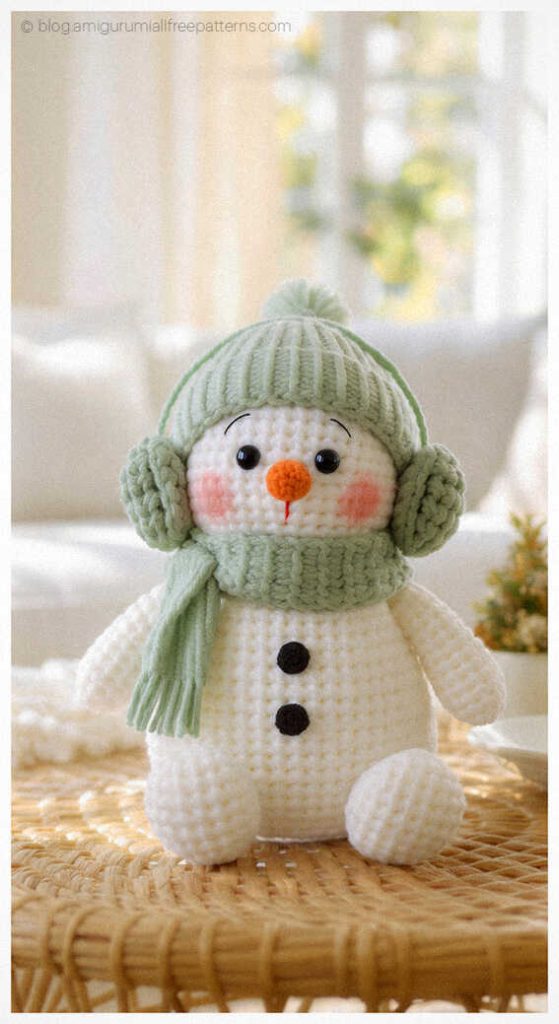
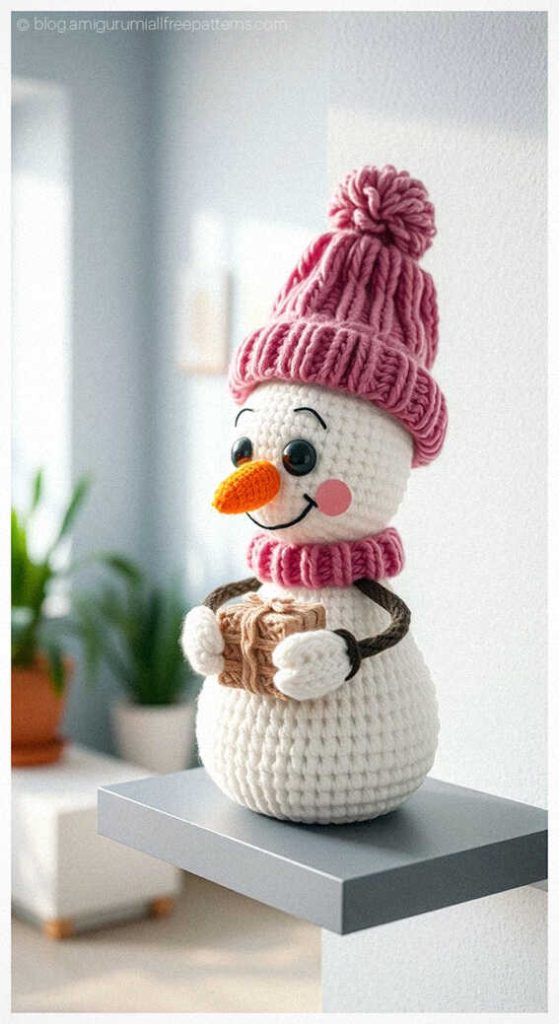
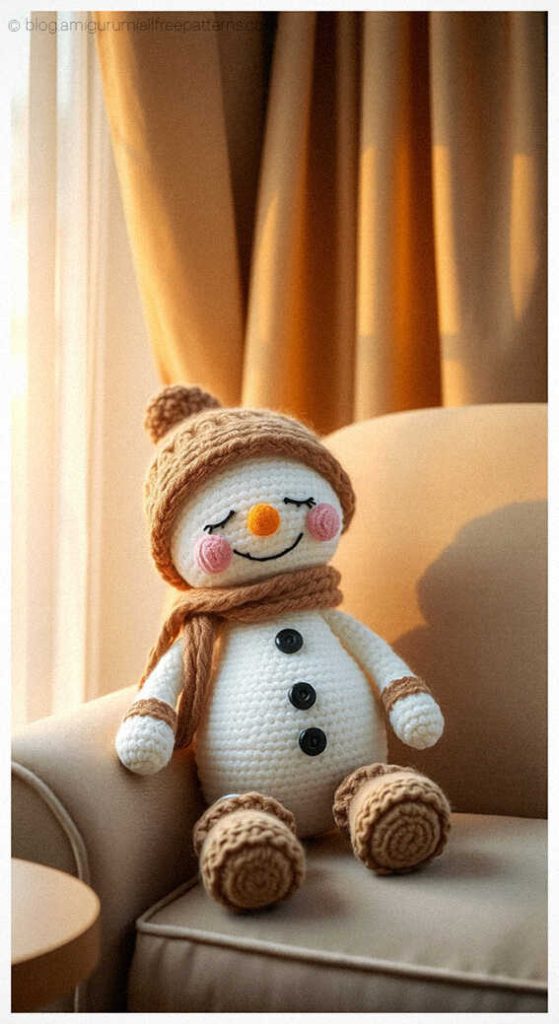
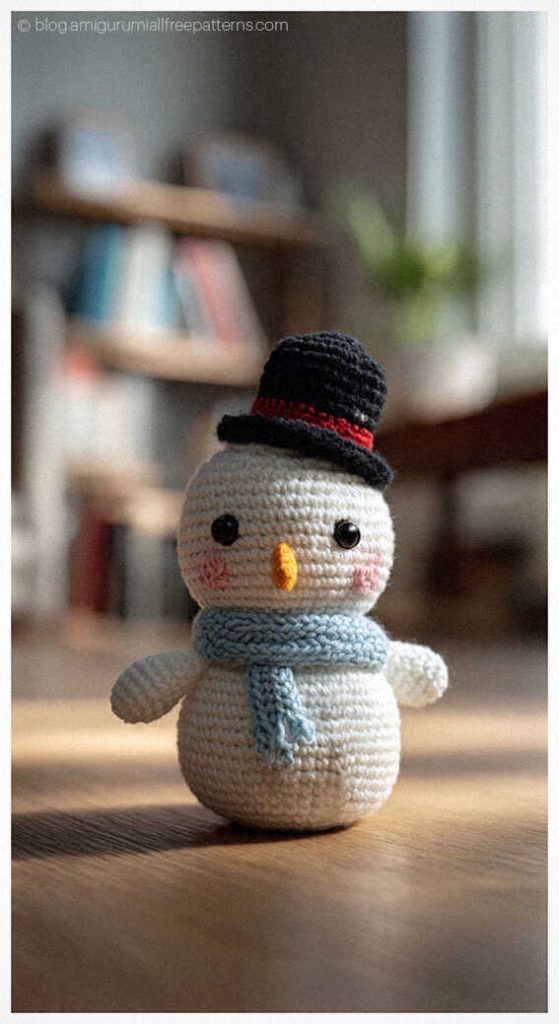
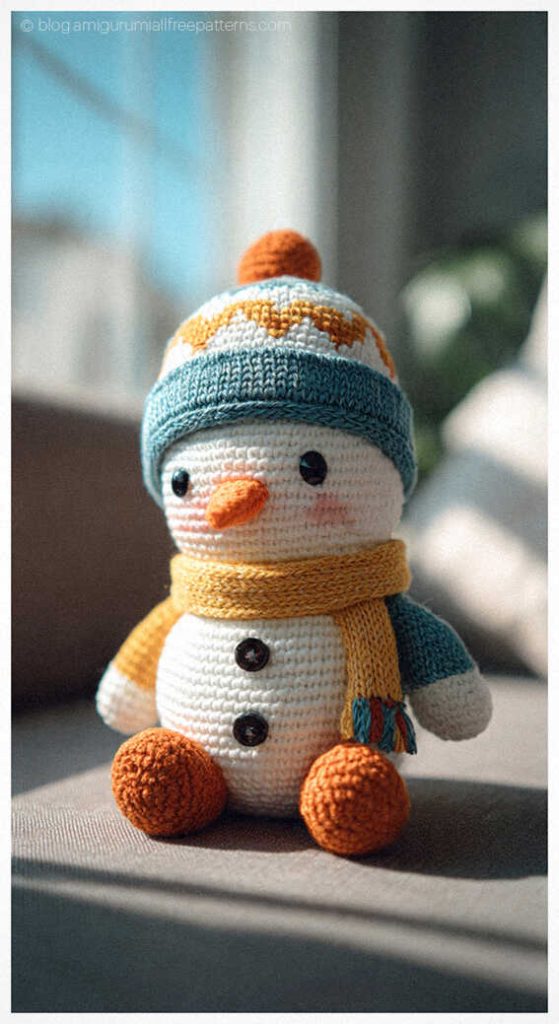
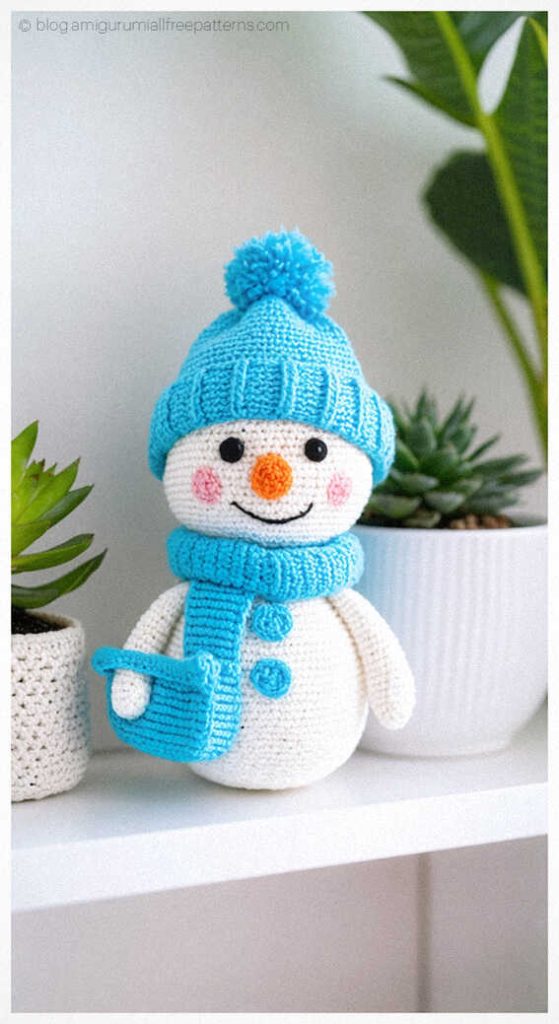
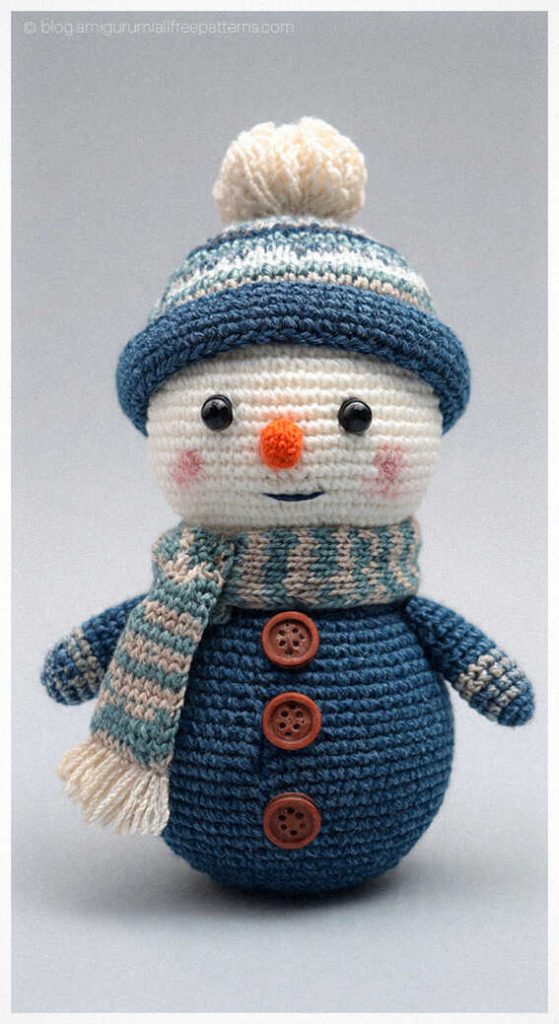
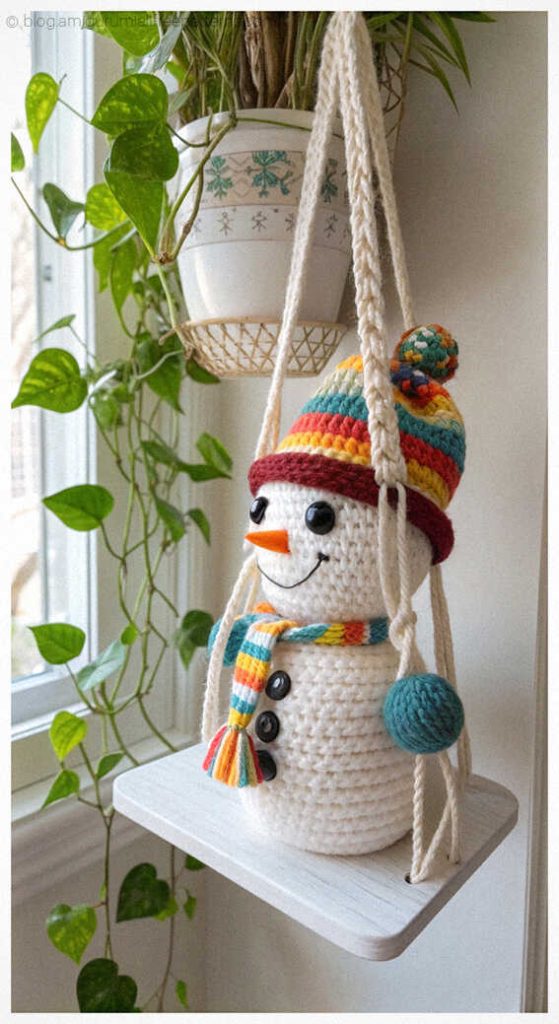
Amigurumi snowman ideas to try today:


Craft Your Own Amigurumi Wonderland
Step into a world of handmade charm with step-by-step tutorials for every amigurumi animal – from adorable amigurumi cats, amigurumi dogs, and amigurumi bunnies to magical amigurumi unicorns, gentle amigurumi elephants, and towering amigurumi giraffes. Explore patterns for amigurumi bears, amigurumi foxes, amigurumi pandas, amigurumi monkeys, amigurumi lambs, amigurumi pigs, amigurumi birds, amigurumi penguins, amigurumi llamas, amigurumi hippos, amigurumi dinosaurs, and whimsical amigurumi dolls and amigurumi clowns.
Each pattern includes clear instructions and inspiring images, perfect for beginners and experienced crocheters. Don’t miss out on the latest amigurumi creations – stay connected with us at blog.amigurumiallfreepatterns.com, join our Facebook page and Facebook group, and bring these delightful toys to life stitch by stitch!
Keywords: free amigurumi patterns, crochet toys, amigurumi animals, beginner-friendly crochet, amigurumi dolls, DIY crochet patterns, easy crochet