Designer: Teirin Evenstar
Instagram: @teirin_evenstar
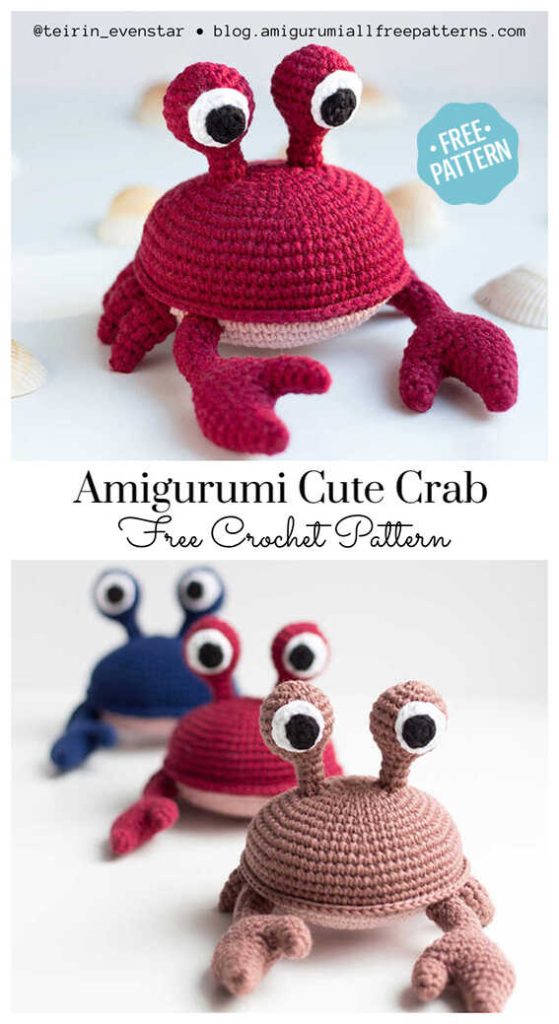
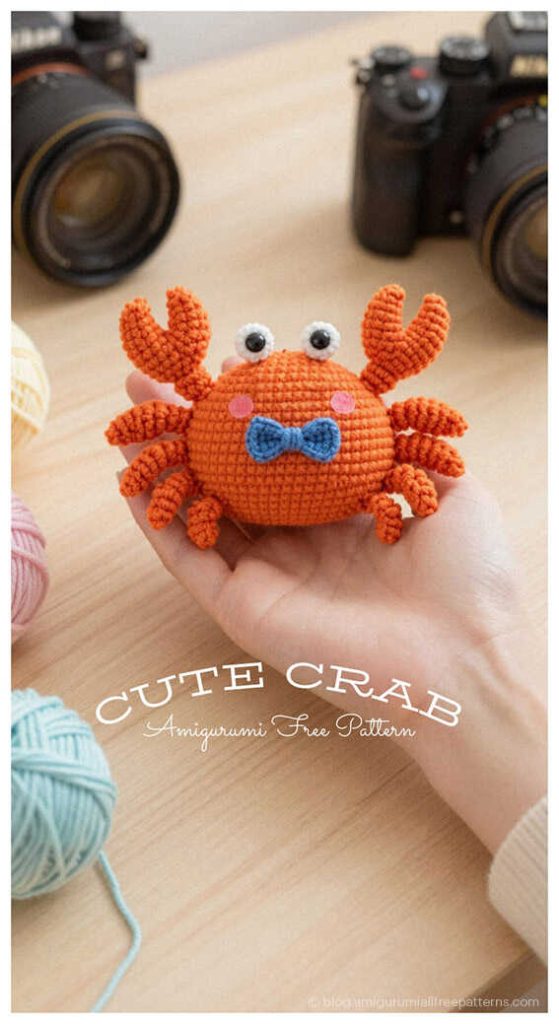
Calling all crochet lovers — today’s pattern is extra adorable…
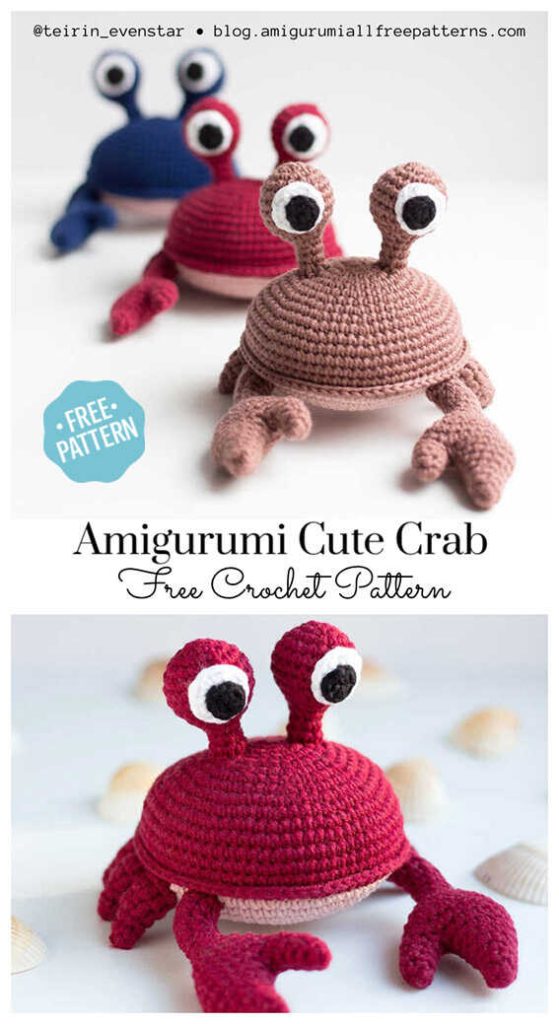
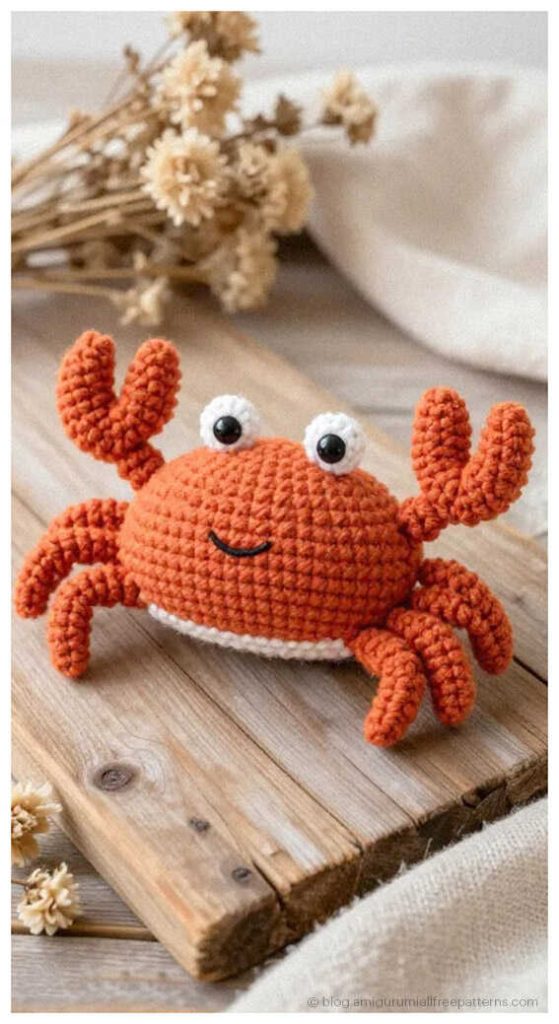
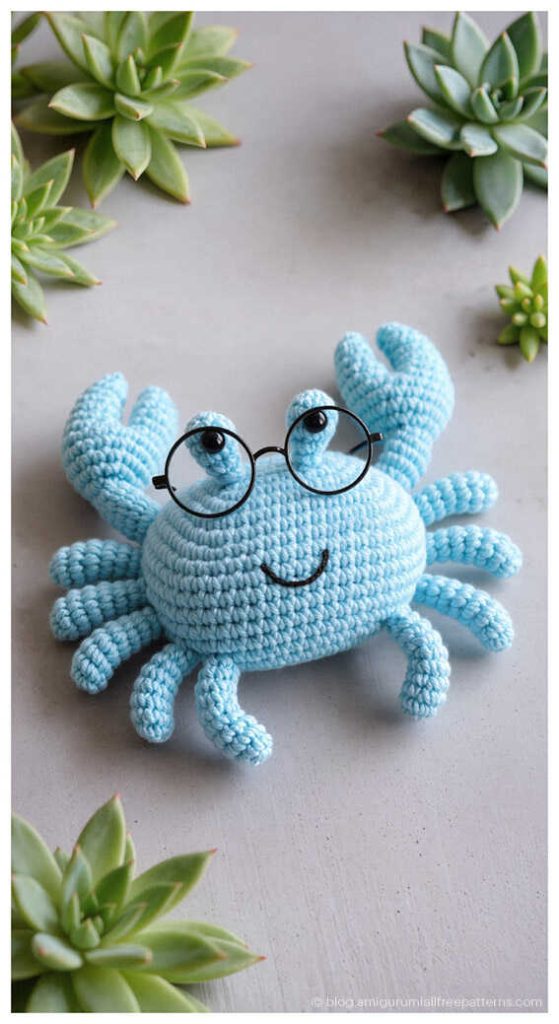
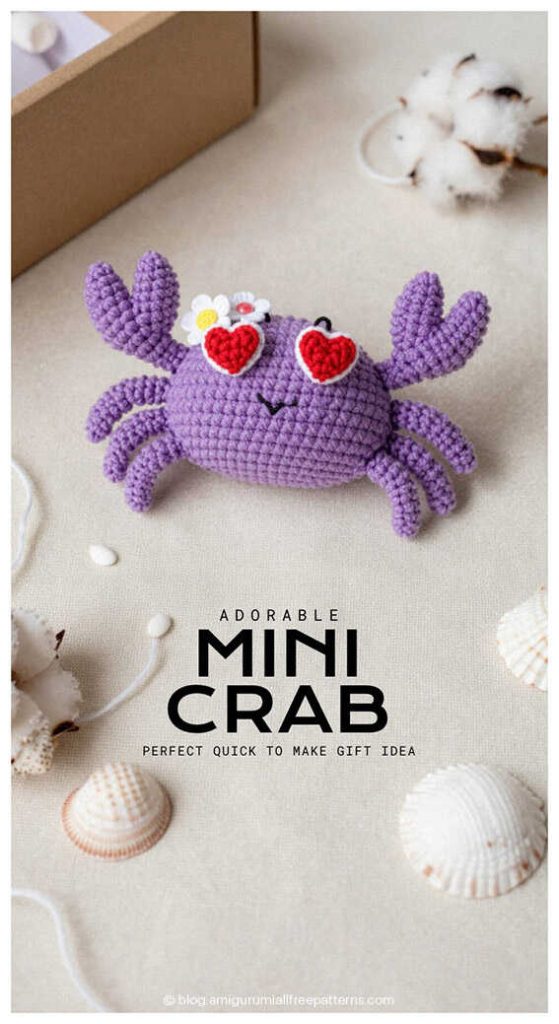
Dive into the charm of the ocean with this How to Crochet a Cute Crab: Free Quick to Make Amigurumi Guide, a project that captures the playful spirit of the seaside. Inspired by the curious and colorful creatures found in tropical tide pools, this tiny crustacean is perfect as a summery keychain, a child’s pocket pal, or a themed bathroom decoration. These DIY Crochet Gift Ideas offer a fantastic way to utilize your yarn scraps while creating something unique, serving as Easy Crochet Projects that bring a smile to anyone who loves coastal vibes. As you scroll through the instructions, you will also find a variety of inspiring amigurumi crab ideas at the end of the post to help you customize your new seafaring friend. A massive thank you to the talented Teirin Evenstar (VK) for designing this adorable pattern and sharing it with the community. If you have been searching for a simple yet expressive sea creature to add to your collection, this tutorial is the ideal starting point for your next creative adventure.
This step by step lesson is intentionally designed to be beginner friendly, making it the perfect beginner amigurumi crab pattern for those who are still gaining confidence with their hooks. The beauty of this design lies in its status as a Quick to Make Amigurumi, ensuring you can finish your project in a single afternoon without feeling overwhelmed. It stands out among Low Sew Amigurumi Patterns because the body and legs are cleverly constructed to minimize tedious assembly, allowing the personality of the crab to shine through almost instantly. Whether you are a hobbyist looking for a fast win or a professional maker stocking up for a craft fair, you will appreciate how smoothly the rounds flow together to create this charming character.
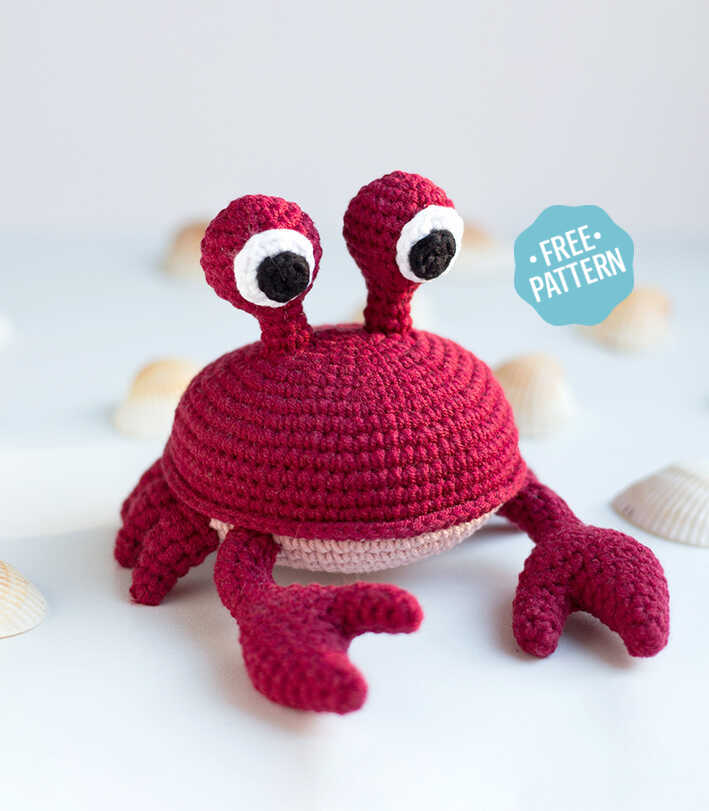
Crafting your own little crab requires just a few essential supplies that make the process smooth and professional. You will need high-quality cotton yarn in vibrant red or orange, a 2.5 mm crochet hook to keep your stitches tight, and a pair of small safety eyes to give your crab its signature inquisitive look. The technical part of the guide explains how to crochet amigurumi shapes that are sturdy and well-defined, using fiberfill to create a plump, squishable body. By following these specific material suggestions, you ensure a boutique-style finish that makes your handmade toy look both polished and durable.
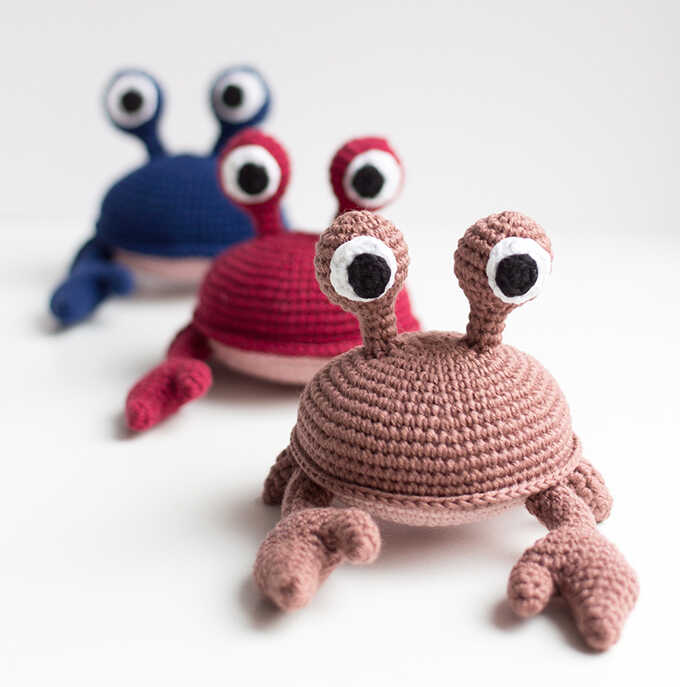
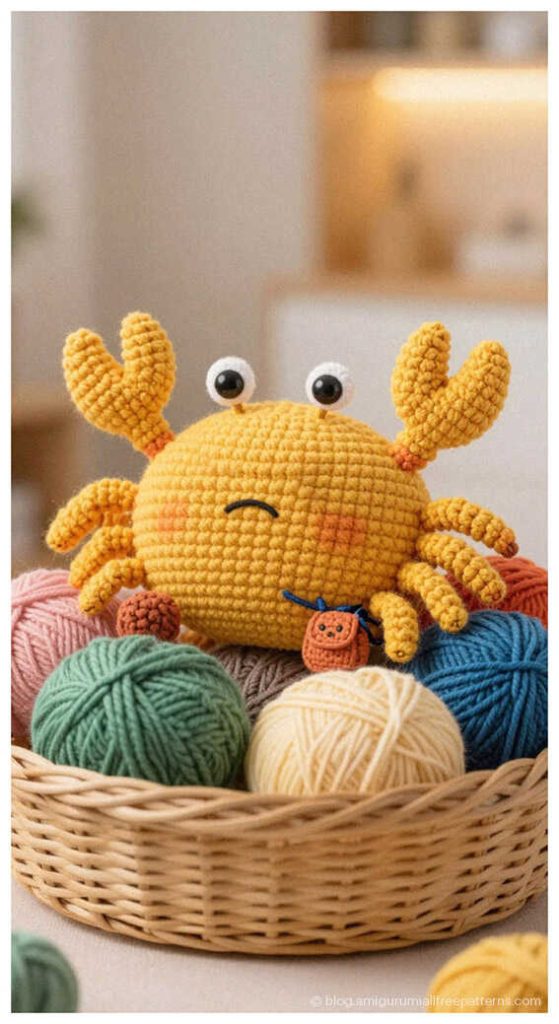
While the designer recommends using cotton yarn for a neat and structured appearance, you can easily experiment with textures to change the crab’s personality; for instance, swapping to a bulky velvet yarn will result in a giant, huggable plushie, though you should remember that this will make the final toy significantly larger than the original! Exploring different yarn weights is a great way to put your own spin on this pattern while mastering new techniques. Now, gather your yarn and hook, and get ready to bring this delightful beach dweller to life. Happy crocheting!
Materials and tools:
• YarnArt Jeans: red, pink (or beige-pink), white and black colors;
• Hook No. 2;
• Tailor’s pins;
• Wide eye needle;
• Filler for toys.
Abbreviations
MR – Amigurumi Magic ring
sc : Single Crochet
inc : Increase
dec : Decrease
tr : Triple Crochet/ Treble Crochet
st: Stitch
dc : Double Crochet
hdc: Half Double Crochet
sl-st or Slst: Slip Stitch
ch : Chain
tch: Turnin chain crochet
FLO : Crochet into front loops only
BLO : Crochet into back loops only
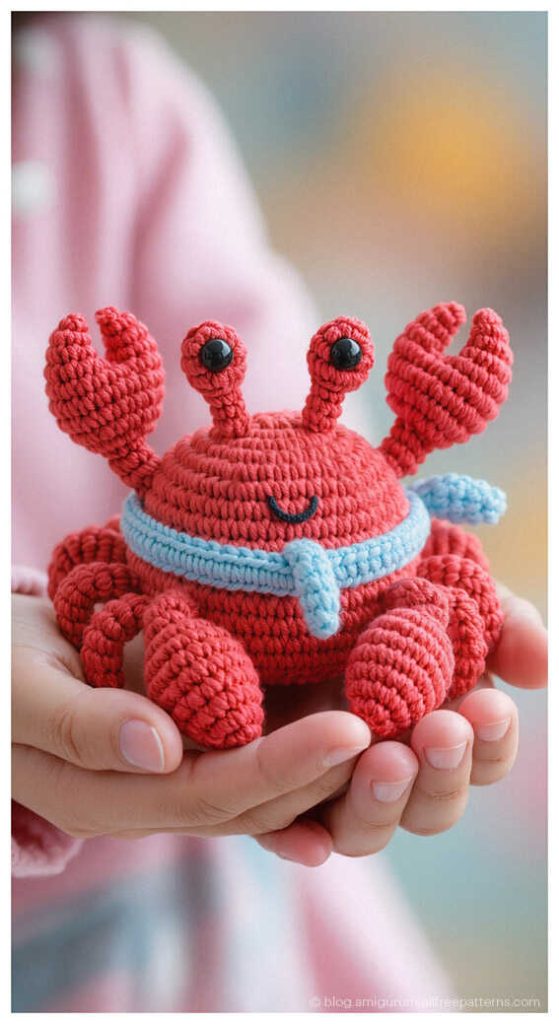
CHRISTIAN THE CRAB AMIGURUMI: FREE LOW-SEW CROCHET PATTERN
Head-body:
Upper part (in red yarn):
1) 6 sc in MR [6]
2) 6 inc [12]
3) (1 sc, inc) * 6 times [18]
4) (inc, 2 sc) * 6 times [24]
5) (3 sc, inc) * 6 times [30]
6) 1 sc, inc, (4 sc, inc) * 5 times, 3 sc [36]
7) (5 sc, inc) * 6 times [42]
8) 2 sc, inc, (6 sc, inc) * 5 times, 4 sc [48]
9) (7 sc, inc) * 6 times [54]
10) 3 sc, inc, (8 sc, inc) * 5 times, 5 sc [60]
11) (9 sc, inc) * 6 times [66]
12) 4 sc, inc, (10 sc, inc) * 6 times, 6 sc [72]
13 – 15) 72 sc [72] – 3 rows
We do not cut the thread, we just pull the loop so that the part does not bloom.
Set the top aside and move on to the bottom.
Bottom part (pink or pink-beige yarn):
1) 6 sc in MR [6]
2) 6 inc [12]
3) (1 sc, inc) * 6 times [18]
4) (inc, 2 sc) * 6 times [24]
5) (3 sc, inc) * 6 times [30]
6) 1 sc, inc, (4 sc, inc) * 5 times, 3 sc [36]
7) (5 sc, inc) * 6 times [42]
8) 2 sc, inc, (6 sc, inc) * 5 times, 4 sc [48]
9) (7 sc, inc) * 6 times [54]
10) 3 sc, inc, (8 sc, inc) * 5 times, 5 sc [60]
11) (9 sc, inc) * 6 times [66]
12) 4 sc, inc, (10 sc, inc) * 6 times, 6 sc [72]
SLST in the next loop, fasten and cut the thread.
We return to the details of the top.
We fold the bottom and top edges to each other. We sew them, as if continuing to crochet the upper part, while capturing the columns of the lower part.
Thus, we crochet a row of sc: 62 sc, tightly stuff the head-body with filler, another 10 sc [72].
We fix, cut the thread, hide the yarn.
Hind legs (6 parts):
(red yarn):
1) 6 sc in MR [6]
2) 6 sc [6]
3) (1 sc, inc) * 3 times [9]
4 – 5) 2 sc, 5 hdc, 2 sc [9]
6) 9 sc [9]
SLST in the next loop. We fix the thread, leave a long tip in order to sew the legs to the body, cut the thread. We tightly stuff each leg with filler.
All six legs are crocheted in the same way.
Claws (2 parts):
(red yarn):
In order to tie a claw, you first need to tie the first part, then the second, and then combine them into one piece.
Part 1:
1) 4 sc in MR [4]
2) (1 sc, inc) * 2 times [6]
3) 5 sc, inc [7]
4) 6 sc, inc [8]
SLST in the next loop, fasten and cut the thread.
Part 2:
1) 5 sc in MR [5]
2) 4 sc, inc [6]
3) (2 sc, inc) * 2 times [8]
4) (3 sc, inc) * 2 times [10]
5) (4 sc, inc) * 2 times [12]
6) (5 sc, inc) * 2 times [14]
7) 14 sc [14]
We combine two parts into one part:
After we have crocheted all the rows of the second part, we do not cut the thread.
We attach the first part to it and crochet:
8) 8 sc on the first part (starting from the loop after the SLST), then 14 sc on the second part [22]
Tightly fill both parts with filler.
9) 3 sc, dec, 9 sc, dec, 6 sc [20]
10) 20 sc [20]
11) (1 sc, dec) * 2 times, 5 sc, dec, 1 sc, dec, 4 sc [16]
Add filler.
12) dec, 1 sc, dec, 3 sc, dec, 1 sc, dec, 2 sc – we don’t crochet one sc to the end of the row – here there will be a new beginning of the row [12]
13) (dec, 1 sc) * 4 [8]
Add filler.
14 – 15) 8 sc [8] – 2 rows
Add filler.
16 – 19) 4 sc, 4 hdc [8] – 4 rows
SLST in the next loop, fasten the thread, leave a long tip in order to sew the claw to the head-body, cut the thread.
Tightly stuff the claw with filler to the end.
The second claw is crocheted in the same way.
Now we sew the claws to the front of the head-body (for starters, determine which part turned out to be neater, it will be in front) at a distance of 20 sc from each other.
We sew each claw in the interval from the border between the upper and lower parts of the head-body, to the 10th row of the lower part (if you count from the beginning of its crocheting). Short “fingers” should look at each other.
Then we sew the hind legs (3 on one side, 3 on the other side of the head-body).
All three legs are sewn immediately after the claws one by one, without any distance between them. Also, in the gap from the border between the upper and lower parts of the head-body, to the 10th row of the lower part (if you count from the beginning of its crocheting).

Eyes (2 parts):
(red yarn):
1) 6 sc in MR [6]
2) 6 inc [12]
3) (1sc, inc) * 6 times [18]
4) (inc, 2 sc) * 6 times [24]
5 – 7) 24 sc [24] – 3 rows
8) (2 sc, dec) * 6 times [18]
9) (dec, 1 sc) * 6 times [12]
Fill the ball tightly with filler.
10) (1 sc, dec) * 4 [8]
11 – 13) 8 sc [8] – 3 rows
The column obtained after the ball with filler can not be stuffed.
SLST in the next loop, fasten the thread, leave a long tip for sewing the eyes to the head-body, cut the thread.
Eyeballs – 2 details (white yarn):
1) 6 sc in MR, SLST in the first sc of the row [6]
2) 1 tch, inc in the same loop, 5 more inc, SLST in the first loop of the row [12]
We cut the thread, leaving a long tip for sewing eyeballs to the main red part.
Pupils – 2 parts (black yarn):
1) 6 sc in MR, SLST in the first sc of the row [6]
We cut the thread, leaving a long tip for sewing the pupil to the eyeball.
Now we sew the pupil on the white part of the eye, then we sew the resulting part on the side of the red base of the eye (between 3 and 10 rows from the beginning of crocheting the part).
We fix and hide all the ends of the threads.
The second eye fits in the same way.
Each eye is sewn between 2 and 6 rows from the beginning of crocheting in the middle of the upper part of the head-body.
You may also like: Amigurumi Jellyfish Crochet Free Pattern (Beginner-Friendly & Step-by-Step)
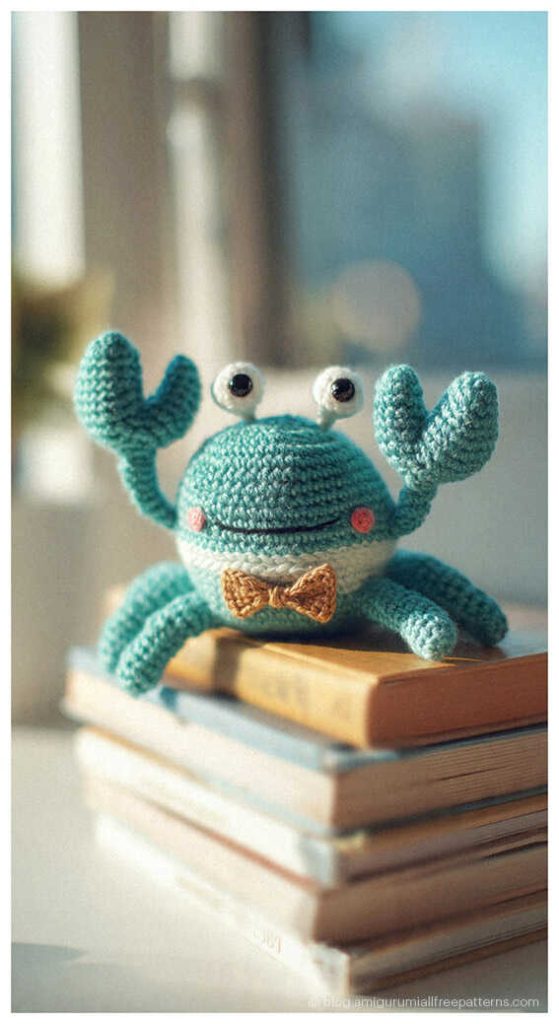
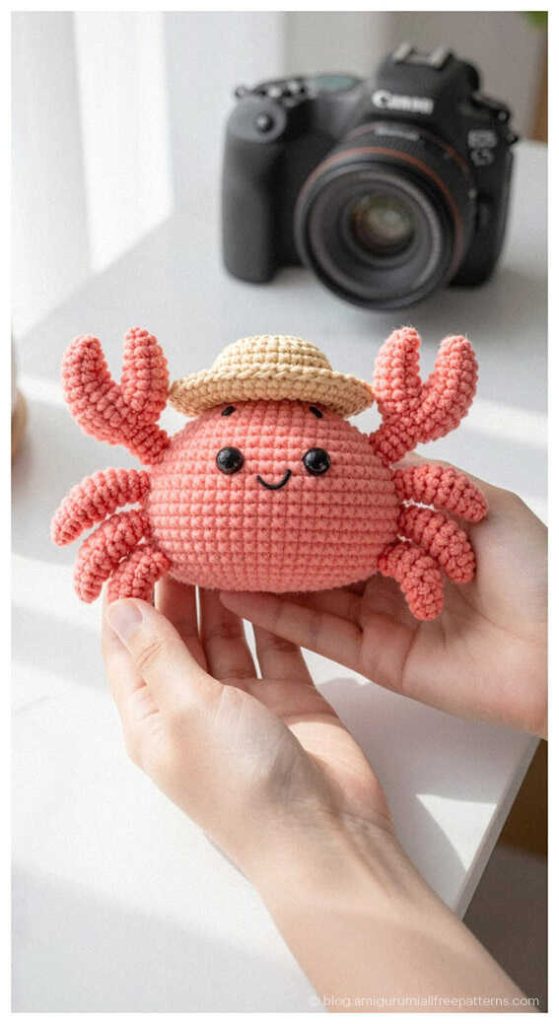
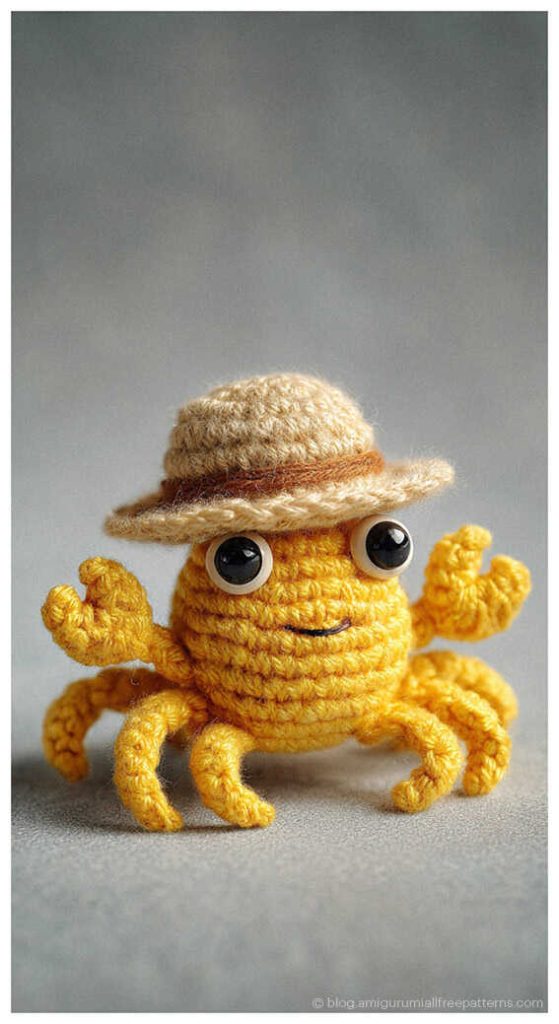
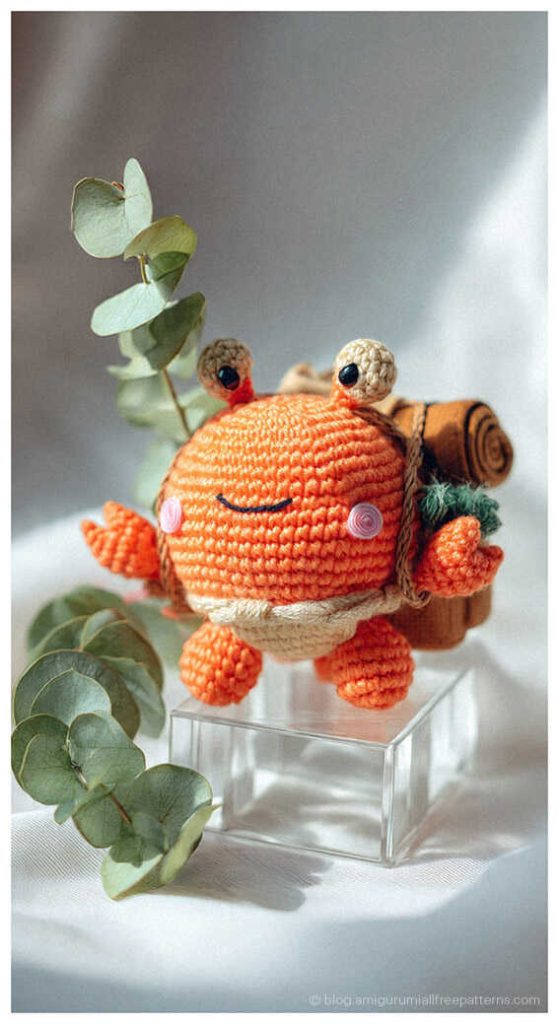
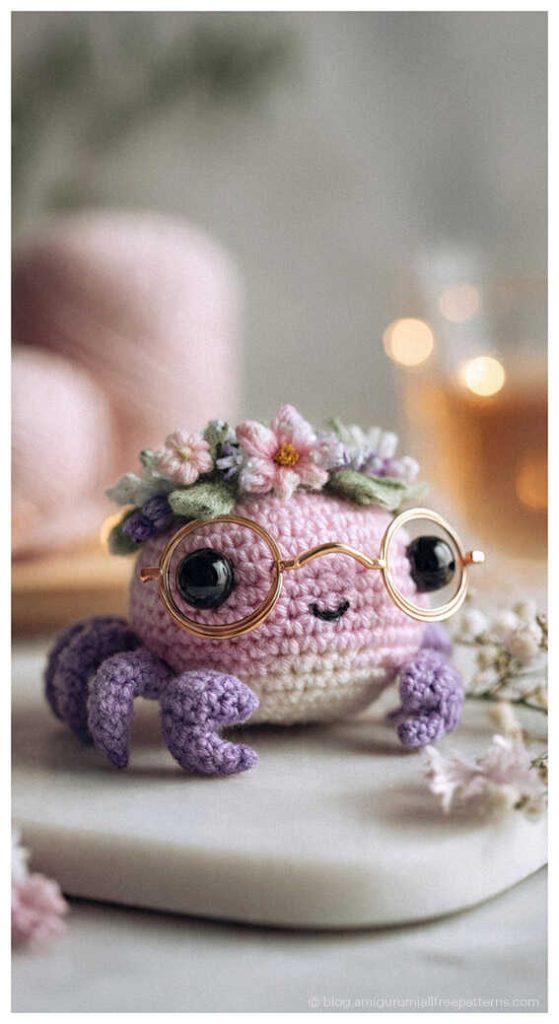
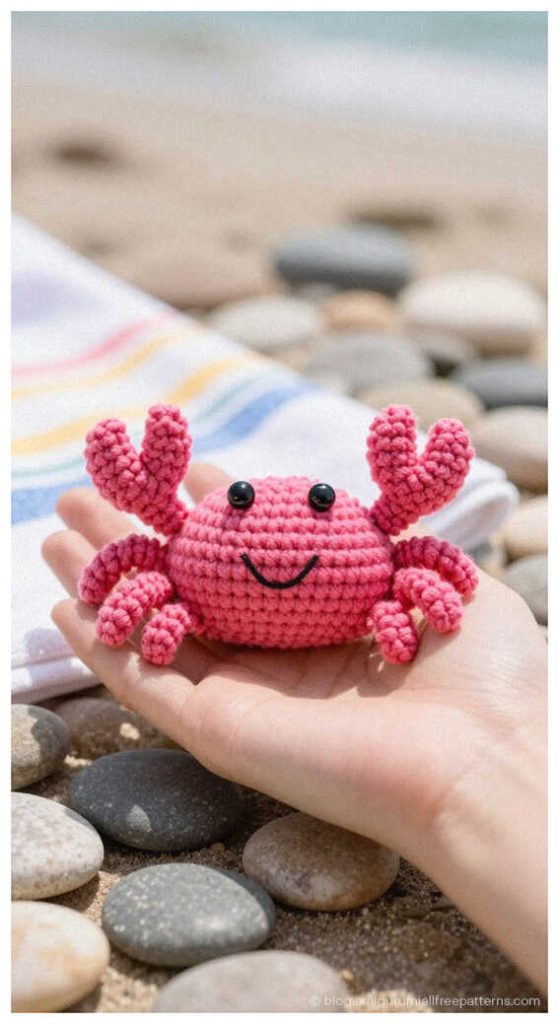
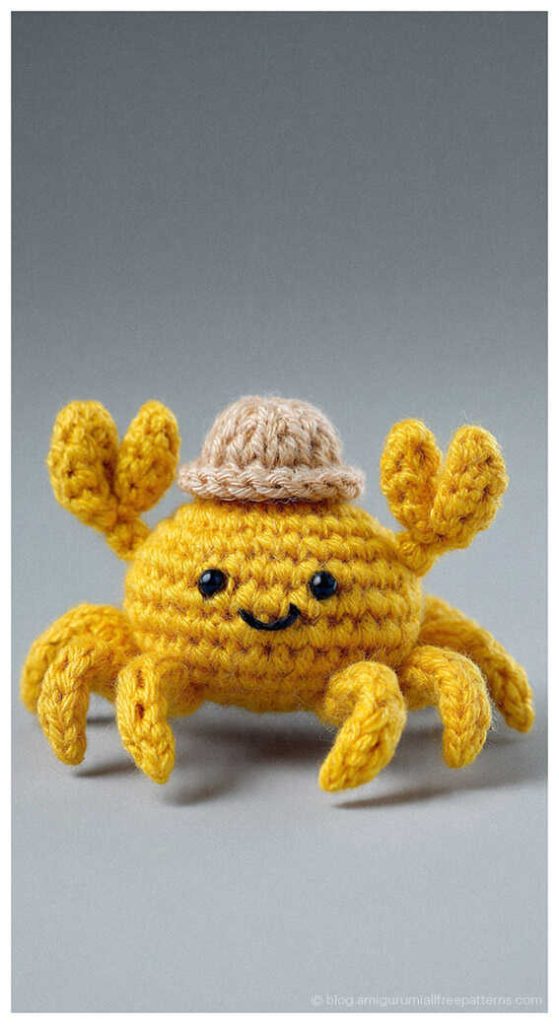
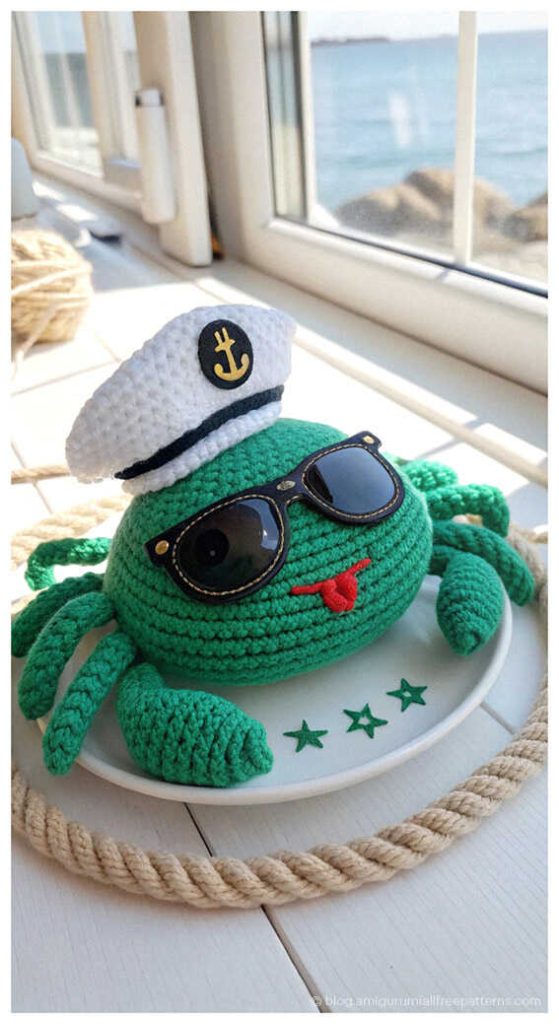
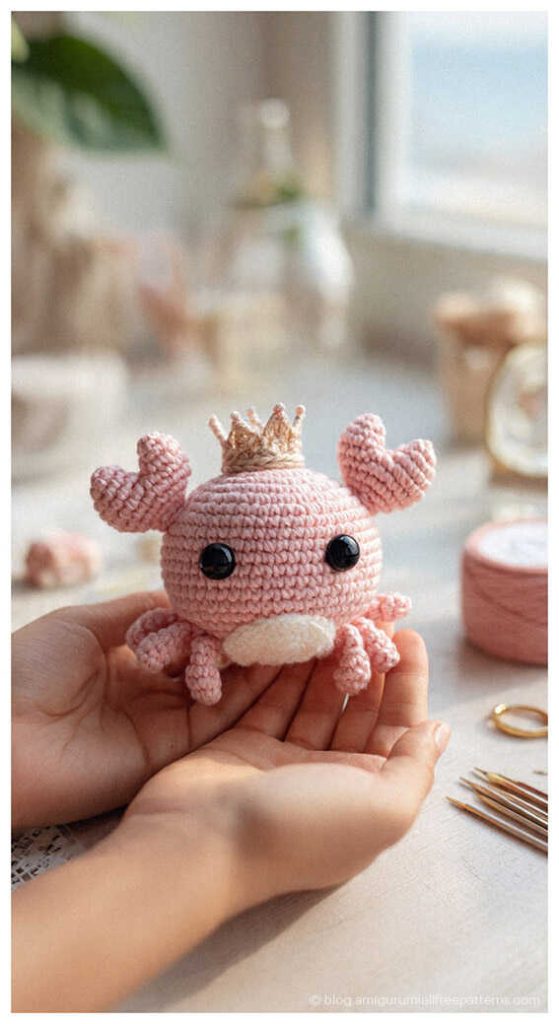
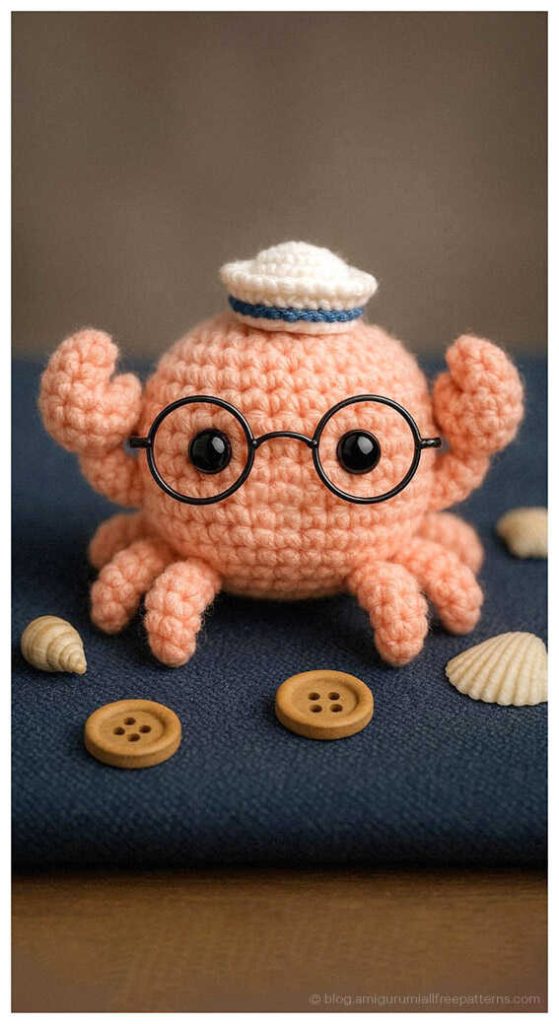
Creative Amigurumi Crab Ideas for Inspiration:


Save this project for later on Pinterest!