Designer: Likemama
Instagram: @tas.likemama
Difficulty Level: Intermediate
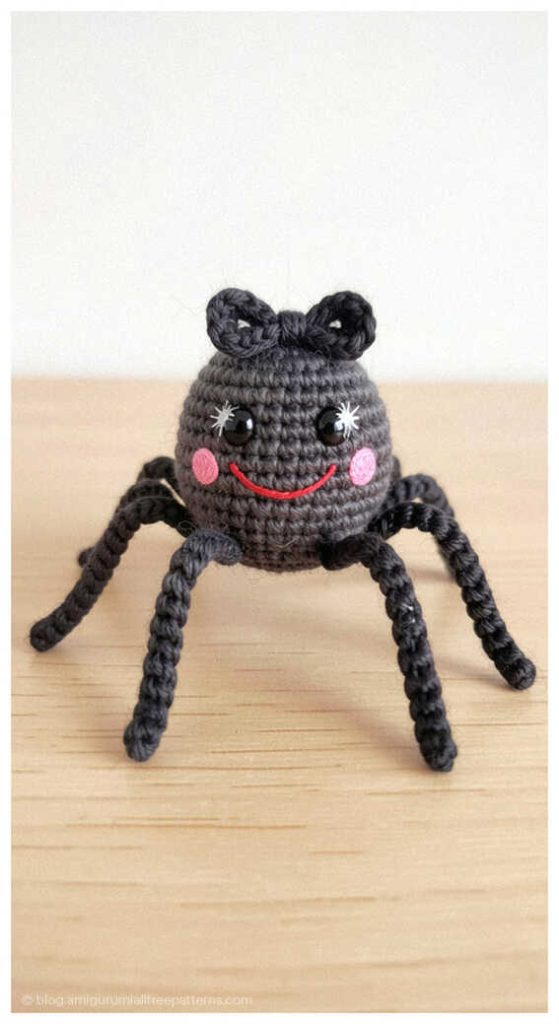
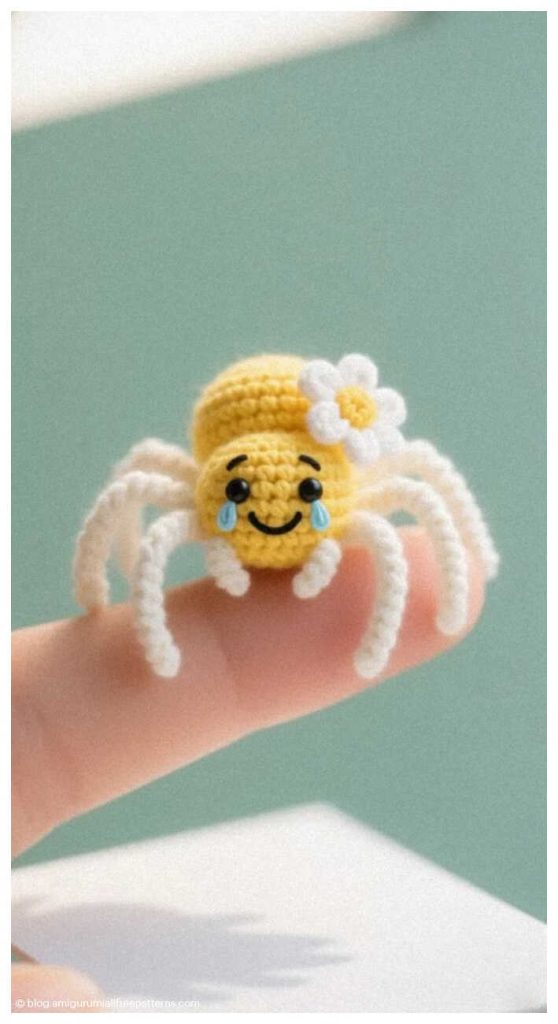
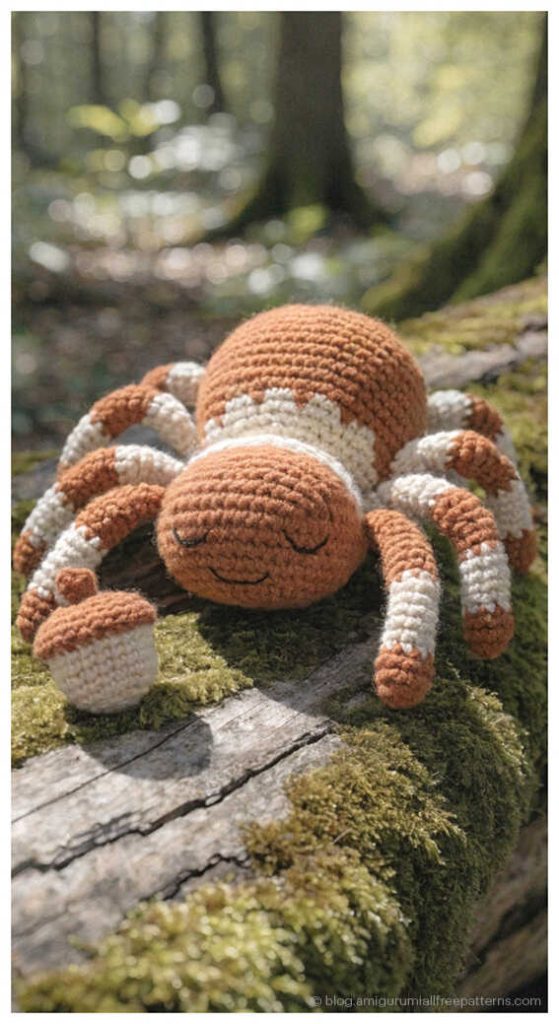
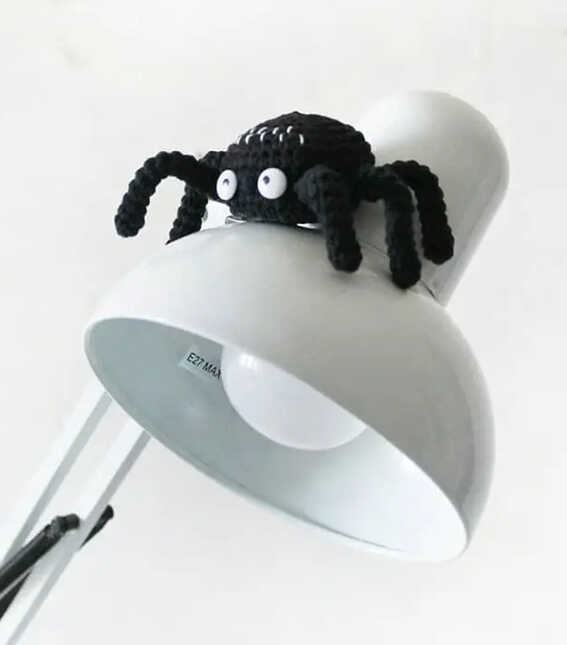
A bold little spider to elevate your crochet collection
Delicate shaping and flexible legs make this design stand out as a creative handmade piece. Designed by @tas.likemama, this spider is crocheted with semi-cotton yarn and supported by a hidden wire frame, allowing the legs to bend and hold their position naturally. Its structured body and balanced weight give it stability, making it a striking decor accent or playful display piece. The overall construction fits beautifully into easy crochet projects and low sew amigurumi patterns, and we sincerely thank the designer for sharing this imaginative spider. You will also find related amigurumi ideas gathered at the end of the pattern for extra inspiration.
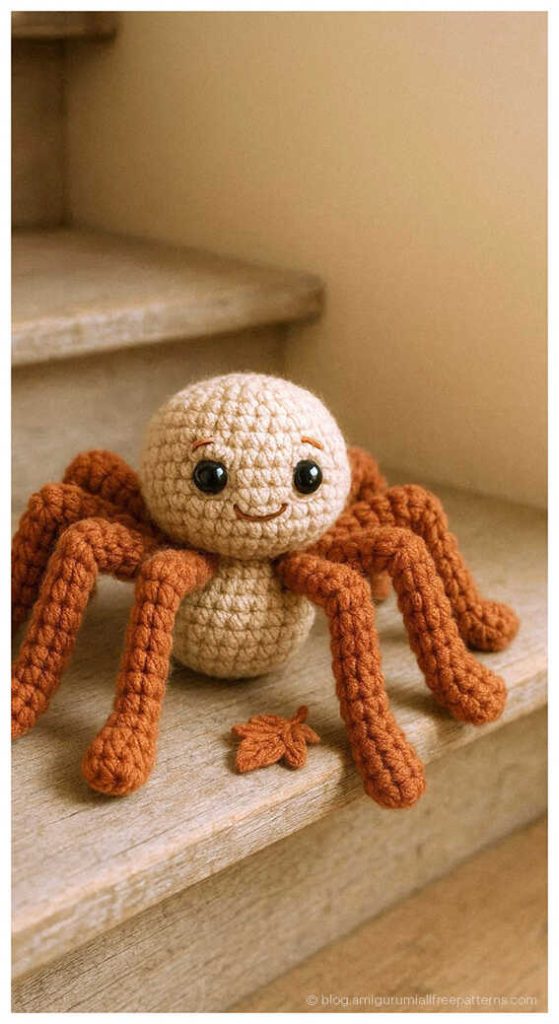
The pattern is approachable and works well as a quick crochet project when made with basic stitches and clean shaping. The final size may vary depending on yarn choice and tension. If you enjoy compact animal toys, you might also love the mini penguin shared on our other blog, which pairs beautifully with seasonal decor themes.
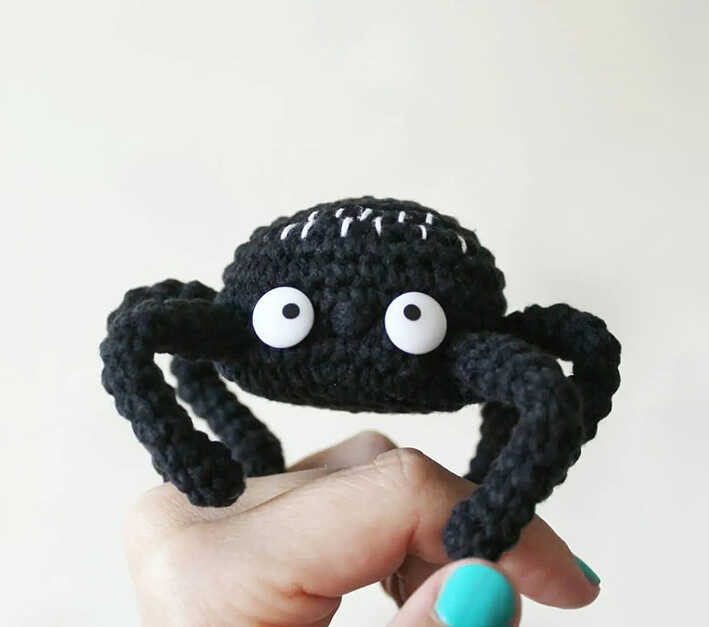
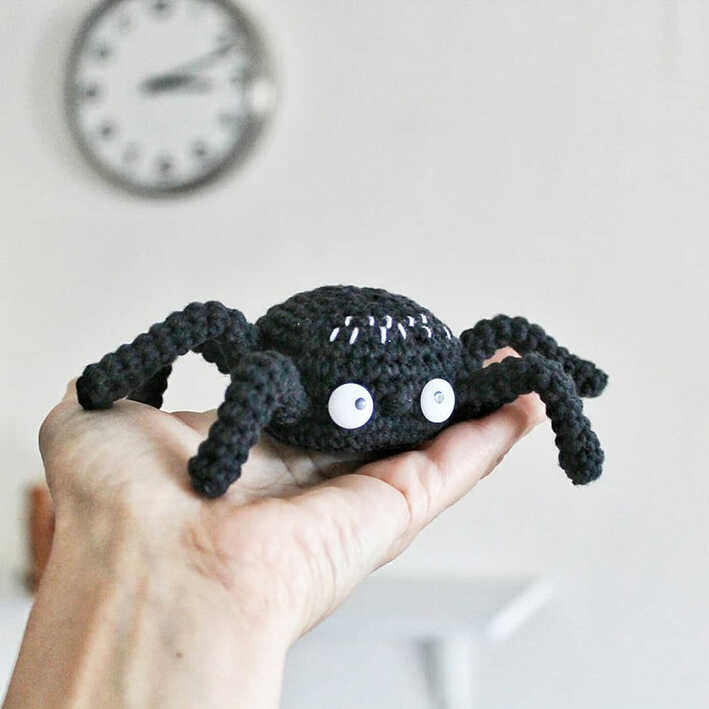
This design uses YarnArt Jeans semi-cotton yarn and a 3.0 mm crochet hook, along with safety eyes, white embroidery thread for the head stripes, wire for structure, a flat stone for weight, and fiberfill stuffing. Cotton yarn helps maintain a crisp silhouette, while different yarn types can slightly change the finished size. For another charming small project, explore the tiny hedgehog featured on our blog.
Materials and Tools
• YarnArt Jeans semi-cotton yarn – black
• Crochet hook 3.0 mm
• Safety eyes
• White embroidery thread for stripes on the head
• Tapestry needle
• Scissors
• Wire
• Flat stone
• Fiberfill stuffing
Abbreviations
R – round
sc – single crochet
inc – increase
dec – decrease
(…) x n – repeat n times
(…) – stitch count at the end of the round
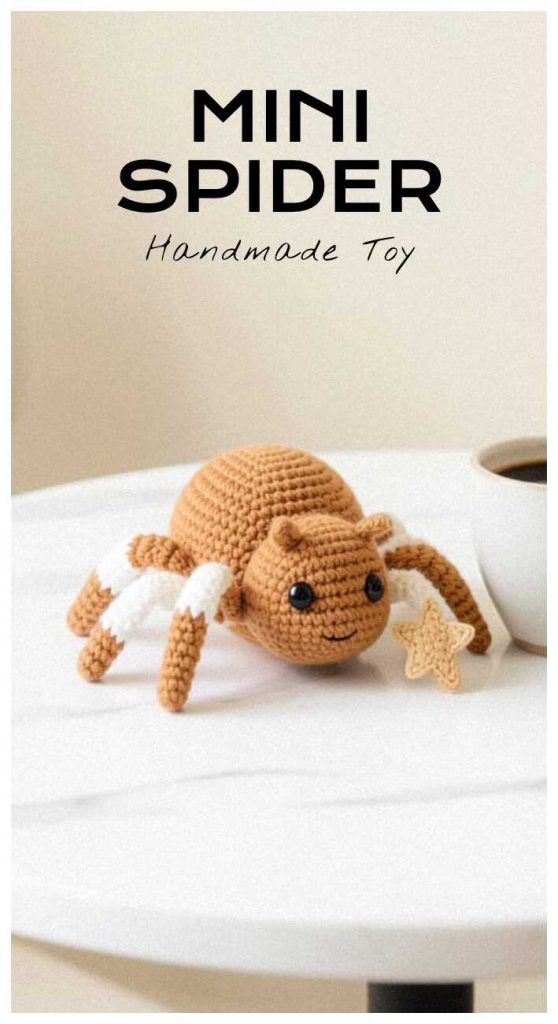
HOW TO CROCHET AN AMIGURUMI SPIDER STEP BY STEP
Legs (make 6)
Do not stuff.
R1: 6 sc in MR = 6
R2–R14: 6 sc
Leave a long yarn tail for sewing.
Head and Body (one piece)
R1: 6 sc in MR = 6
R2: inc x 6 = 12
R3: (inc, 1 sc) x 6 = 18
R4: (inc, 2 sc) x 6 = 24
R5: (inc, 3 sc) x 6 = 30
R6: (inc, 4 sc) x 6 = 36
Place three twisted pieces of wire across the center, as shown in the photo.
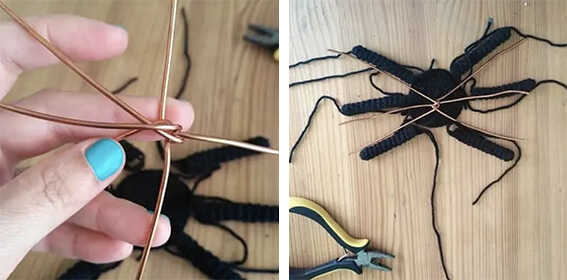
Crochet the first three wires into the round with 3 sc between each wire, then skip 9 sc and crochet the remaining three wires into the round, again leaving 3 sc between each, as shown in the photos.
R7–R12: 36 sc
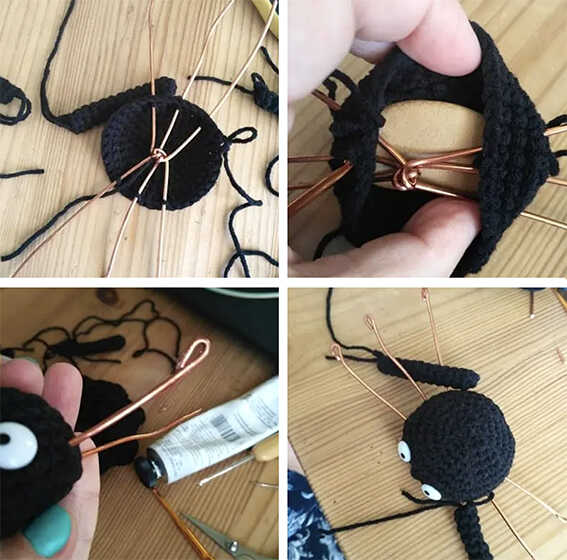
Place a flat round stone under the wire inside the body for additional weight, as shown in the photo.
Insert the safety eyes between R8 and R9.
R13: (dec, 4 sc) x 6 = 30
R14: (dec, 3 sc) x 6 = 24
R15: (dec, 2 sc) x 6 = 18
R16: (dec, 1 sc) x 6 = 12
R17: dec x 6 = 6
Fasten off and hide the yarn.
Embroider the nose with black yarn.
Twist the ends of the wire as shown in the photo. Slide each leg onto a wire end and sew it securely in place.
Copyright & Credits
This pattern is designed by @tas.likemama. You may sell finished toys made from this pattern; however, the pattern itself may not be published, redistributed, copied, translated, or shared in any form without the designer’s prior permission. When sharing photos of your finished work, please credit the designer by tagging @tas.likemama.
Amigurumi Ideas to Spark Your Next Crochet Project