Designer: Tatyana Kostochenkova | Instagram: tkostochenkova
Hi there…
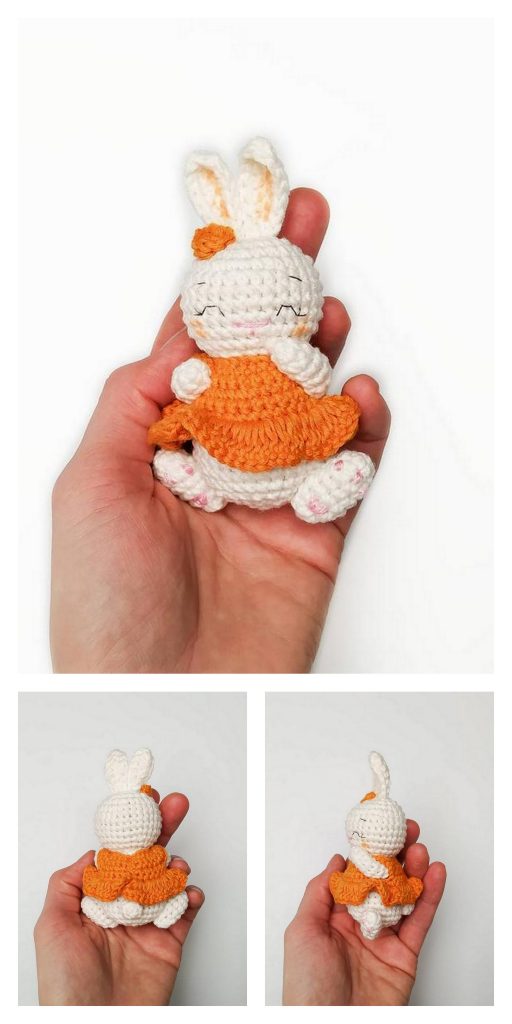
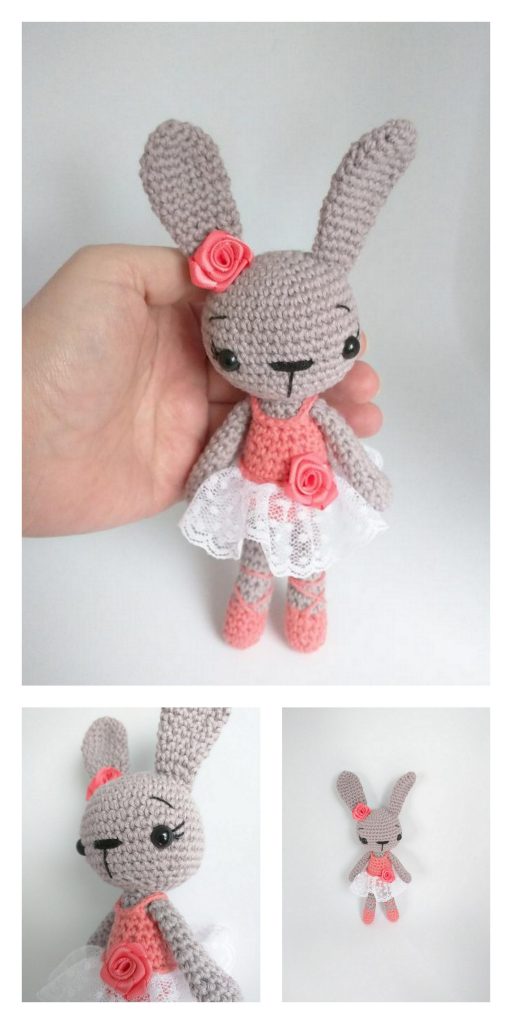
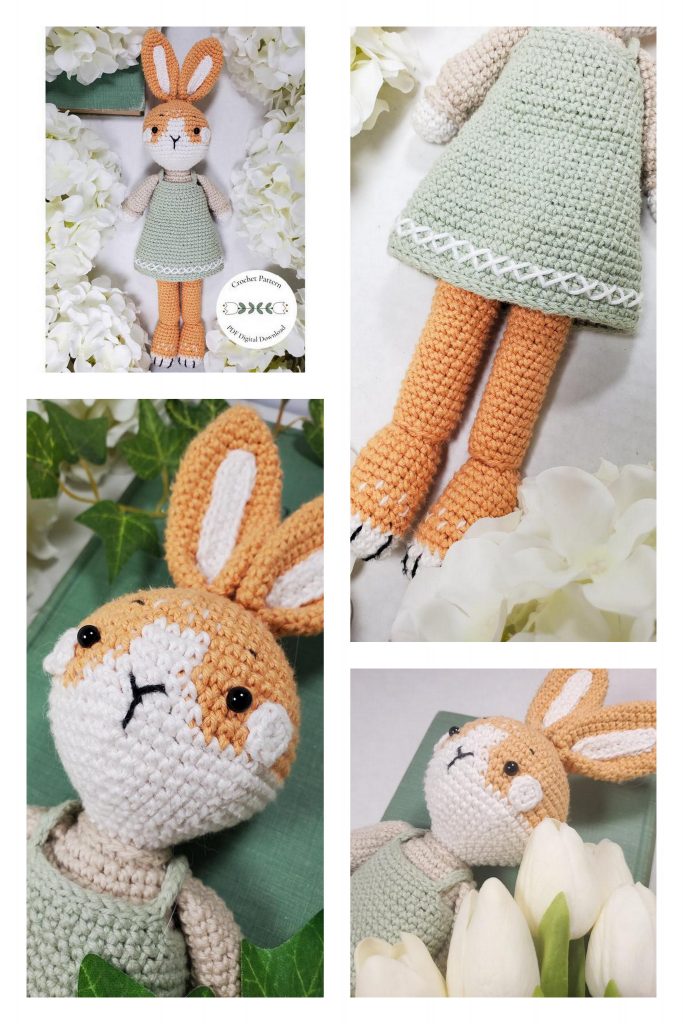
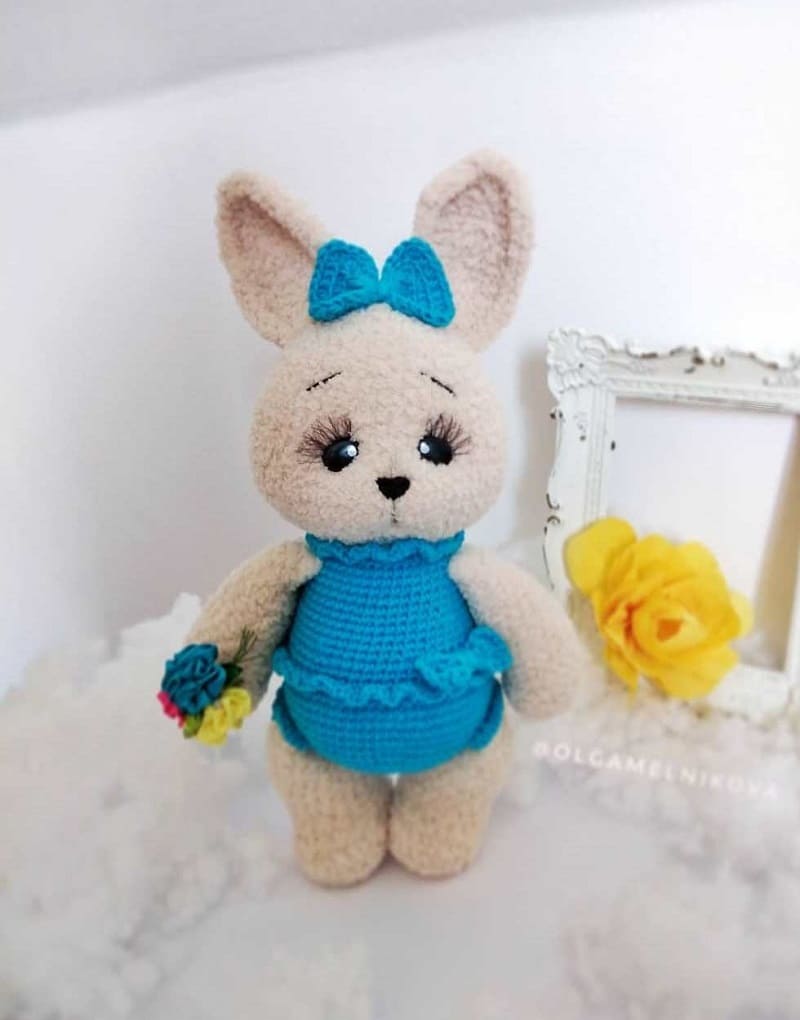
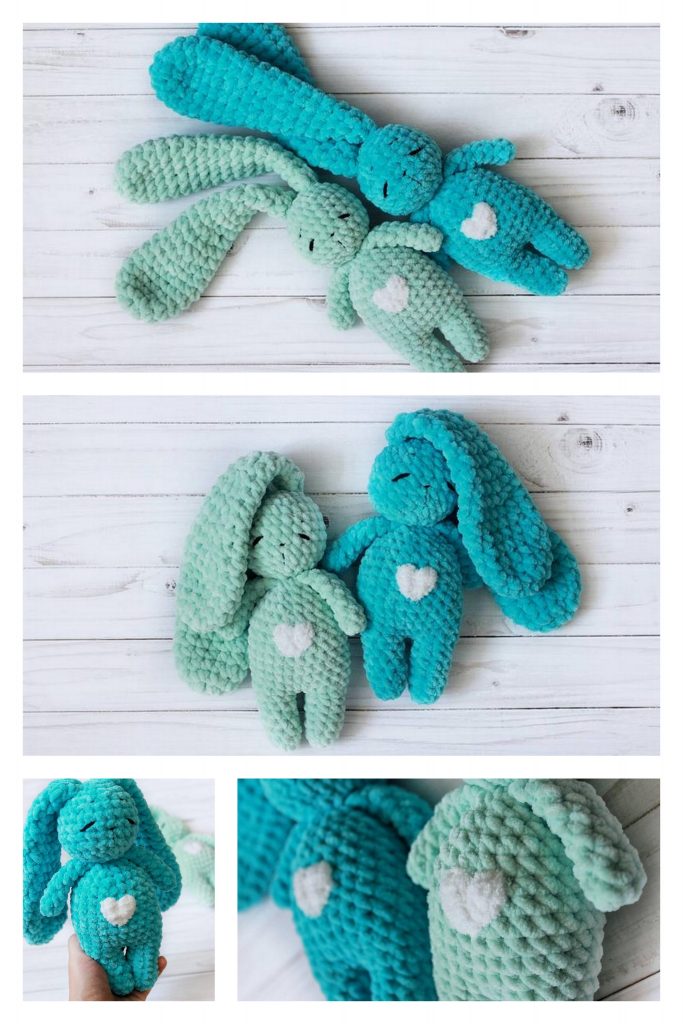
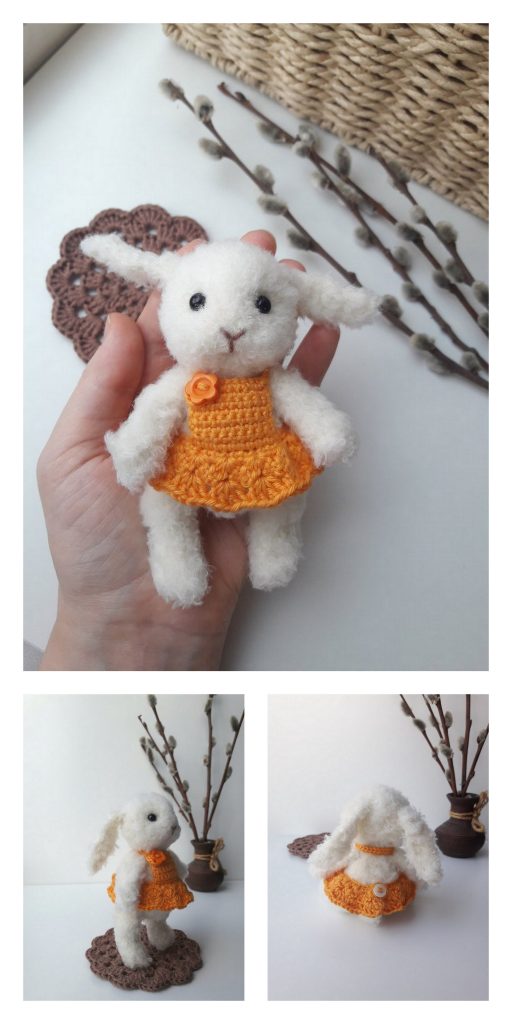
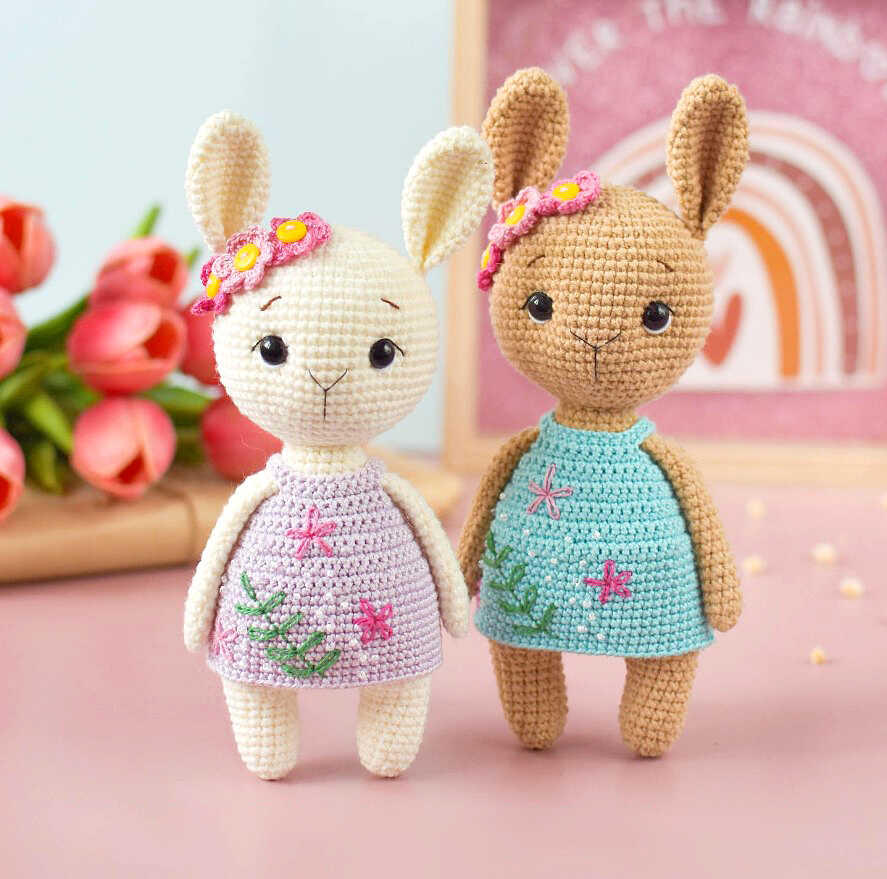
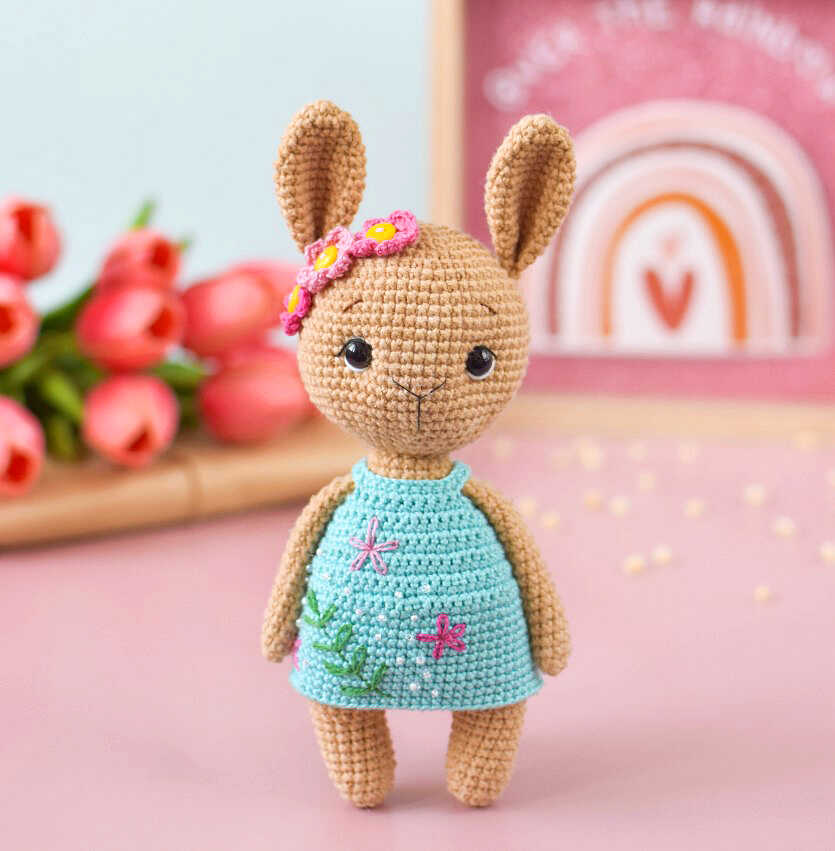
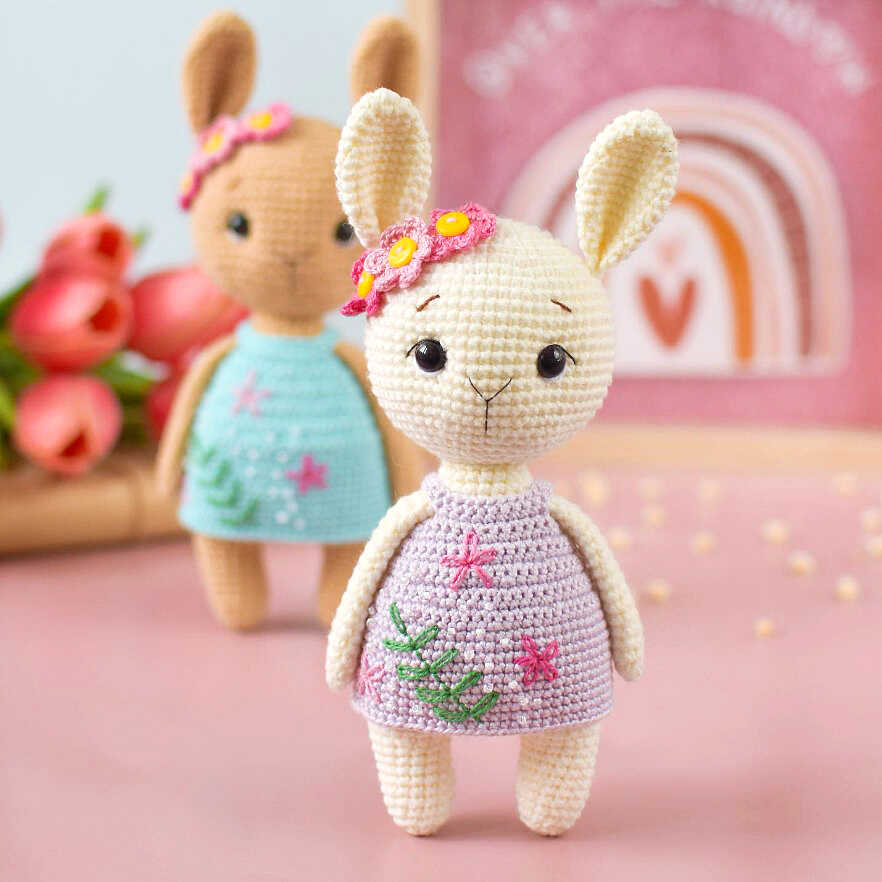
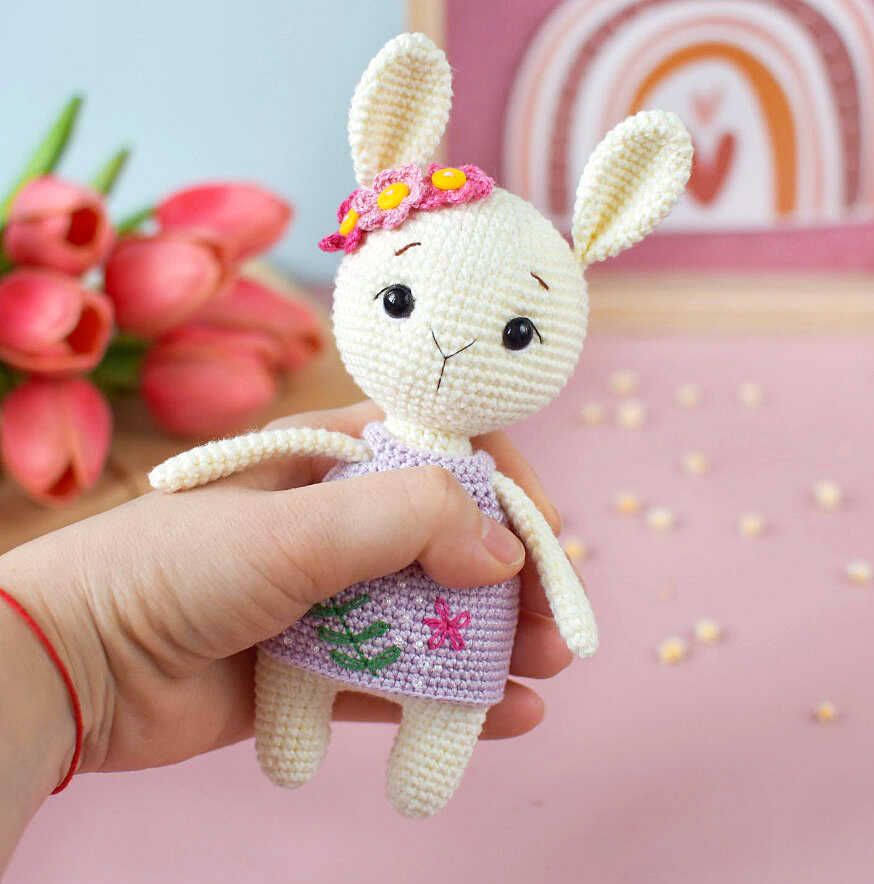
One of the free amigurumi crochet patterns we will share today is the amigurumi bunny, whose photos and design belong to Tatyana Kostochenkova. You can learn how to crochet these bunny using the free amigurumi pattern. Thanks to tkostochenkova for this cute daisy bunny.
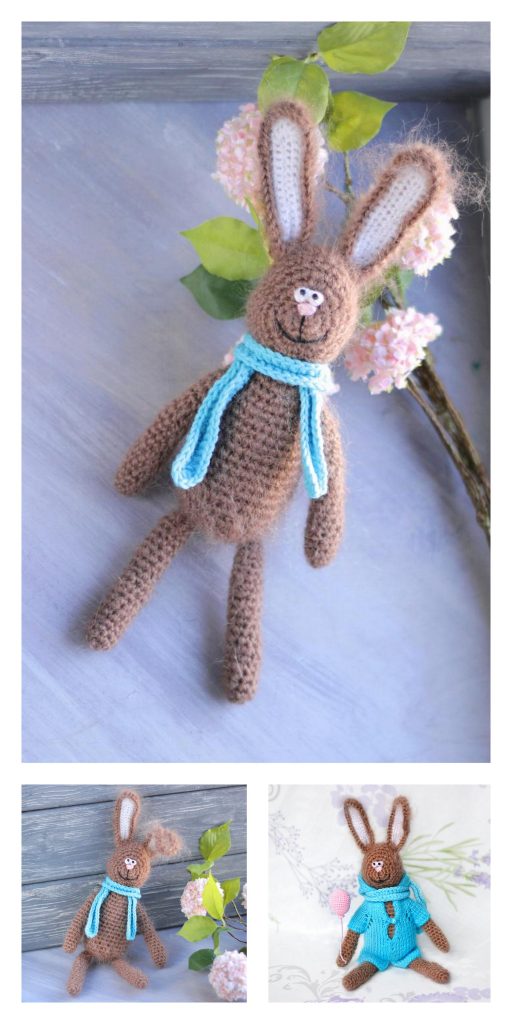
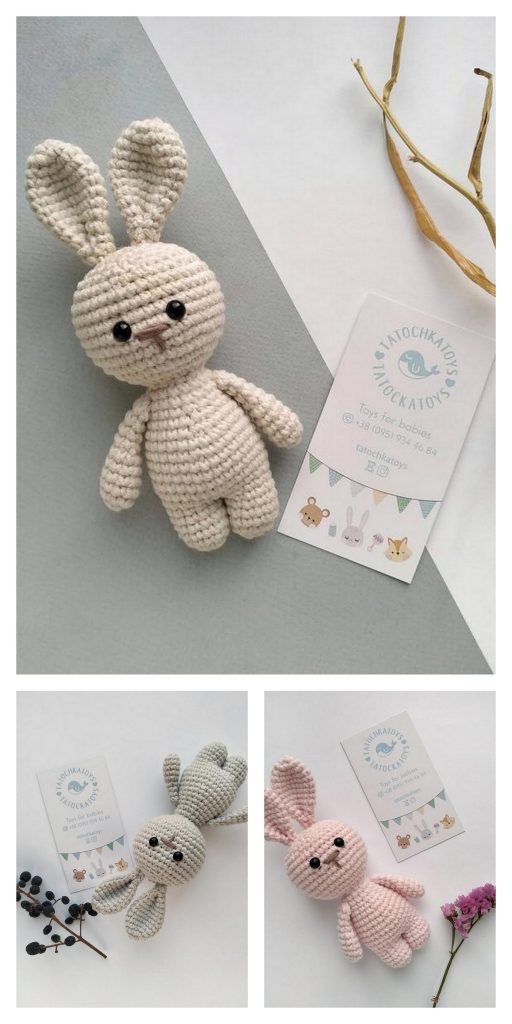
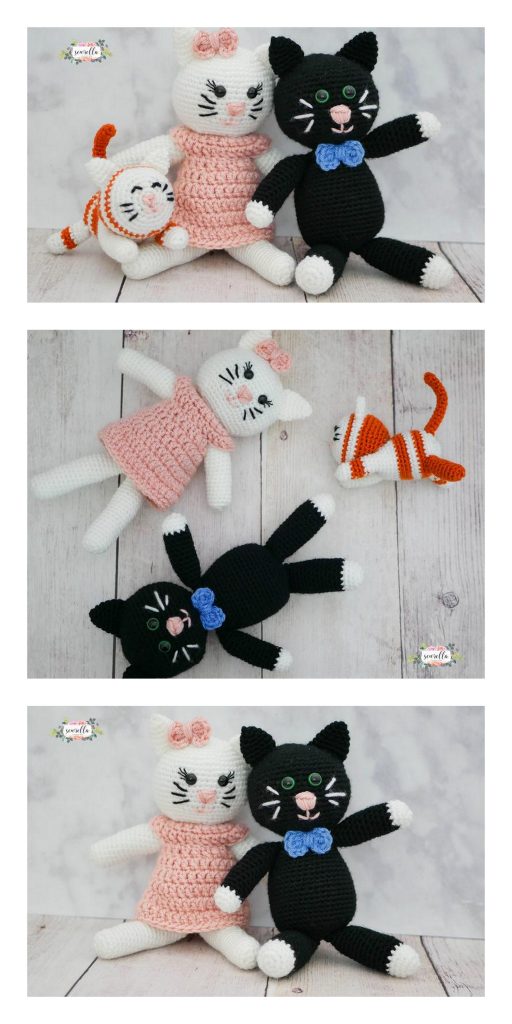
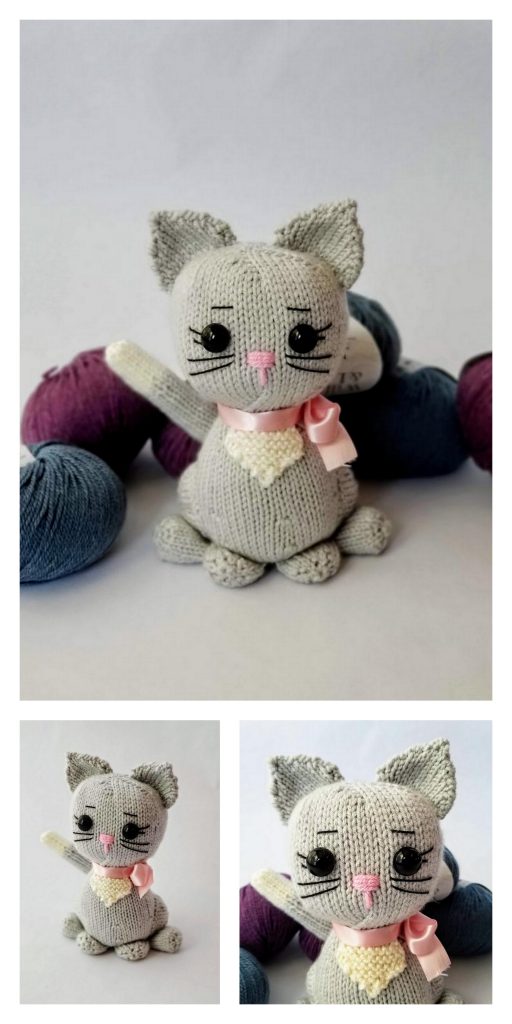
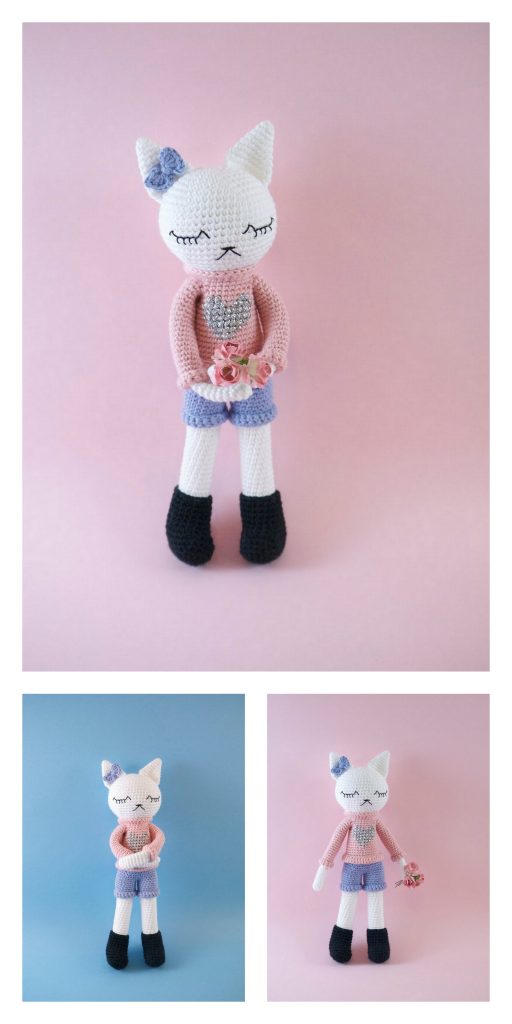
Amigurumi cats, amigurumi dolls, amigurumi dogs, amigurumi unicorns, amigurumi lambs, amigurumi dinosaurs, amigurumi foxes, amigurumi bears, amigurumi giraffes, amigurumi pigs, amigurumi penguins, amigurumi panda, amigurumi llama, amigurumi bunny, amigurumi clowns, amigurumi elephants, amigurumi hippos, amigurumi monkeys will not be difficult for you…
Materials and tools
1. Yarn: for a milk bunny: Alize Cotton Gold (55% cotton/45% acrylic, 100g/330m) of milk (62) color, Alpina Holly (100% mercerized cotton, 50g/200 m) of light lilac (624) color, Gamma Ирис (100% mercerized cotton, 10g/87 m) of pink (0202), bright pink (0204), crimson (0069) and green (0321) colors for a beige bunny: Yarn Art Jeans (55% cotton/45% acrylic, 50g/160m) of beige (07) color, Alpina Holly (100% mercerized cotton, 50g/200 m) of light blue (122) color, other colors are the same
2. The hook Clover №1.75 (1.75 mm), 1.5 (1.5 mm), 0.5 (0.5 mm)
3. Stuffing (hollofayber)
4. Black halfbeads d=10 mm or eyes with stalks
5. Glue
6. Black sewing thread for decoration of the face, brown and white threads (I use Alize Cotton Gold №690 and №55) to embroider the brows and whites of the eyes
7. Plastic buttons (5 items) d=8 mm for decoration of the dress and flowers
8. A thick needle for sewing of the details
9. Scissors
Abbreviations
MR – magic ring
ch – chain
sl st – slip stitch
sc – single crochet
dc – double crochet
inc – increase (crochet two sc in 1 stitch)
dec – decrease (crochet two sc together)
(…) – the number in brackets indicates the number of stitches in a row
Notes: Crochet in a spiral without sl st. At the beginning of the row use a marker or thread of different color, which help mark the first loop of each new row.
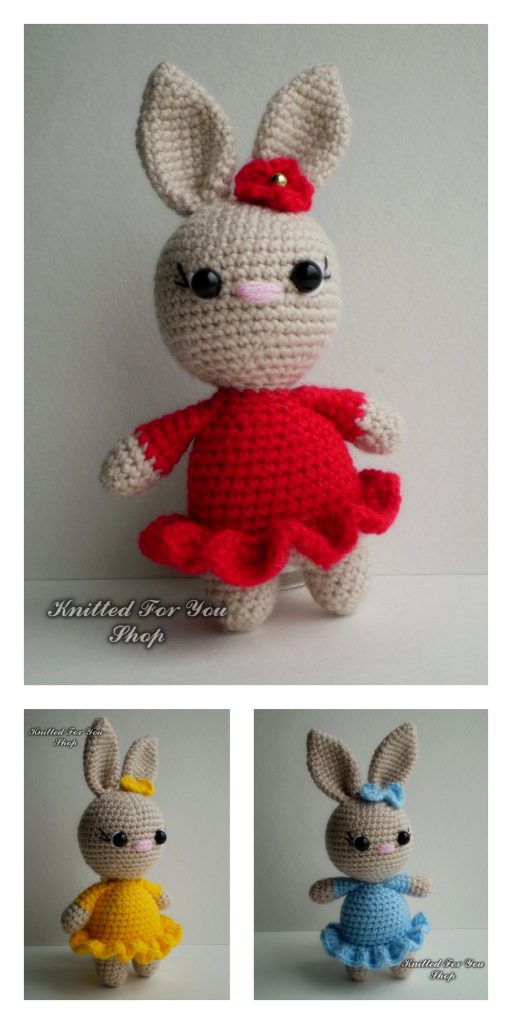
*The finished toy is 17,5 cm = 6,9”.
CROCHET DAISY BUNNY AMIGURUMI FREE PATTERN
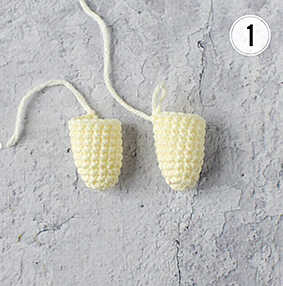
Legs (make 2)
Crochet with the milk thread, use the hook № 1.75 (1.75 mm).
1 rnd: 6 sc in MR
2 rnd: 6 inc (12)
3 rnd: 12 sc
4 rnd: (3 sc, inc)*3 (15)
5-10 rnd: 15 sc (6 rows)
Cut the thread on the 1st leg only (photo 1).
Stuff the legs.
Body
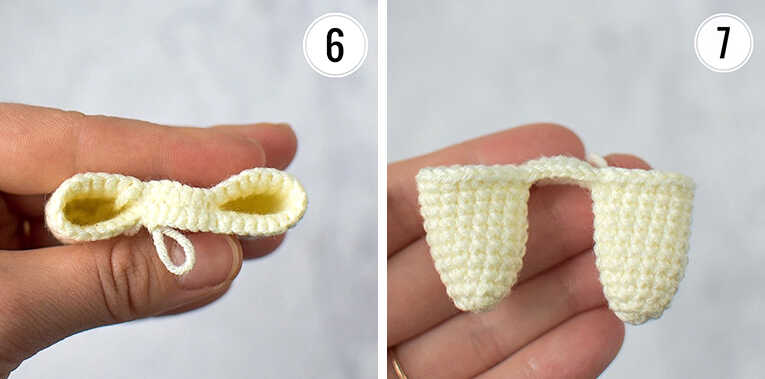
Make chain 6 ch from the second leg (photo 2) and insert the hook in the 1st stich of the last row of the 1st leg as it’s shown at the photo 3:
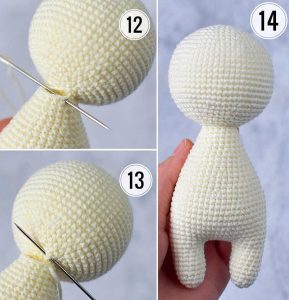
1 rnd: On the 1st leg: 3 sc, inc, 6 sc, inc, 4 sc (photo 4)
On the chain: 2 sc, inc, 3 sc (photo 5)
On the 2nd leg: 3 sc, inc, 6 sc, inc, 4 sc
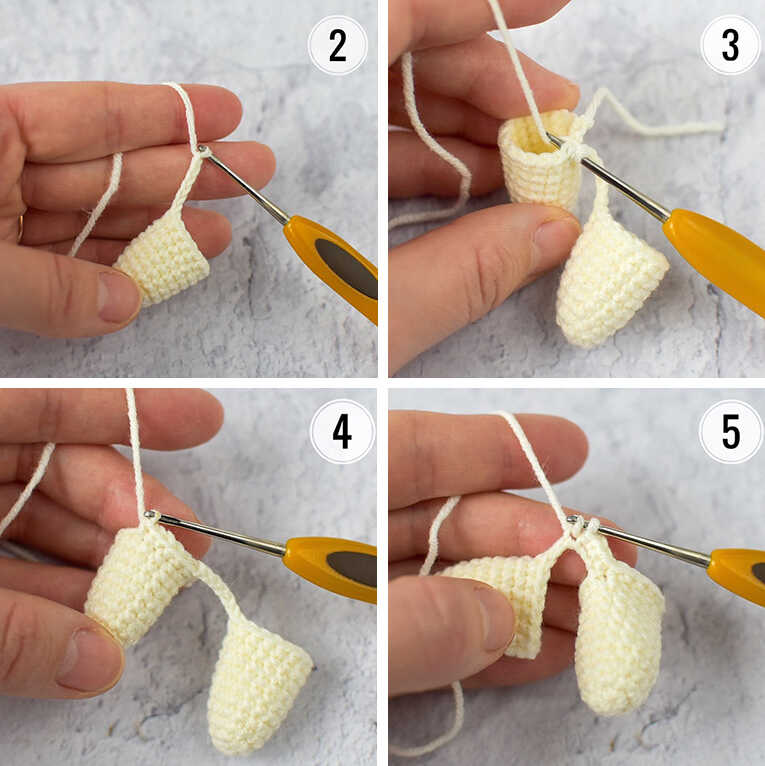
On the other side of the chain: 2 sc, inc, 3 sc
In total, in the 1st row of the body, there should be 48 sc (photo 6, 7). Put the marker and continue to crochet the body, don’t forget to stuff the body.
Thank you for visiting our website blog.amigurumiallfreepatterns.com.
2-10 rnd: 48 sc (9 rows)
11 rnd: 5 sc, dec, (10 sc, dec)*3, 5 sc (44)
12 rnd: 44 sc
13 rnd: (9 sc, dec)*4 (40)
14 rnd: 40 sc
15 rnd: 4 sc, dec, (8 sc, dec)*3, 4 sc (36)
16 rnd: 36 sc
17 rnd: (7 sc, dec)*4 (32)
18 rnd: 32 sc
19 rnd: 3 sc, dec, (6 sc, dec)*3, 3 sc (28)
20 rnd: 28 sc
21 rnd: (5 sc, dec)*4 (24)
22 rnd: 24 sc
23 rnd: 2 sc, dec, (4 sc, dec)*3, 2 sc (20)
24 rnd: 20 sc
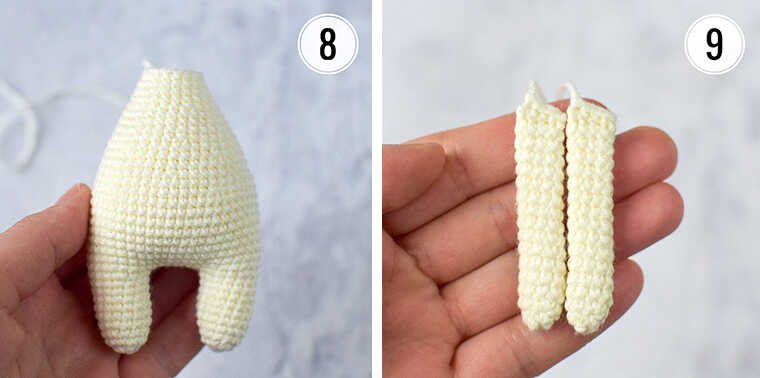
25 rnd: 4 sc, dec, 8 sc, dec, 2 sc (18)
Cut the thread, leaving a long end for sewing (photo 8).
Arms (make 2)
Crochet with the milk thread, stuff not tightly up the 7th row.
1 rnd: 6 sc in MR
2 rnd: (2 sc, inc)*2 (8)
3-16 rnd: 8 sc
Fold the detail in half and connect the edges by 4 sc. Cut the thread, leaving a long end for sewing (photo 9).
Tail
Crochet with the milk thread.
1 rnd: 6 sc in MR
2 rnd: 6 inc (12)
3 rnd: (1 sc, dec)*4 (8)
Cut the thread, leaving a long end for sewing.
Head
Crochet with the milk thread, stuff tightly in the course of crocheting.
1 rnd: 6 sc in MR
2 rnd: 6 inc (12)
3 rnd: (1 sc, inc)*6 (18)
4 rnd: 1 sc, inc, (2 sc, inc)*5, 1 sc (24)
5 rnd: (3 sc, inc)*6 (30)
6 rnd: 2 sc, inc, (4 sc, inc)*5, 2 sc (36)
7 rnd: (5 sc, inc)*6 (42)
8 rnd: 3 sc, inc, (6 sc, inc)*5, 3 sc (48)
9 rnd: (7 sc, inc)*6 (54)
10 rnd: 4 sc, inc, (8 sc, inc)*5, 4 sc (60)
11-20 rnd: 60 sc (10 rows)
Thank you for visiting our website blog.amigurumiallfreepatterns.com.
If you want to insert the eyes with stalks, it’s time to insert them. I recommend to insert the eyes between 16th and 17th rows, the space between them is 12 sc.
21 rnd: 4 sc, dec, (8 sc, dec)*5, 4 sc (54)
22 rnd: (7 sc, dec)*6 (48)
23 rnd: 3 sc, dec, (6 sc, dec)*5, 3 sc (42)
24 rnd: (5 sc, dec)*6 (36)
25 rnd: 2 sc, dec, (4 sc, dec)*5, 2 sc (30)
26 rnd: (3 sc, dec)*6 (24)
27 rnd: 1 sc, dec, (2 sc, dec)*5, 1 sc (18)
28 rnd: (1 sc, dec)*6 (12)
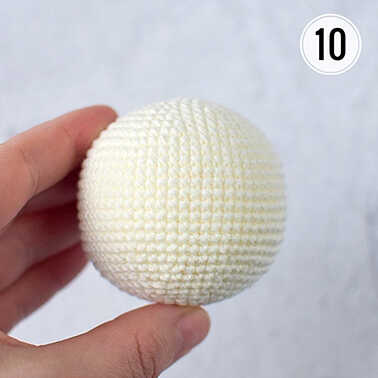
29 rnd: 6 dec (6)
Cut the thread, tighten the opening, hide the end of the thread in the detail (photo 10).
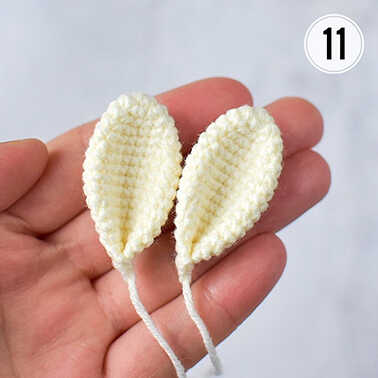
Ears (make 2)
Crochet with the milk thread, don’t stuff.
1 rnd: 6 sc in MR
2 rnd: 6 inc (12)
3 rnd: 12 sc
4 rnd: (3 sc, inc)*3 (15)
5 rnd: 15 sc
6 rnd: 2 sc, inc, (4 sc, inc)*2, 2 sc (18)
7-11 rnd: 18 sc (5 rows)
12 rnd: 2 sc, dec, (4 sc, dec)*2, 2 sc (15)
13 rnd: 15 sc
14 rnd: (3 sc, dec)*3 (12)
Fold the detail in half and connect the edges by 6 sc. Repeat. Fold the detail in half again and connect the edges by 3 sc. Cut the thread, leaving a long end for sewing (photo 11).
Assembly and Decoration
Sew the head to the body (photo 12, 13, 14). In the course of sewing stuff the neck very tightly, so as the head doesn’t dangle because of its heaviness.
Make the tightening for the eyes. To do this, mark the points 1 and 2 between the 15th and 16th rows, the space between them is 10 sc, and the points 3 and 4 between the 17th and 18th rows directly under the points 1 and 2 as it is shown at the photo 15.
Now insert a needle in the head, fasten off a thread and take it out in the point 1, then insert in the head in the point 3 and take out in the point 2, tighten a thread. Again insert a needle in the head in the point 4 and take it out in the point 1, tighten a thread. Repeat this action 2-3 times, fasten off, cut a thread and hide inside the head (photo 16).
If you insert the eyes with stalks, make the tightening the same way (insert a needle in the immediate vicinity of the eye).
Glue the eyes (photo 17).
After that embroider the whites of the eyes with the white thread (I use the whole thread Alize Cotton Gold №55). Embroider the eyelids with the black sewing thread (2 threads) and nose (1 thread). And embroider the brows with the brown thread (I use Alize Cotton Gold №690, 1 thread of 4). With a brown thread (I use Alize Cotton Gold No. 690, 1 thread out of 4) we embroider the eyebrows (photo 18).
Thank you for visiting our website blog.amigurumiallfreepatterns.com.

Sew the ears between the 9th and 10throws on the sides of the head symmetrically to each other.
Sew the arms between the 22nd and 23rd rows of the body. I recommend pre-steaming them.
Sew the tail in the center of the back between the 6th and 10th rows of the body, stuff the detail.

Dress
Crochet with the light lilac thread Alpina Holly, use the hook № 1.5 (1.5 mm). Make chain 37 ch, insert the hook in the 8th loop from the hook. Crochet in back-and-forth rows.
1 rnd: 30 sc, turn
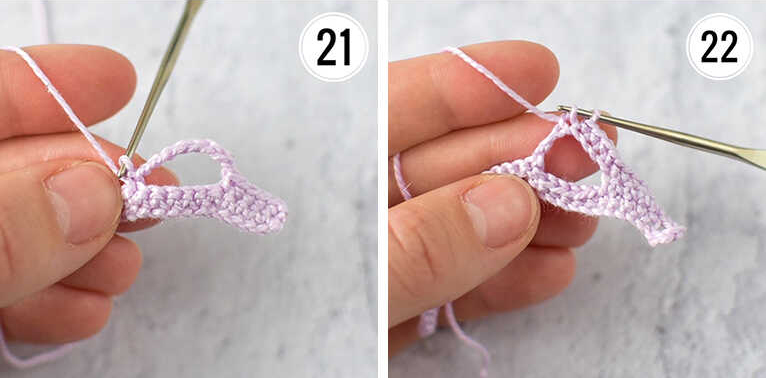
2 rnd: 1 ch, 5 sc, 8 ch (skip 5 sc, photo 21), 10 sc, 8 ch (skip 5 sc), 5 sc, turn (36)
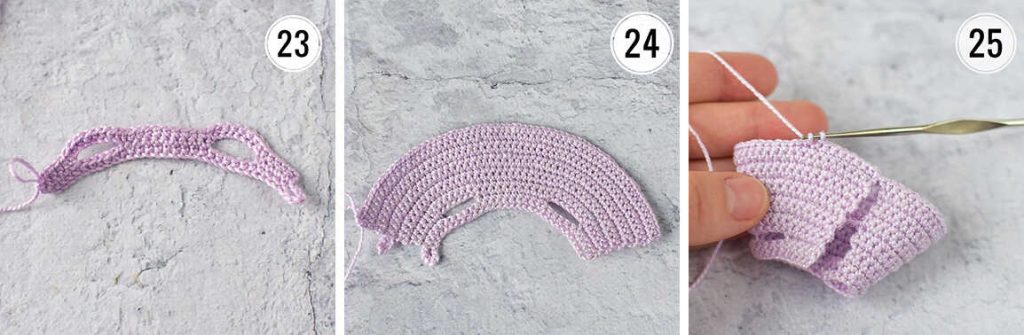
3 rnd: 1 ch, 5 sc, 8 sc on the chain (photo 22), 10 sc, 8 sc on the chain, 5 sc (photo 23), turn (36)
4 rnd: 1 ch, (5 sc, inc)*6, turn (42)
5 rnd: 1 ch, 42 sc, turn
6 rnd: 1 ch, 3 sc, inc, (6 sc, inc)*5, 3 sc, turn (48)
7 rnd: 7 ch, 48 sc, turn
8 rnd: 1 ch, (inc, 7 sc)*6, turn (54)
9 rnd: 1 ch, 54 sc, turn
10 rnd: 1 ch, 4 sc, inc, (8 sc, inc)*5, 4 sc, turn (60)
11 rnd: 1 ch, 60 sc, turn
12 rnd: 1 ch, (9 sc, inc)*6, turn (66)
13 rnd: 1 ch, 66 sc (photo 24)
Close the ring by 1 sl st (photo 25)
14-23 rnd: 1 ch, 66 sc, sl st to join in the end
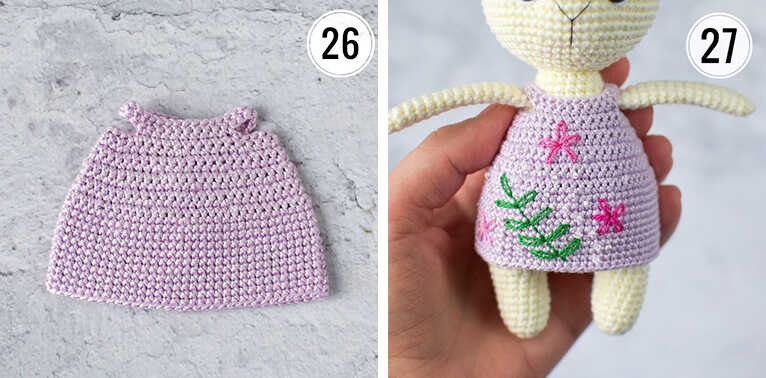
Cut the thread, fasten off, hide the end (photo 26)
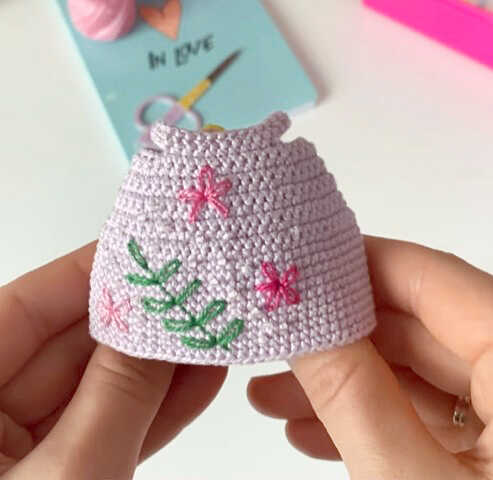
With lazy-daisy stitches, embroider a twig with leaves and several flowers on the dress. How to do it, look in my reels. Decorate the dress with beads and sew buttons under the loops (photo 27)
Flowers
Crochet 3 flowers of different colors, use the Iris thread and hook №0.5 (0.5 mm):
1 rnd: 6 sc in MR
2 rnd: 6 inc (12)
Make the petals in the next row. Crochet sl st in the 1st loop of the row, make 2 ch, crochet 3 dc in the same loop, make 2 ch and crochet sl st in the next (2nd) loop of the row. Repeat.
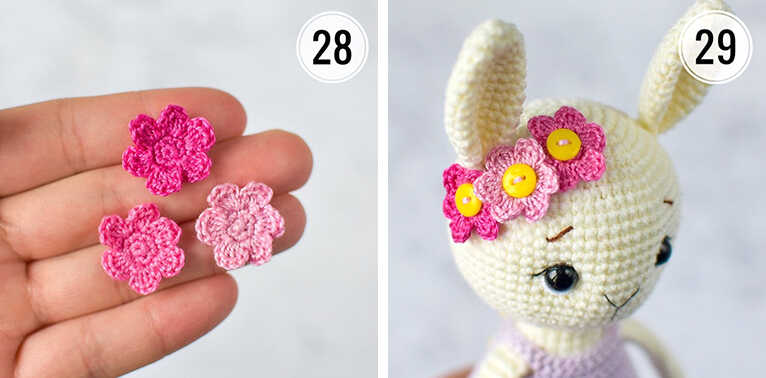
Crochet sl st in the next (3rd) loop of the row, make 2 ch, crochet 3 dc in the same loop, make 2 ch and crochet sl st in the next (4th) loop of the row. Thus, crochet to the end of the row. There should be 6 petals in total (photo 28).
Sew the buttons to the flowers and sew or glue the flowers to the head (I glue).
Congratulations, you have completed the Daisy bunny pattern.
Thank you for visiting our website blog.amigurumiallfreepatterns.com.
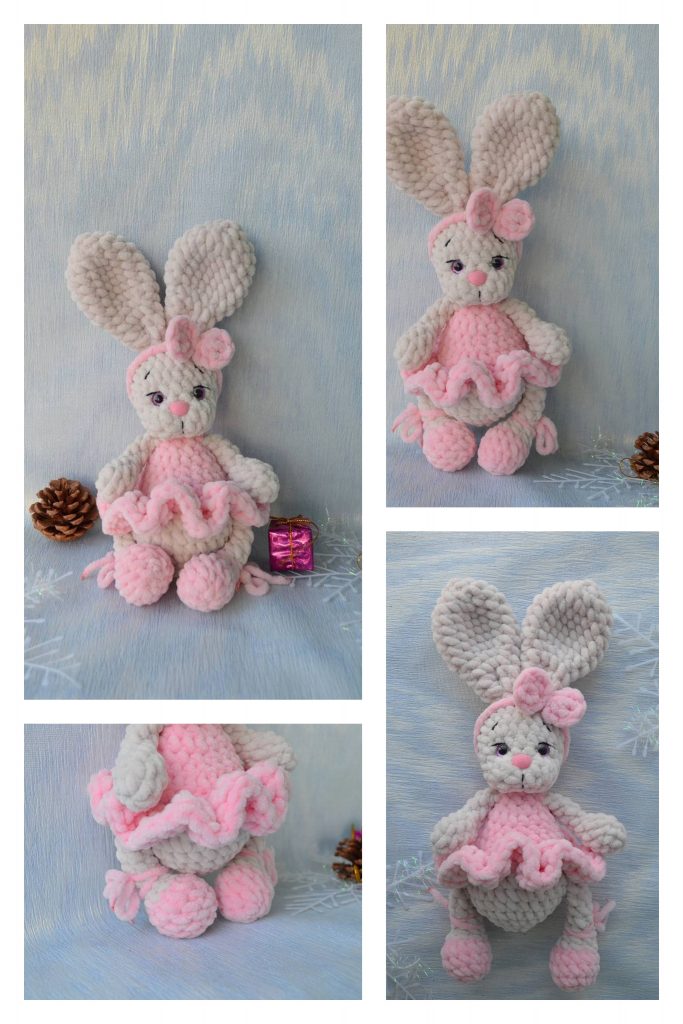
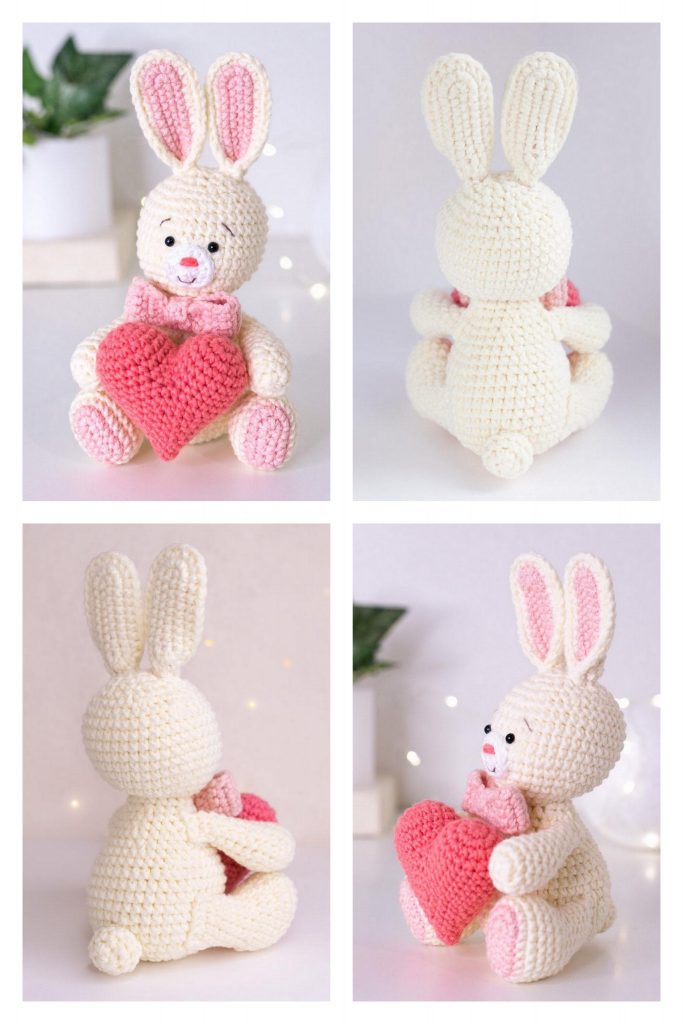
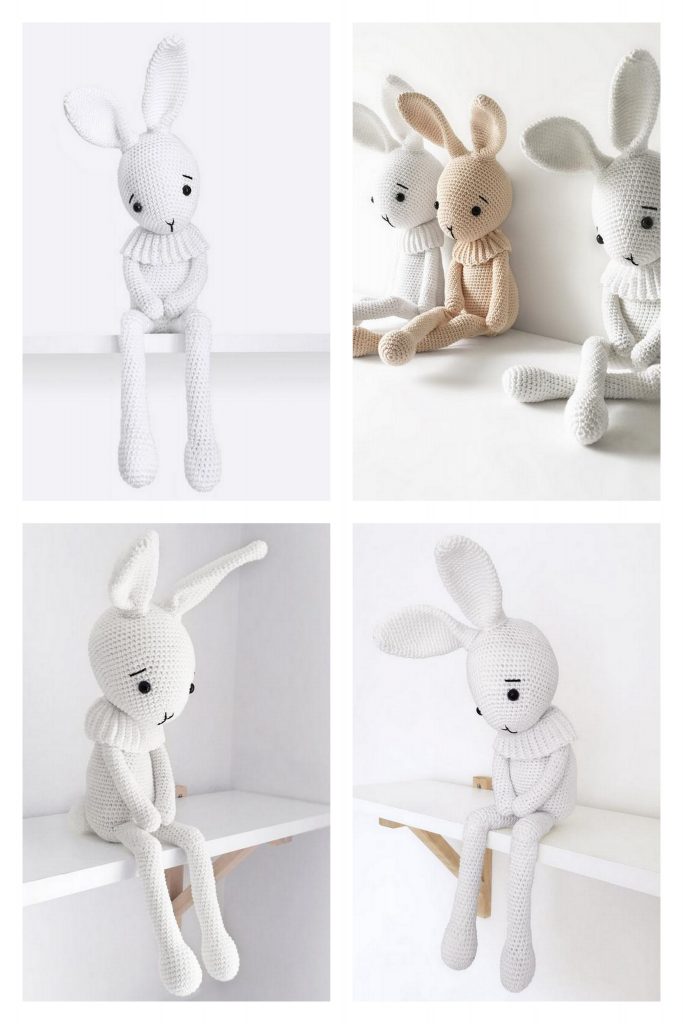
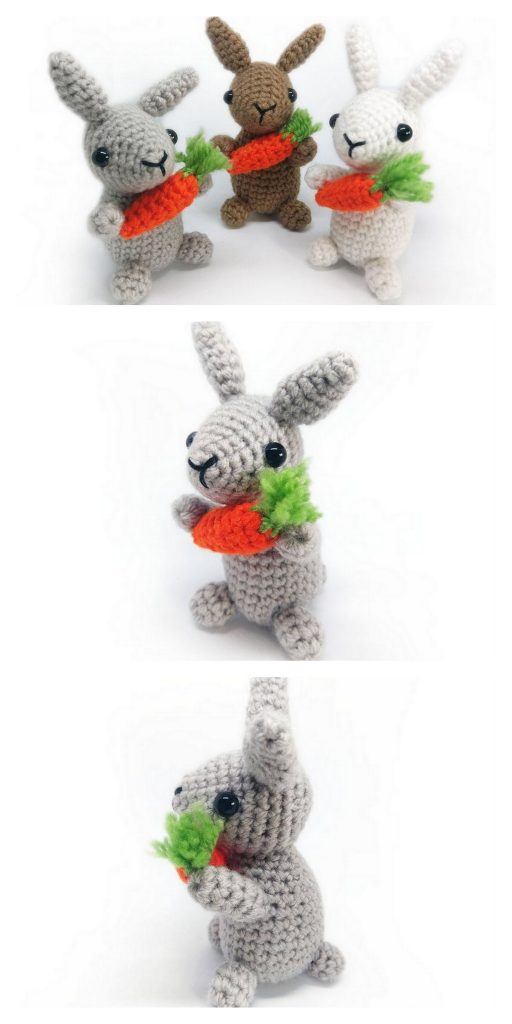
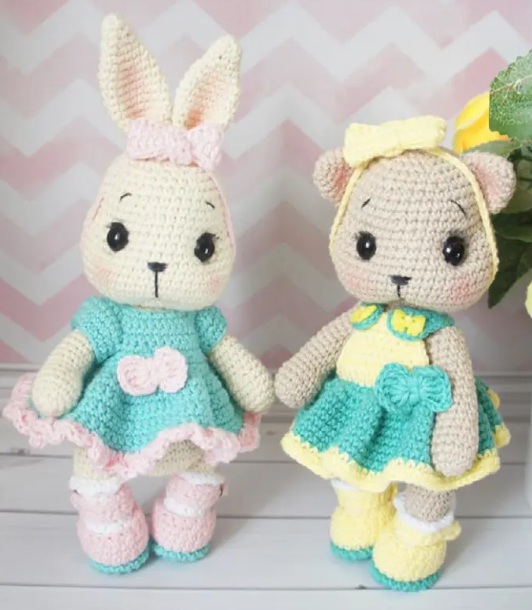
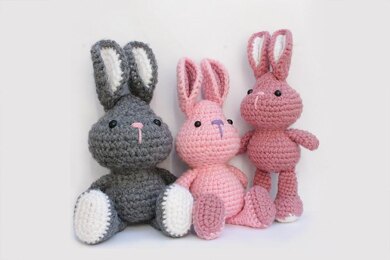
More amigurumi bunny ideas: