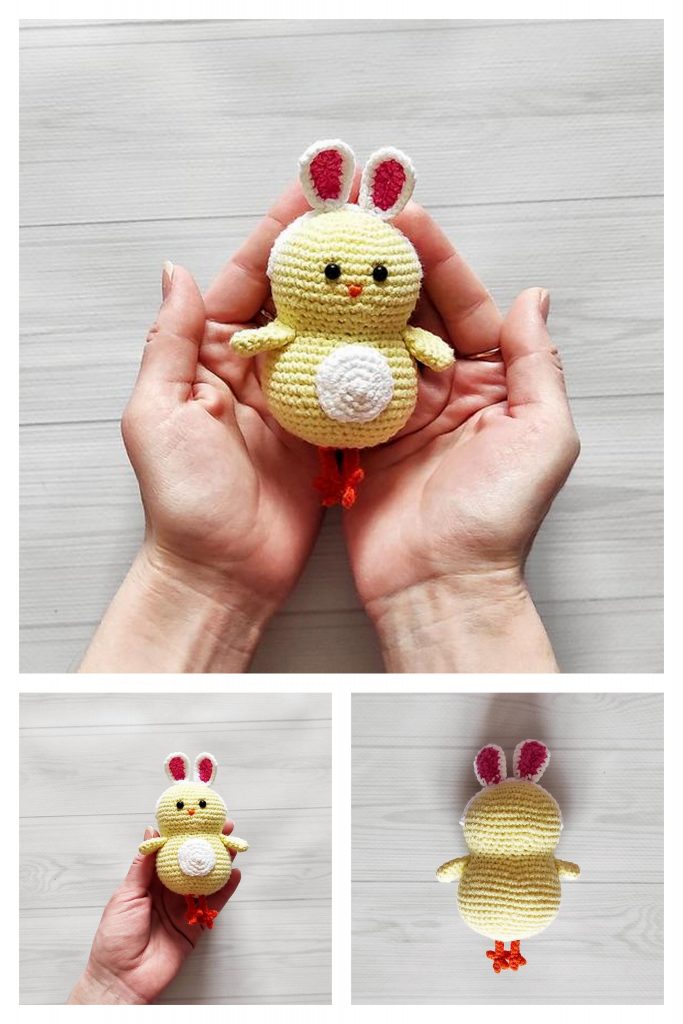
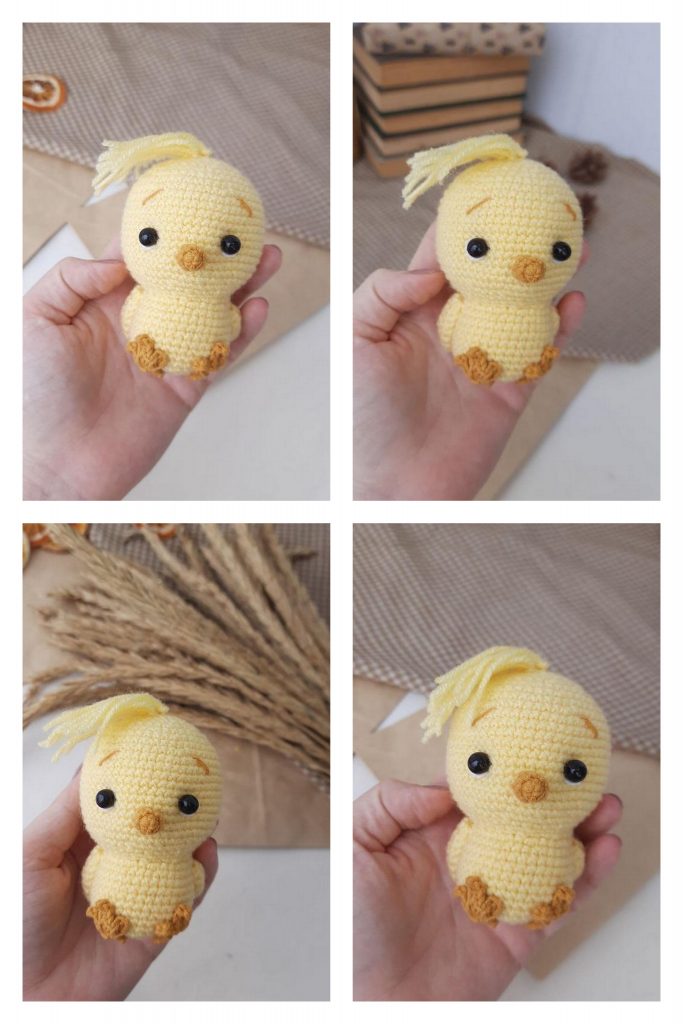
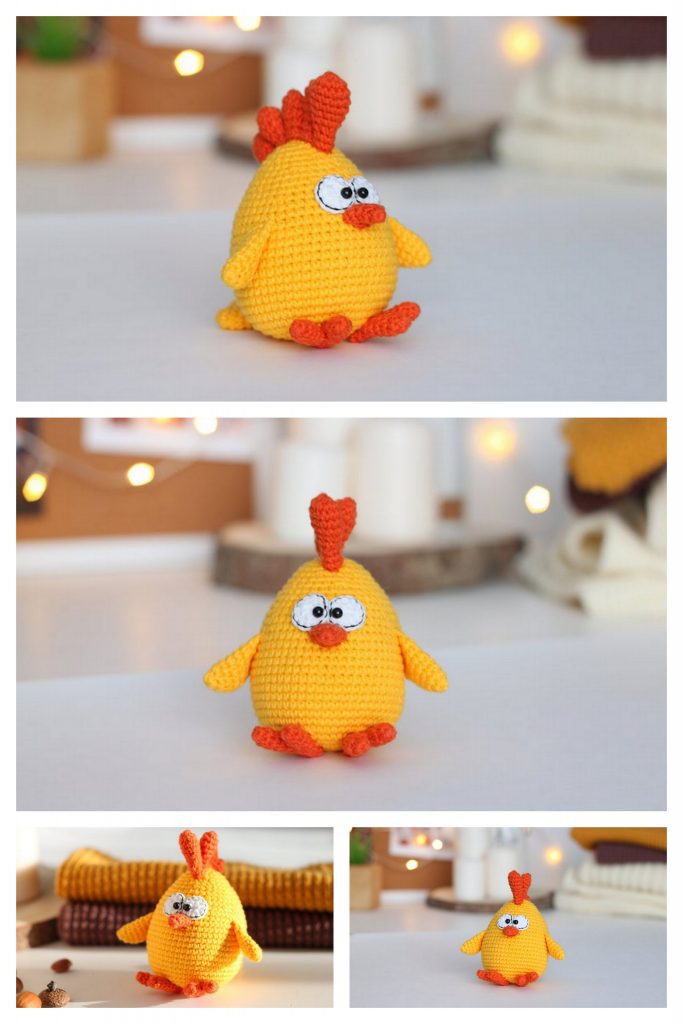
Designer: @igrushki.22
Hi there…
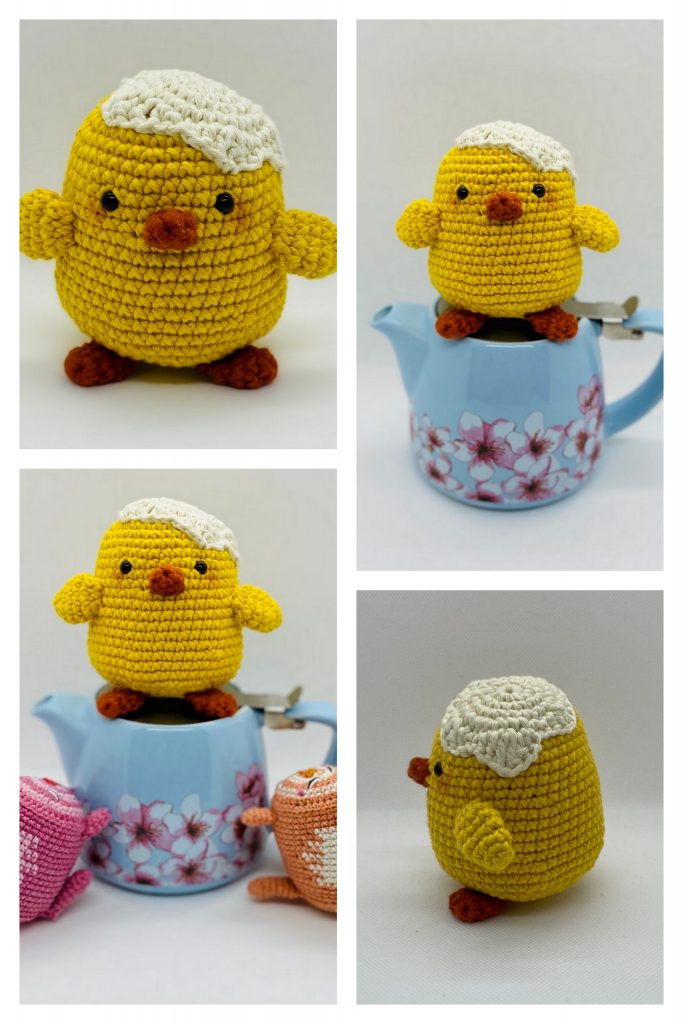
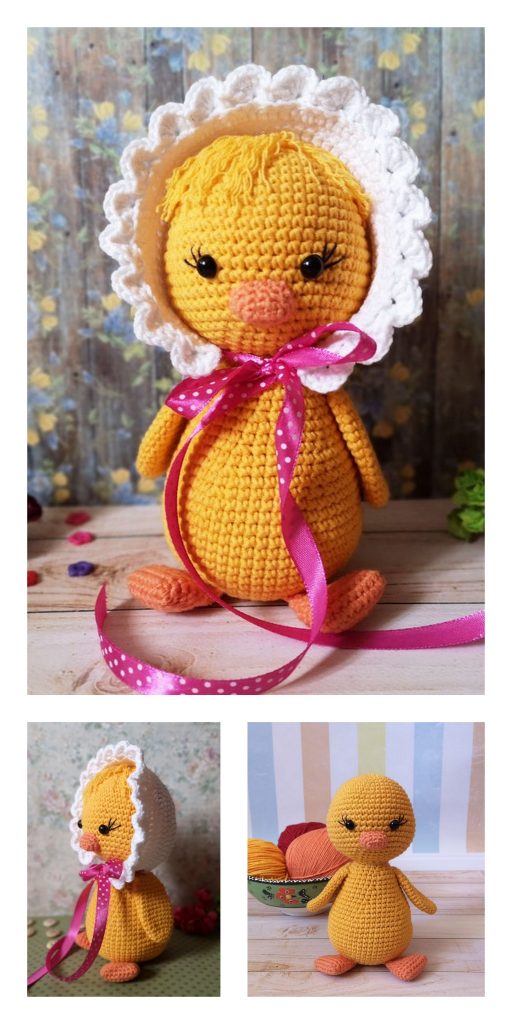
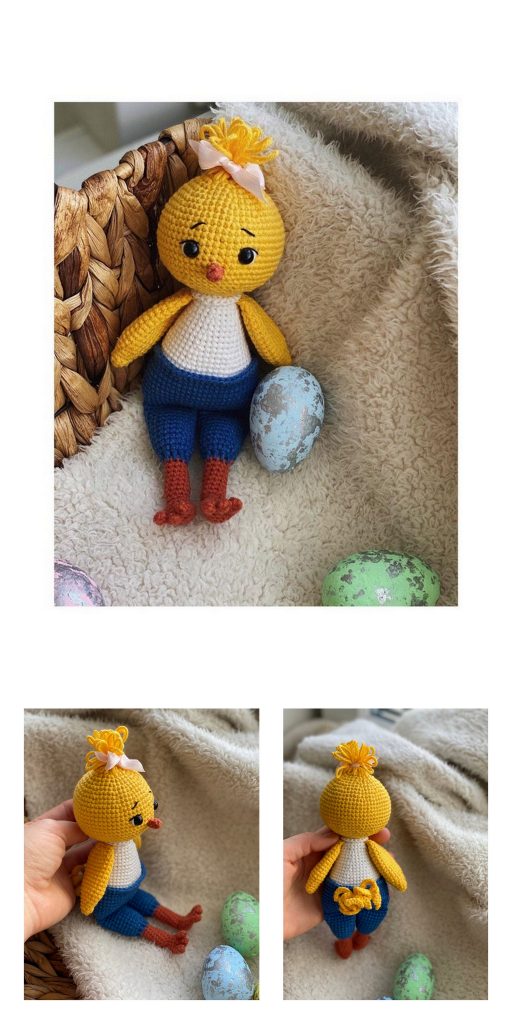
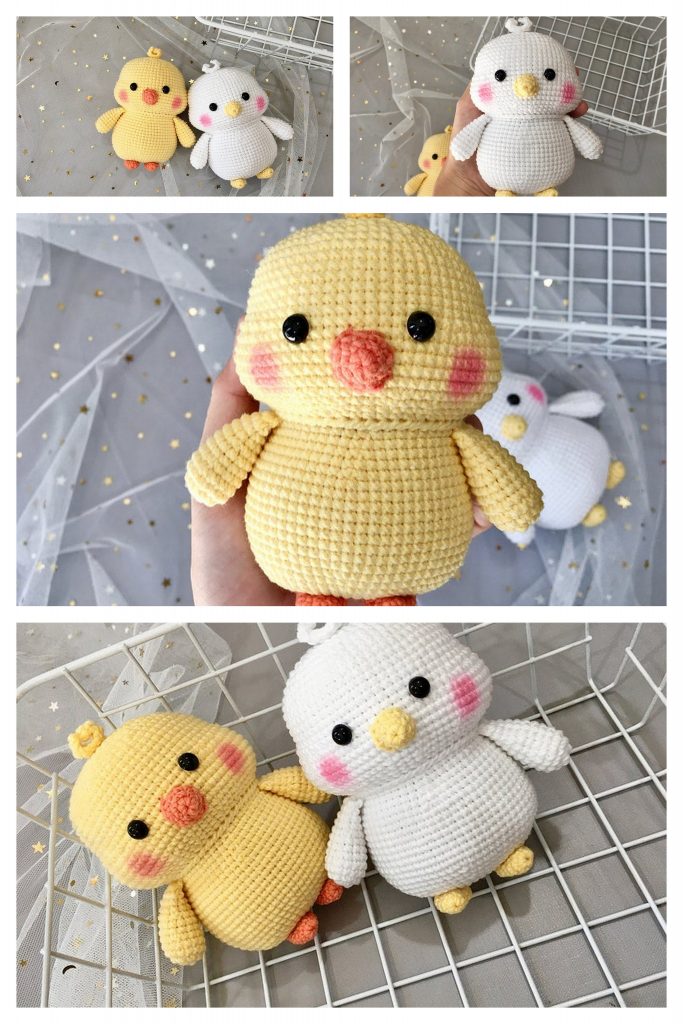
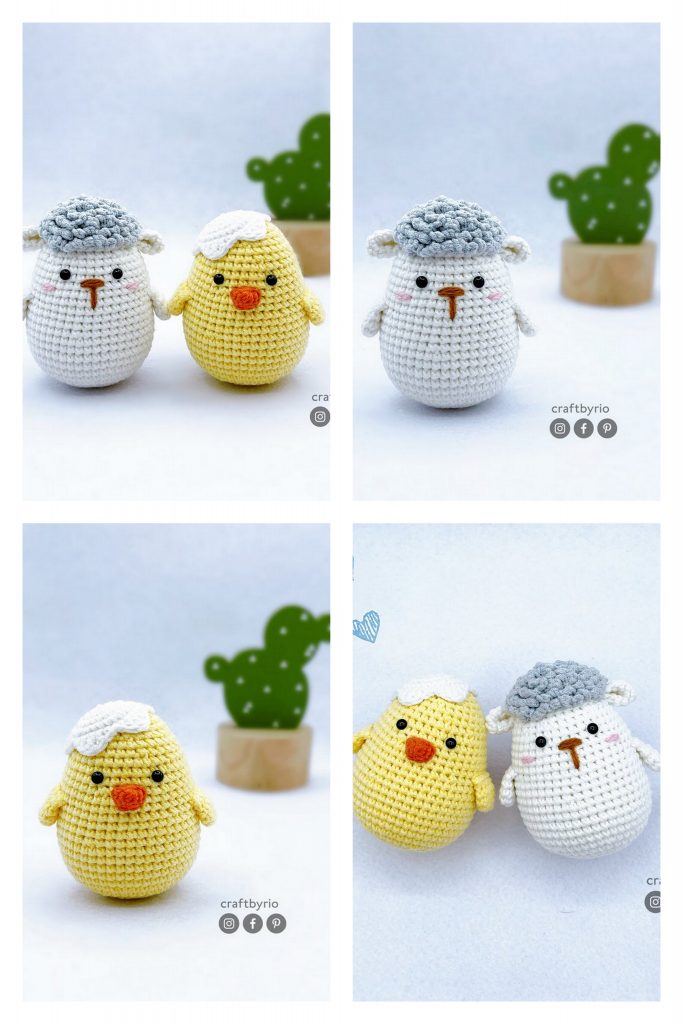
One of the free amigurumi crochet patterns we will share today is the amigurumi chick whose photos and design belong to @igrushki.22. You can learn how to crochet these chick using the free amigurumi pattern. Thanks to @igrushki.22 for this cute chick.
Amigurumi cats, amigurumi dolls, amigurumi dogs, amigurumi unicorns, amigurumi lambs, amigurumi dinosaurs, amigurumi foxes, amigurumi bears, amigurumi giraffes, amigurumi pigs, amigurumi penguins, amigurumi panda, amigurumi llama, amigurumi bunny, amigurumi clowns, amigurumi elephants, amigurumi hippos, amigurumi monkeys will not be difficult for you…
Materials
- Yarn: Yarn Art Jeans (55% cotton, 45% acrylic, 50 g/160 m):
- color #88 for head and body
- color #01 for hat
- color #79 for bunny ears
- color #19 for spots
- Gazzal Organic Baby Cotton (100% cotton, 50 g/115 m): color #418 for beak and feet
- Hook size: 2.0 mm
- Black embroidery floss
- Tapestry needle
- Sewing pins
- Scissors
- Fiberfill
Abbreviations
R = row
ch = chain
st = stitch
sl st = slip stitch
sc = single crochet
inc = 2 sc in the next stitch
dec = single crochet 2 stitches together
BLO = back loop only
( ) = number of stitches you should have at the end of the round/row
( ) *6 = repeat whatever is between the brackets the number of times stated
*The head and body of the chick are crocheted as one piece.
**The hight of finished amigurumi chick wearing a bunny ears hat is about 10 cm (3.9″) without ears.
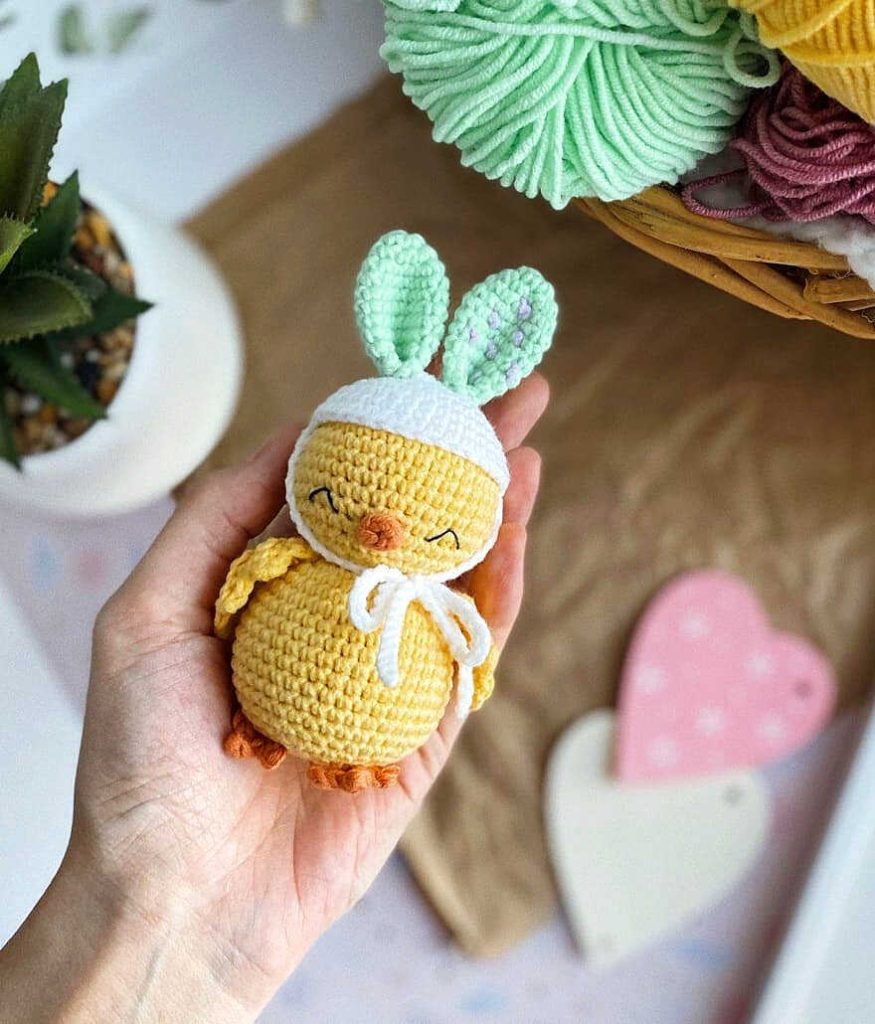
CROCHET EASTER CHICK WEARING A BUNNY EARS HAT
Head-body
With yellow yarn:
R 1: 6 sc in mc (6)
R 2: (inc) *6 (12)
R 3: (1 sc, inc) *6 (18)
R 4: (2 sc, inc) *6 (24)
R 5: (3 sc, inc) *6 (30)
R 6: (4 sc, inc) *6 (36)
R 7-13: 36 sc (7 rows)
R 14: (4 sc, dec) *6 (30)
R 15: (3 sc, dec) *6 (24)
R 16: (2 sc, dec) *6 (18)
R 17: (1 sc, dec) *6 (12)
Stuff the head with fiberfill.
R 18: (inc) *12 (24)
R 19: (3 sc, inc) *6 (30)
R 20: (4 sc, inc) *6 (36)
R 21: (11 sc, inc) *3 (39)
R 22-29: 39 sc (8 rows)
R 30: (11 sc, dec) *3 (36)
R 31: (4 sc, dec) *6 (30)
R 32: (3 sc, dec) *6 (24)
Stuff the body wih fiberfill.
R 33: (2 sc, dec) *6 (18)
R 34: (1 sc, dec) *6 (12)
Finish stuffing.
R 35: (dec)* 6 (6)
F.o.
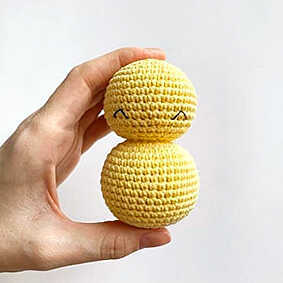
Embroider eyes on R 12 at the distance of 6 st from each other (count between the lower corners of the eyes, located closer to the center) as shown in photo with a black floss.
Thank you for visiting our website blog.amigurumiallfreepatterns.com.
Wings (make 2)
With yaellow yarn:
Leave a 15 cm long tail at the beginning.
Make 10 ch (foundation chain).
R 1: From the 2nd ch from hook: only 6 sc, 1 turning chain
R 2: BLO 4 sc, 1 turning chain
R 3: BLO 4 sc, 1 sc in ch of the foundation chain, 1 turning chain
R 4: BLO 3 sc, 1 ch, 1 turning chain
R 5: BLO 3 sc, 1 sc in ch of the foundation chain, 1 turning chain
R 6: BLO 2 sc, 1 ch, 1 turning chain
R 7: BLO 2 sc, 1 sc in ch of the foundation chain
R 8: crochet on the opposite side of the foundation chain: 8 sc
F.o.
Beak
With ornage yarn:
Make 5 ch, join with a slip stitch to form a ring.
R 1: 5 sc
F.o. and leave a long tail for sewing.
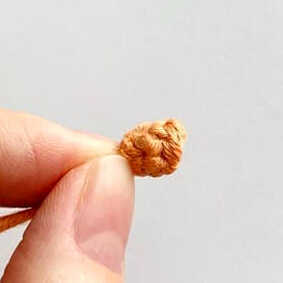
Feet (make 2)
With ornage yarn:
Make 5 ch (foundation chain).
R 1: From the 2nd ch from hook: 2 sl st, 3 ch (the row is not crocheted till the end)
R 2: From the 2nd ch from hook: 2 sl st, 1 sl st in ch of the foundation chain, 3 ch
R 3: From the 2nd ch from hook: 2 sl st, 1 sl st in ch of the foundation chain
F.o. and leave a long tail for sewing.
Hat
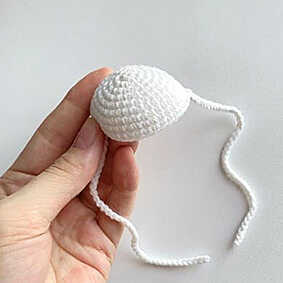
With white yarn:
R 1: 6 sc in mc (6)
R 2: (inc) *6 (12)
R 3: (1 sc, inc) *6 (18)
R 4: (2 sc, inc) *6 (24)
R 5: (3 sc, inc) *6 (30)
R 6: (4 sc, inc) *6 (36)
R 7-9: 36 sc (3 rows)
Don’t cut the yarn, crochet a tie for the hat: make 40 ch. F.o.
Count 18 sc from the 1st tie, attach the yarn and make 40 ch for the 2nd one. F.o.
Thank you for visiting our website blog.amigurumiallfreepatterns.com.
Bunny ears (make 2)
With minty yarn:
R 1: 6 sc in mc (6)
R 2: (1 sc, inc) *3 (9)
R 3: (2 sc, inc) *3 (12)
R 4: (3 sc, inc) *3 (15)
R 5-9: 15 sc (5 rows)
R 10: (3 sc, dec) *3 (12)
Don’t stuff with fiberfill.
Fold top of ear flat and 6 sc through both sides across.
F.o. and leave a long tail for sewing.
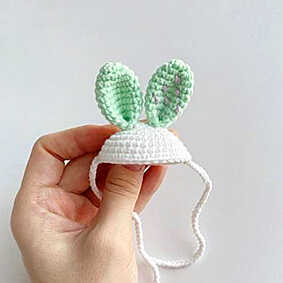
Embroider some spots on the one ear using purple yarn.
Then fold the top of the ear one time more and sew first and last st together.
Assembly
Sew the beak to the head between R 12 and R 14 in the middle, between the eyes.
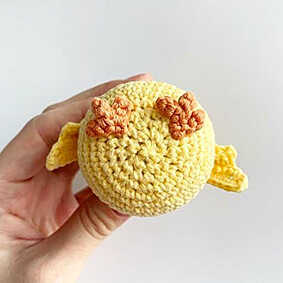
Pin the wings on the sides of the body with sewing pins and sew on them. Make sure they are positioned symmetrical.
Sew the feet to the body between R 32 and R 34.
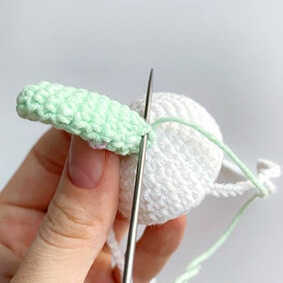
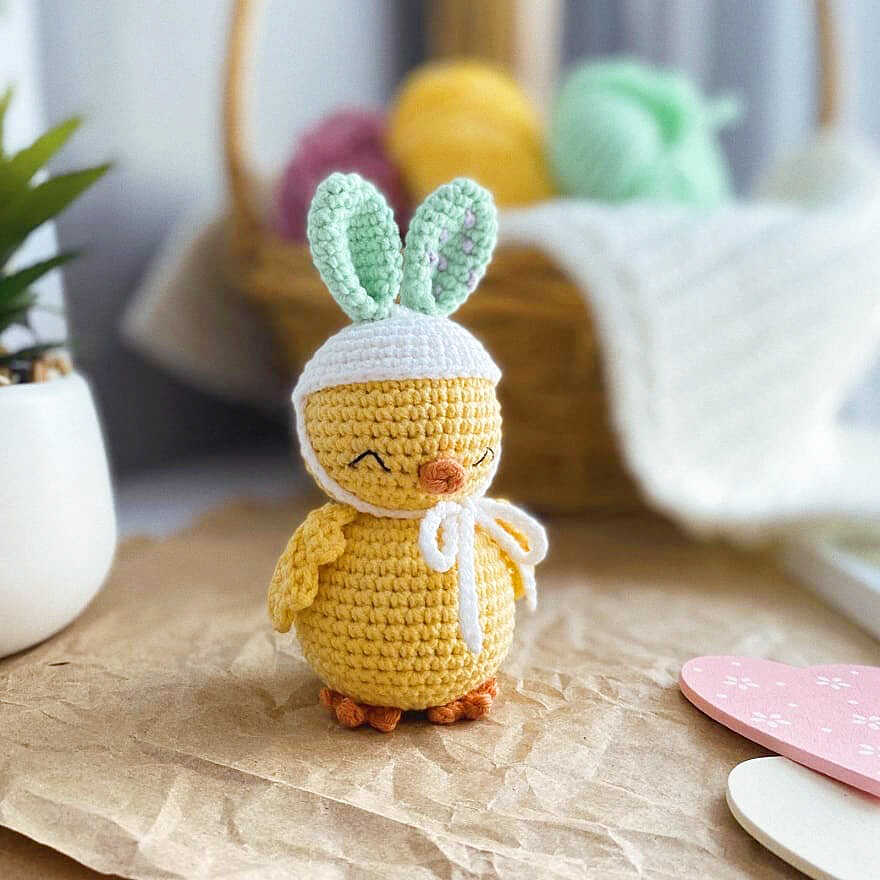
Sew the bunny ears to the hat between R 1 and R 4 as shown in the photos above. Fasten off and hide the thread ends inside the hat.
Congratulations, you have completed the cute easter chick pattern.
Thank you for visiting our website blog.amigurumiallfreepatterns.com.
More amigurumi chick ideas:
