Designer: Nina Wegner
Instagram: @ninastime
Etsy Shop: Ninastime4U
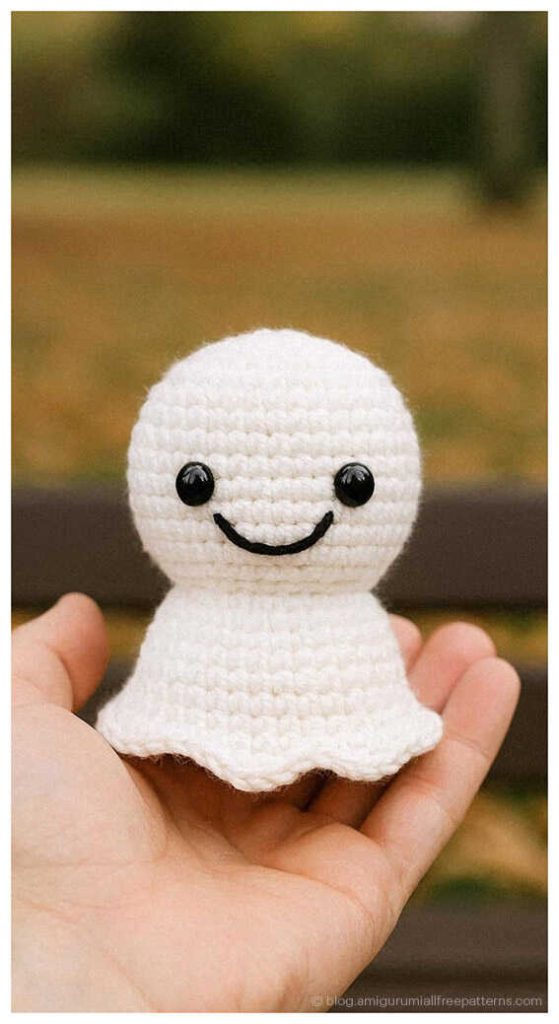
Tiny stitches, big cuteness — this pattern is sure to make you smile…
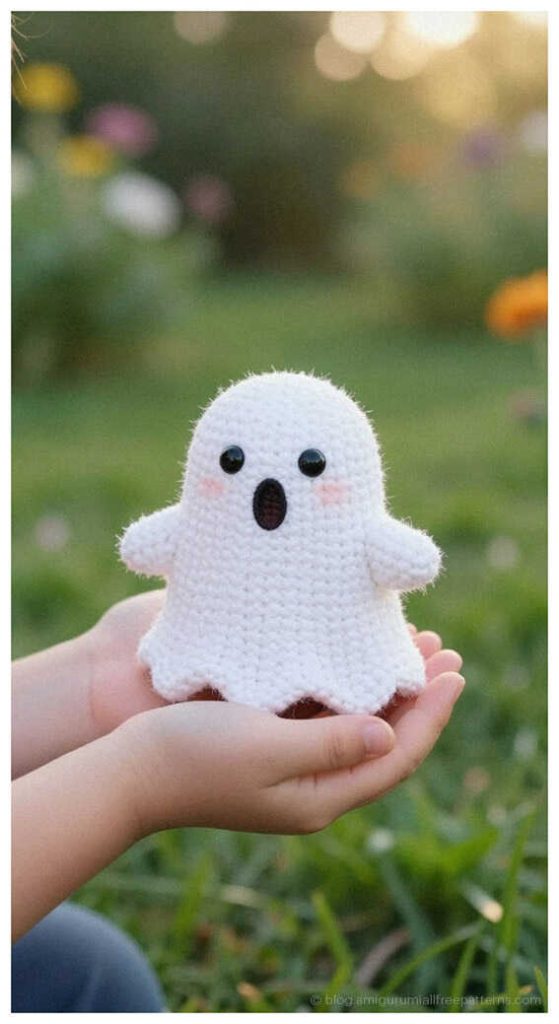
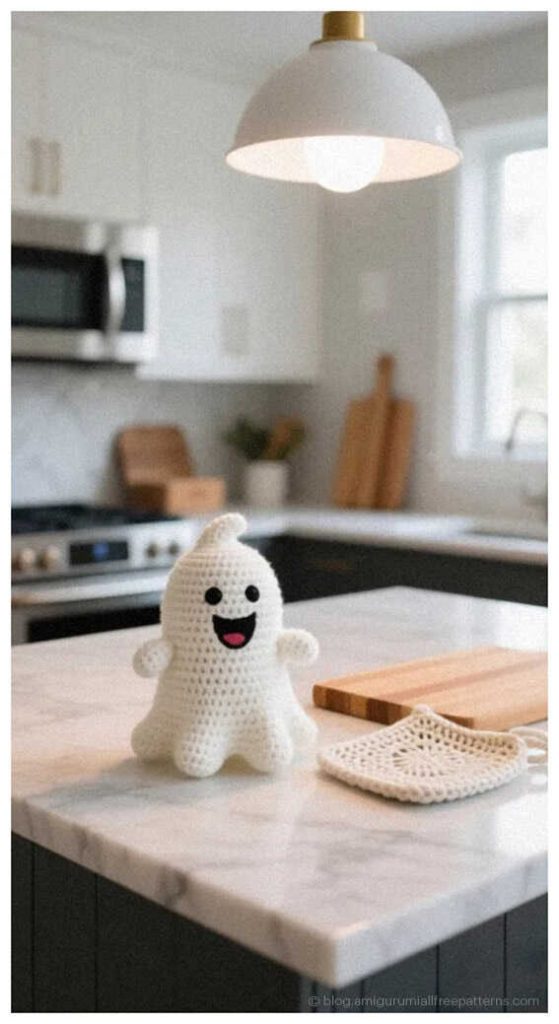
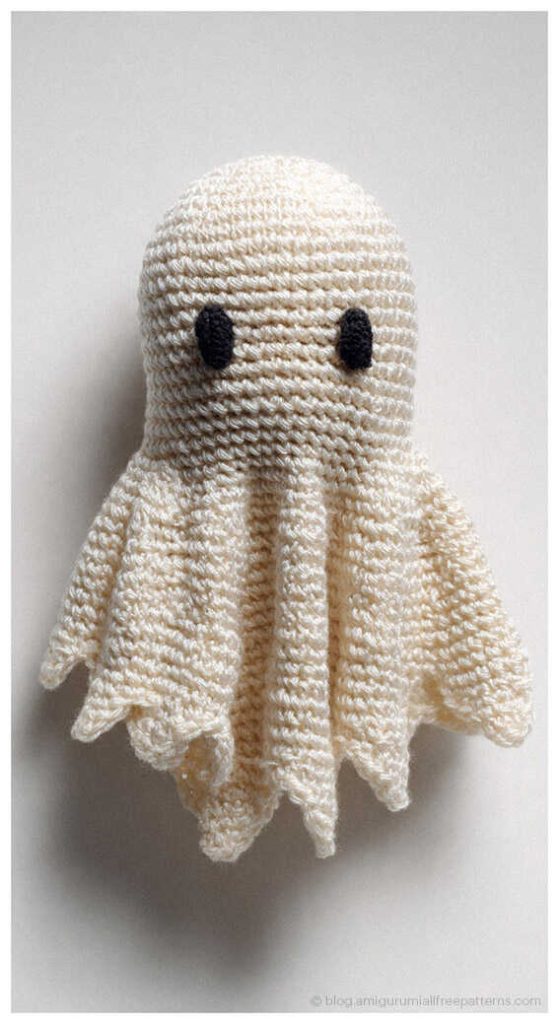
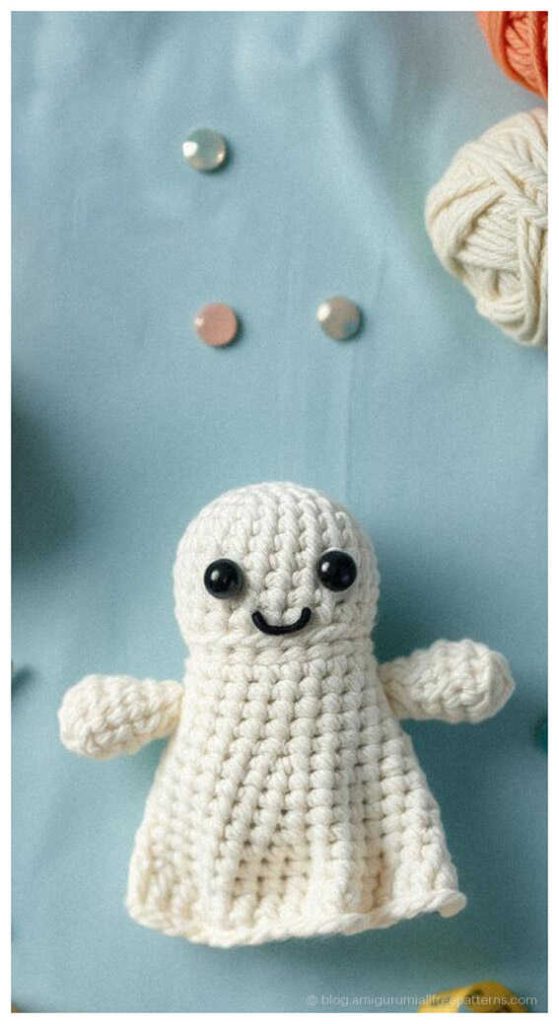
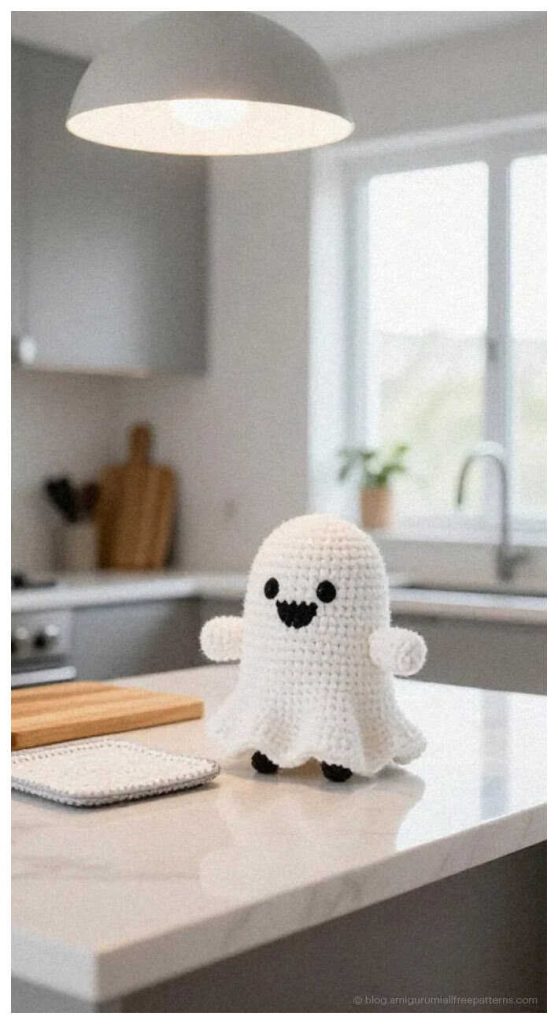
This adorable little spirit provides the ultimate inspiration for your next DIY Crochet Gift Ideas. It brings a friendly and spooky charm to your tiered tray or Halloween decor. Standing at a compact 11 cm, this project stands out among Easy Crochet Projects. Designers created this as a Low Sew Amigurumi Pattern to avoid complex assembly while maintaining a high-quality look. We are incredibly grateful to the talented designer, Nina Wegner, for sharing this lovely Free Pattern with us. At the end of this post, you will also discover a gallery of stunning amigurumi ghost fikirleri to spark your creativity. If you want to create a tiny supernatural friend that is soulful and simple, this guide is the perfect place to start.
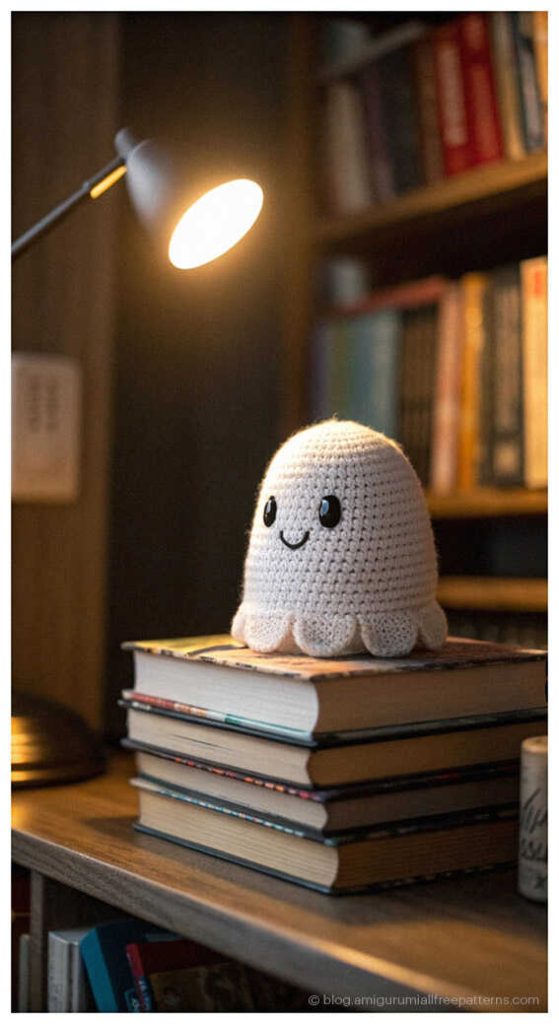
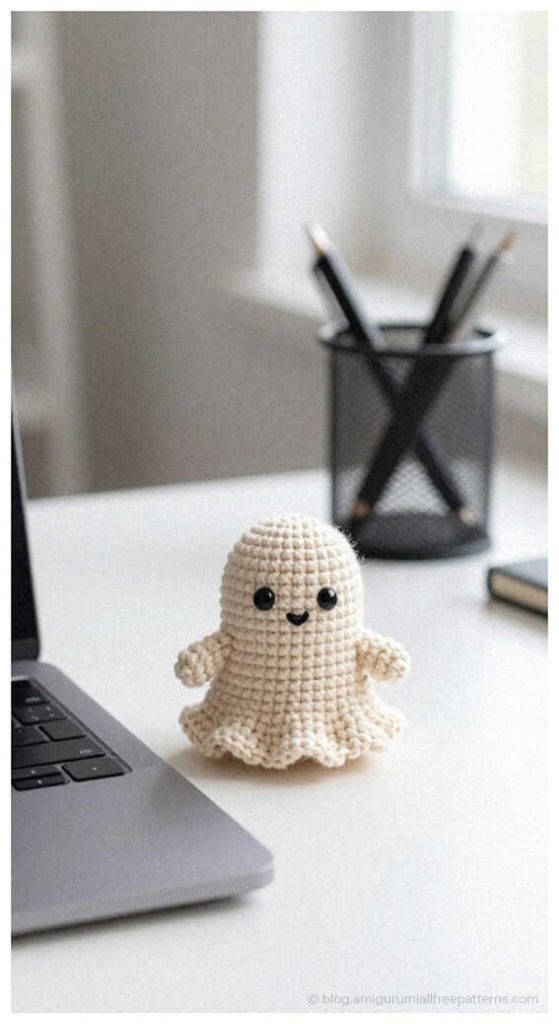
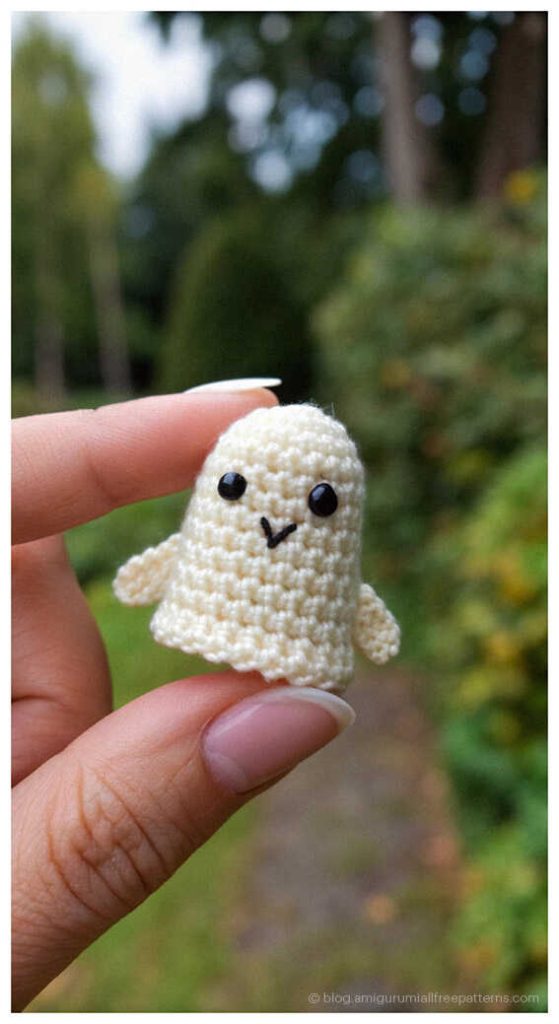
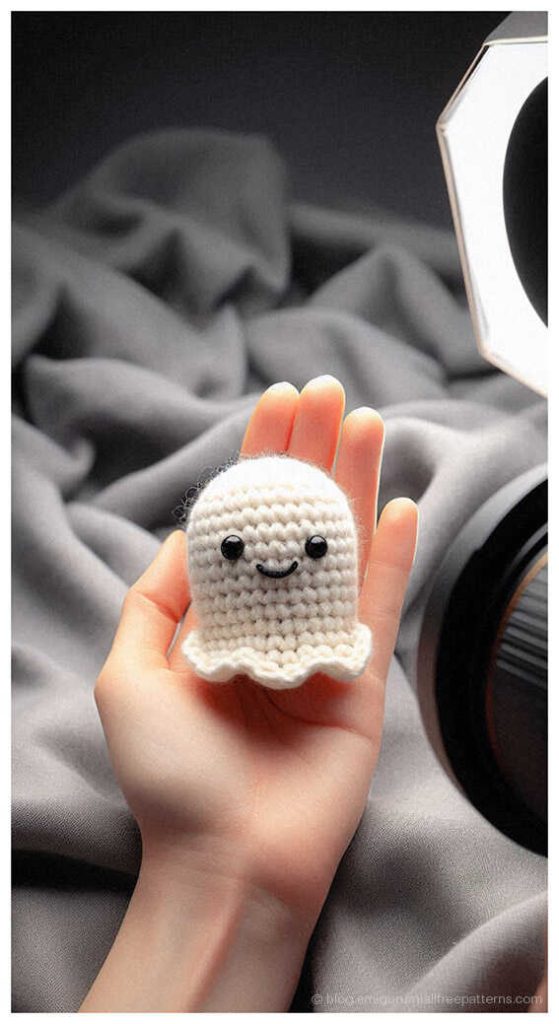
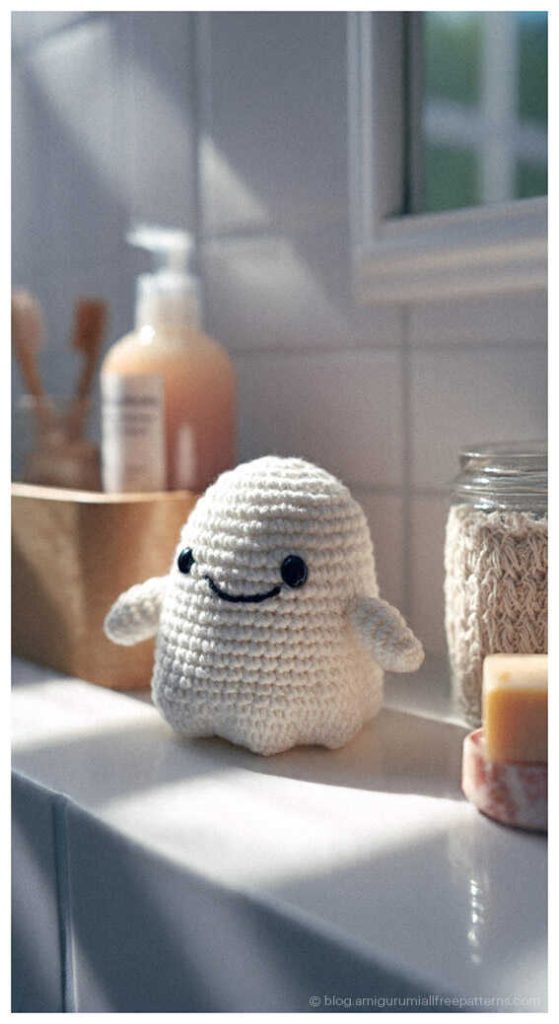
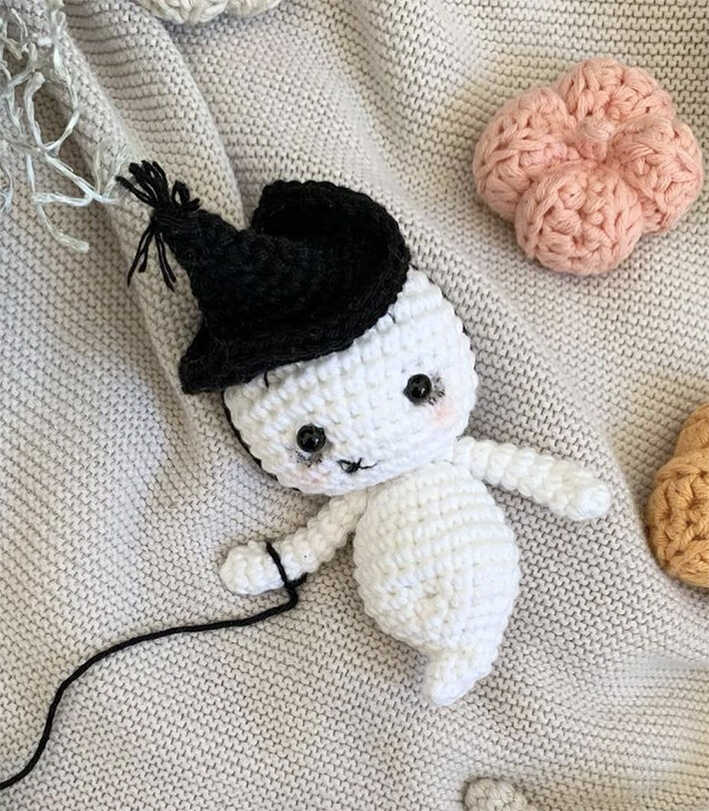
This Beginner amigurumi ghost pattern helps those learning how to crochet amigurumi by starting with a simple head and a clean spiral body. It serves as a Quick to Make Amigurumi because it features a white base with an additional cape and witch hat. While we crafted this design with Organic Cotton Yarn for a crisp finish, it also transforms beautifully into a palm-sized cloud if you use Velvet Yarn. However, keep in mind that opting for chenille or plush yarn will significantly increase the final size of your ghost! You can also explore different styles to find more mystical characters to accompany your new spooky companion.
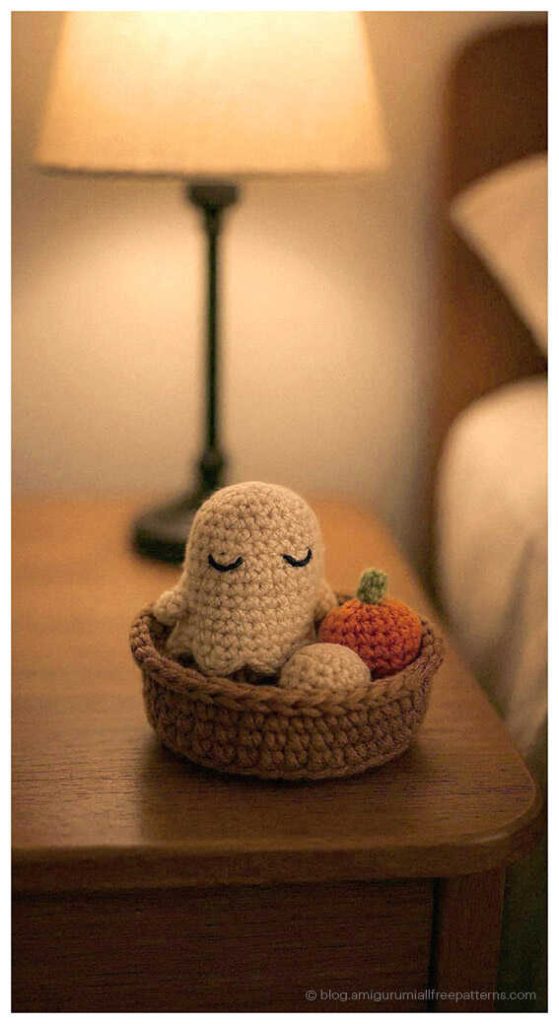
To bring this ghost to life, prepare a 2.5 mm hook for the body and a 3.0 mm hook for the cape. Your materials include white cotton yarn, safety eyes, and high-quality fiberfill. You will also need small amounts of yarn for the pumpkin accessory. Use a tapestry needle to embroider the face with fine black yarn for a unique look. By following this step by step tutorial, you will master the art of shaping the body and hat with ease. Don’t forget to visit the Amigurumi Bat Free Pattern for more beginner friendly tips. Scroll down and let’s start stitching!
Abbreviations
AM- Magic ring
sc- single
crochet slst- slip
stitch ch- chain
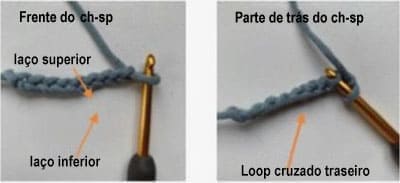
ch-sp- chain space
pt- stitch
inc- increase
dec- decrease
hdc- half double crochet
hdc-inc- increase half double crochet
hdc-dec- decrease half double crochet
dc- double crochet
dcv- turning chain
FLO- Front ring only
BLO- Through the back loop
Materials
Yarns:
• Approx. 20g white organic cotton yarn (babytoly or ricorumi)
• Approx. 10g yarn for the cape (same weight or thinner, cotton or alpaca)
• Approx. 5g yarn in additional color for witch hat and pumpkin
• Fine black yarn to embroider the face
Hooks:
• 2.5 mm crochet hook (for ghost, hat, and pumpkin)
• 3.0 mm crochet hook (for cape)
Eyes: A pair of safety eyes (5mm, or 8mm if using chenille yarn)Other Materials:
• Tapestry needle
• Fiberfill
Scissors
The finished doll is about 11 cm.
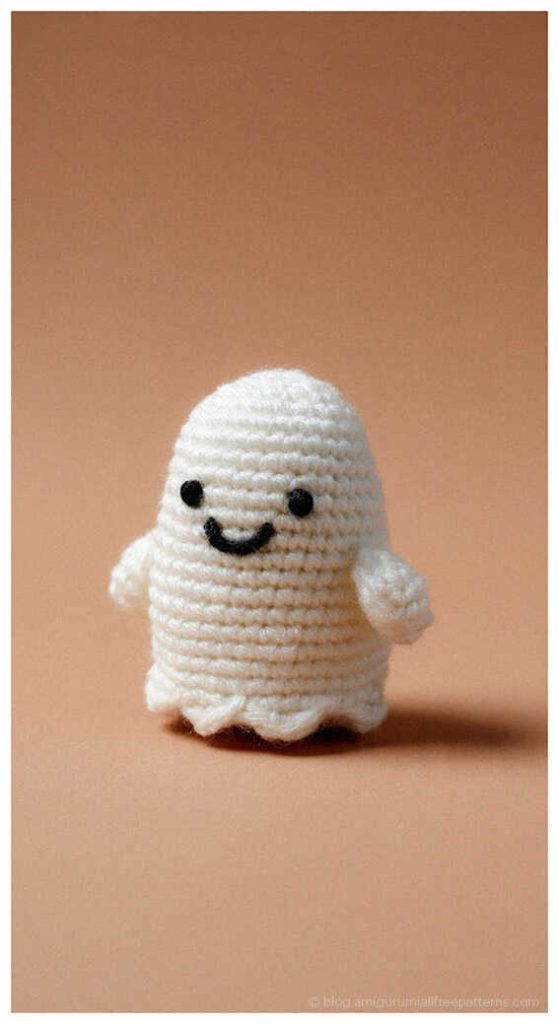
Start with the head in your base color, here white. The body is knitted perfectly.
FREE AMIGURUMI GHOST CROCHET STEP BY STEP TUTORIAL

Head
1. 6 sc in MR (6)
2. (inc)x6 (12)
3. (1 sc, inc)x6 (18)
4. (1 sc, inc)x9 (27)
5. 27 sc (27)
6. (8 sc, inc)x3 (30)
7. (4 sc, inc)x6 (36)
8-13. Round 6 36 sc (36)
If you choose safety eyes, insert them on round 11 with a distance of approx. 7 stitches from each other.
14. (4 sc, dec)x6 (30)
15. 30 sc (30)
16. (1 sc, dec)x10 (20)
The head is continuously filled.
Make sure to fill the area of the cheeks and chin so that the shape of the head is particularly cute.
17. (dim)x10 (10)
Do not cut the yarn.
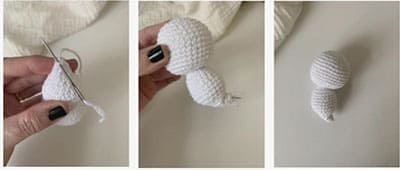
Continue crocheting the seamless body with the white yarn.
Body
1. 10 sc FLO (10)
2. (inc)x10 (20)
3-5. 3 round 20 sc (20)
6. (3sc,inc)x5 (25)
7-9. 3 round 25 sc (25)
10. (3sc,dec)x5 (20)
11. (3sc,dec)x4 (16)
Stuff the body while crocheting.
Especially the neck area is well stuffed with fiberfill so that the head does not swing.
The head will tilt forward a little if you stuff the back of the neck well.
12. (6sc,dec)x2 (14)
13. (5sc,dec)x2 (12)
Stuff a little more, but in the end it is just a little fiberfill.
14. (4sc,dec)2x (10)
15. 10 sc (10)
16. (3sc,dec)x2 (8)
17. (2sc,dec)x2 (6)
Close the opening, fasten off, pull the thread until it forms a stitch at the tip and sew at the back.
The tip projects a little forward.
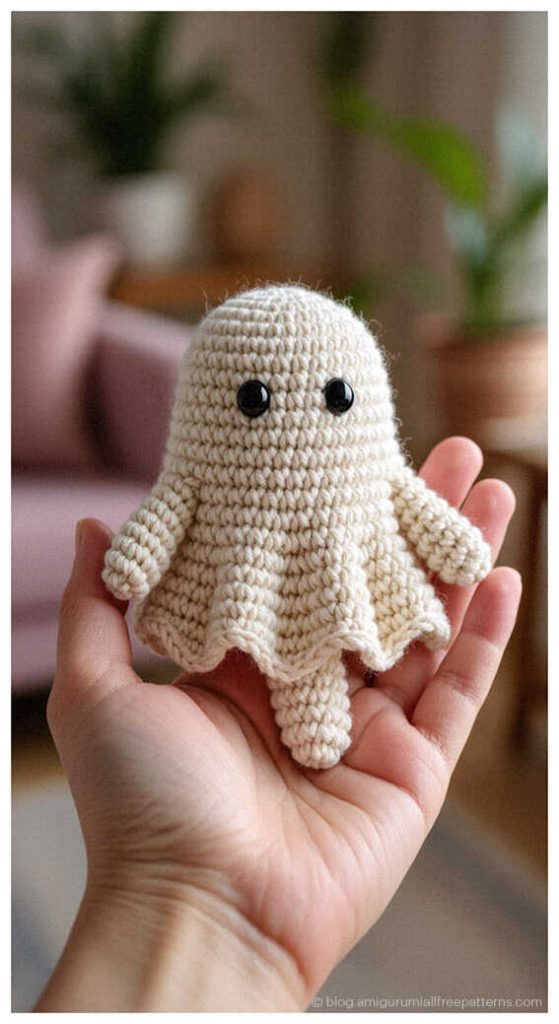
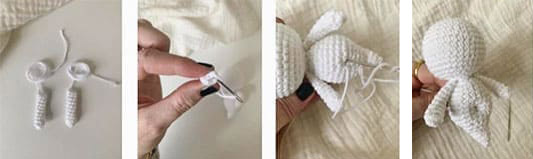
Arms
Crochet two in your base color, here white. The arms are not full.
1. 7 sc in MR (7)
2-10. 9 round 7 sc (7)
Leave a long tail for sewing.
Flatten the opening and sew.
The arms are sewn directly under the head, to the left and right of the neck.
Do not cut the yarn. Pull the yarn up to the middle of the body (to round 8) and create the navel (belly button). Sew from one stitch to the other and bring the yarn back pulling it tight.
The navel is now arched inwards.
Knot the yarn with another strand from the arms, sew tight and let both disappear into the body.
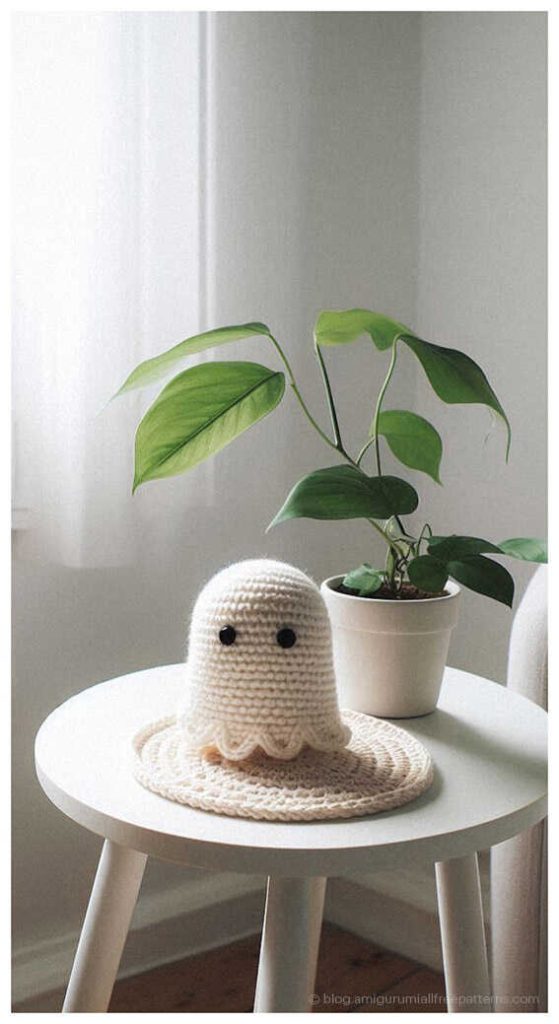
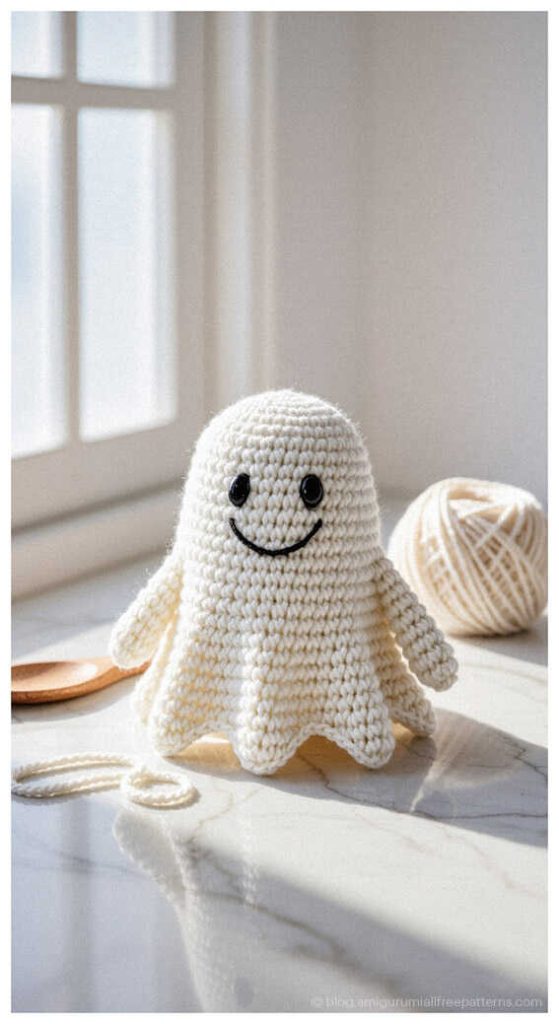
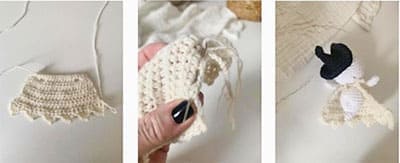
Phantom Cloak
Crochet in your base color, here white.
You can choose the same base color or choose a thinner cotton yarn or a thinner alpaca yarn, for example. It falls in the North.
Be careful not to crochet too tightly. I recommend using a larger crochet hook or if the yarn is thinner, keep the hook size the same.
Crochet in rows, the dcv does not count.
Start with a ch-sp of 19 ch.
1. 18 sc in the back “crossed loop”, dcv 18
Now continue crocheting hdc in each stitch.
The next row creates the opening for the arms.
2. 3 hdc, ch 3 + skip 1 stitch, 10 hdc, ch 3 + skip 1 stitch, 3 hdc (22)
3-8. 6 rows 22 hdc (22)
9. hdc-inc, 20 hdc, hdc-inc (24)
In the last rows the ends are crocheted.
10. [1sc, in next st: (2 hdc, 1 pico, 2 hdc), 1 sc, 1 sl st]
repeat this sequence […] 5 more times.
Cut the yarn and sew in the end.
Thread a ribbon through the top cuff and tie the cape.
You can also make a 55-60 ch ribbon
pico: 3 hdc, ch 3, a sl st in the first of the 3 ch.
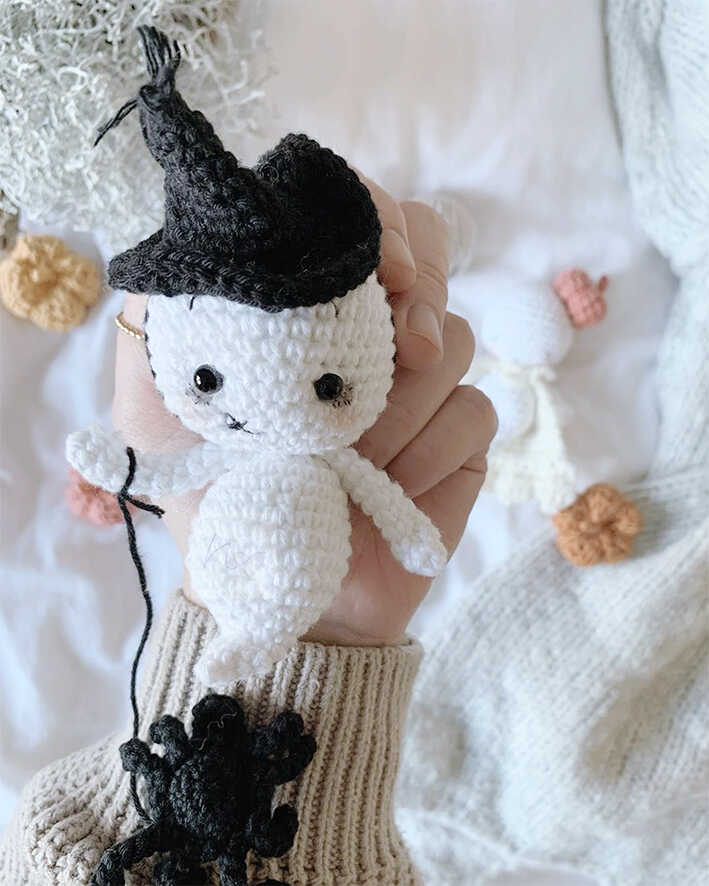
Witch Hat
Crochet in your additional color, here black.
1. 6 sc in MR (6)
2. 6 sc (6)
3. (2sc,inc)x2 (8)
4. (1sc,inc)x4 (12)
5. 12 sc (12)
6. (3sc,inc)x3 (15)
7. (4sc,inc)x3 (18)
8. 18 sc (18)
9. (2sc,inc)x6 (24)
10. 24 sc (24)
11. (hdc-inc BLO)x24 (48)
12. 48 sl st
Leave a long tail (approx. 30 cm) to sew the hat to the ghost’s head.
You can scrunch the hat a little to show the shape better.
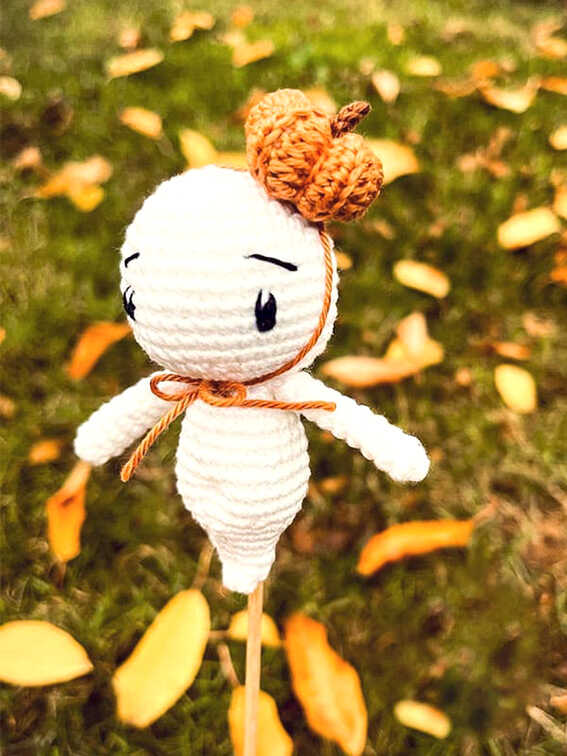
Mini Pumpkin
Crochet in your additional color, here orange.
Crochet in rows, the dc does not count.
Start with a ch-sp of 11 ch.
You are crocheting in each BLO stitch
1-12. 12 rows 2 dc blk, 6 hdc blk, 2 dc blk, dc (10)
Do not cut the yarn.
Fold the short sides of the rectangle over and crochet the outer loops loosely with sl st.
Now cut the yarn (about 1 meter) and turn the pumpkin inside out, so that the crochet seam is practically invisible.
Take your sewing needle and close the first of the two remaining openings.
Bring the yarn through the top edge of each row.
Bring the yarn through the center of the pumpkin to the other opening, to close it in the same way (don’t forget to stuff the pumpkin first).
Now create the pretty shape using the yarn like a cross by pulling your pumpkin. Pull the yarn very tightly.
Pull the yarn up and make the stem.
Make a loop, make 6 ch and 5 sl st. Secure the thread, place the pumpkin on the ghost’s head and sew.
Embroider the Face
Embroider each eye with fine black thread. They go through 2 stitches diagonally from round 11 to 12.
The distance between them in round 11 is about 5-6 stitches.
If you choose safety eyes, you place them in round 11 with a distance of approx. 7 stitches. In this variant, dark shadows under the eyes look particularly good. Take a fine black pencil and blend gently.
Open eyes: Embroider them in rounds 11 to 12. The distance between them is about 7 stitches.
Embroider the eyebrows in rounds 6 to 7.
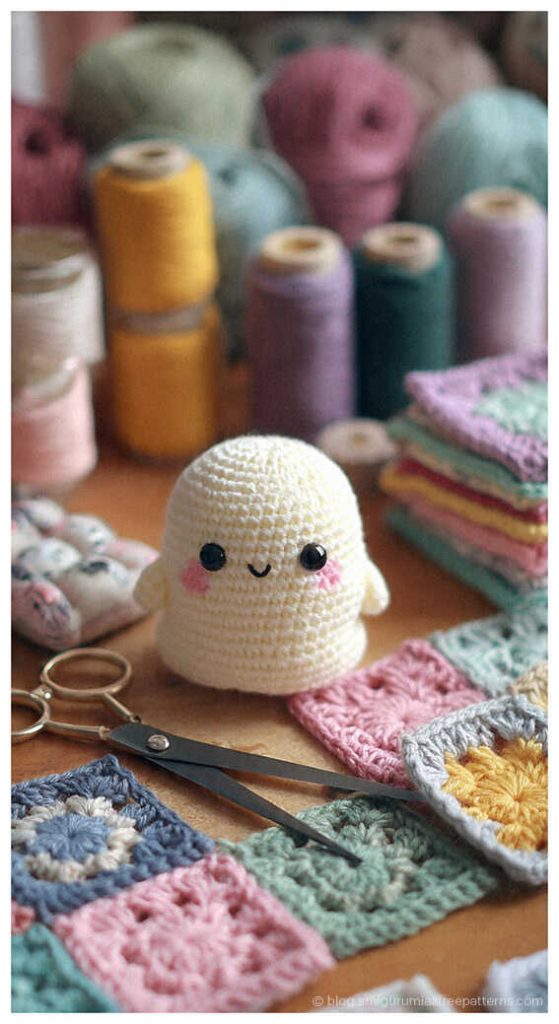
You can embroider a cute little mouth or a funny, scary mouth in round 13.
Take your rouge or beeswax crayon and apply it to the cheek area.
Cute amigurumi ghost ideas: