Designer: Darya Baysh
VK: @dariya_baysh
Let’s pick up our hooks and start something cute…
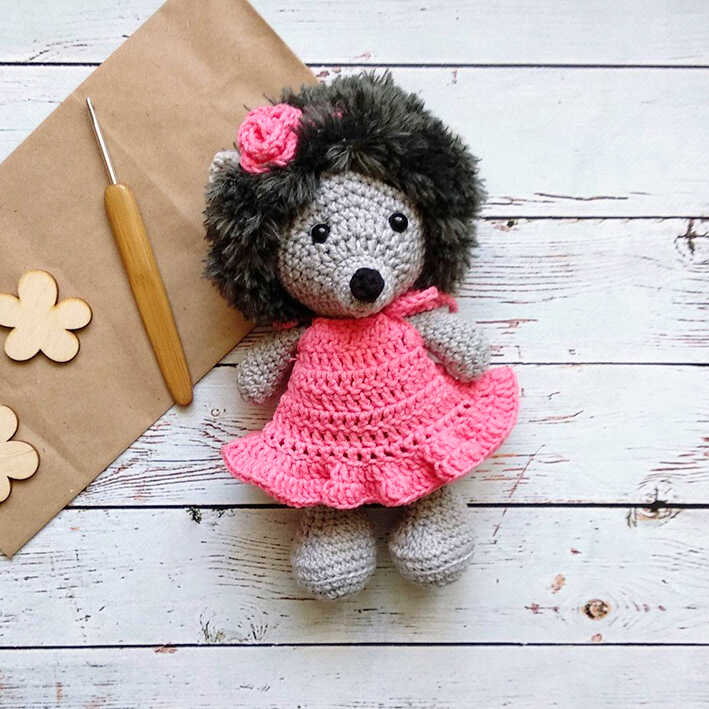
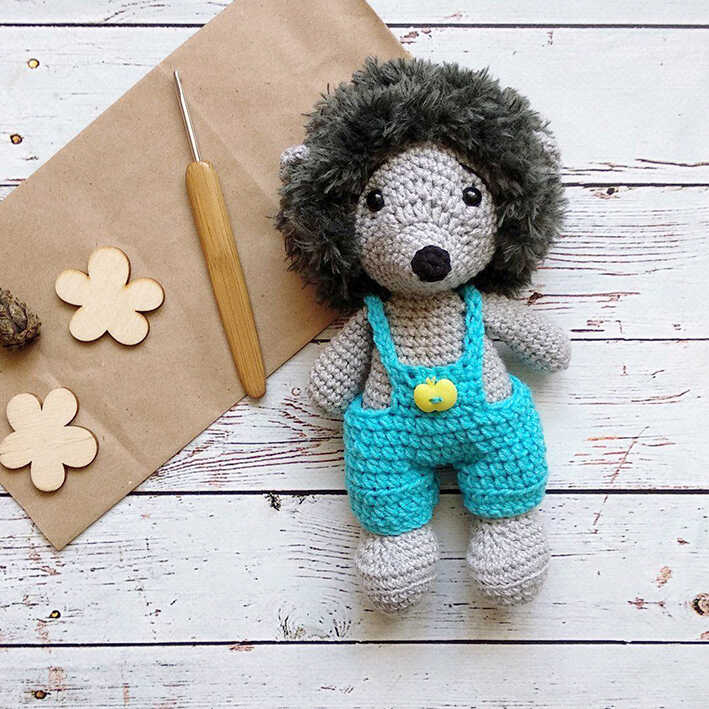
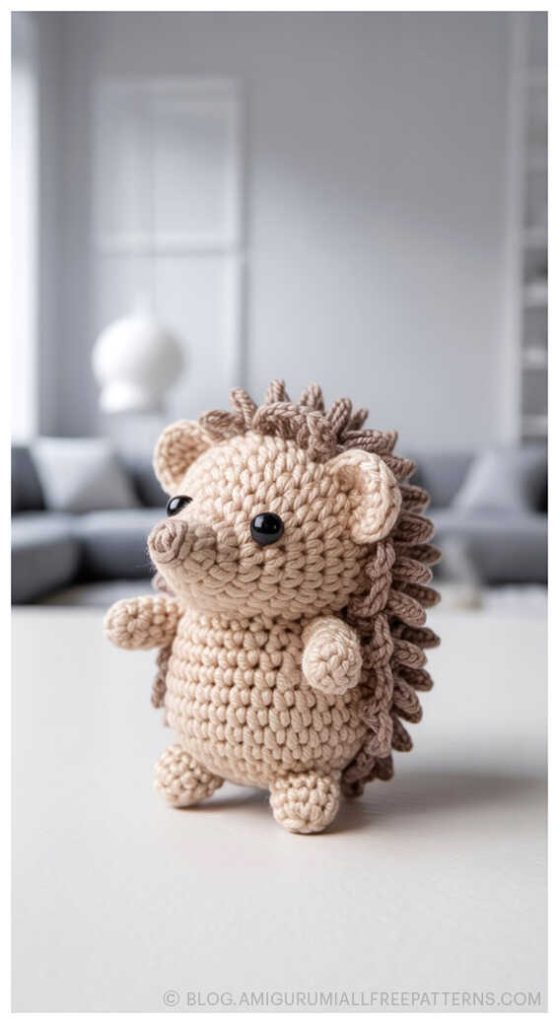
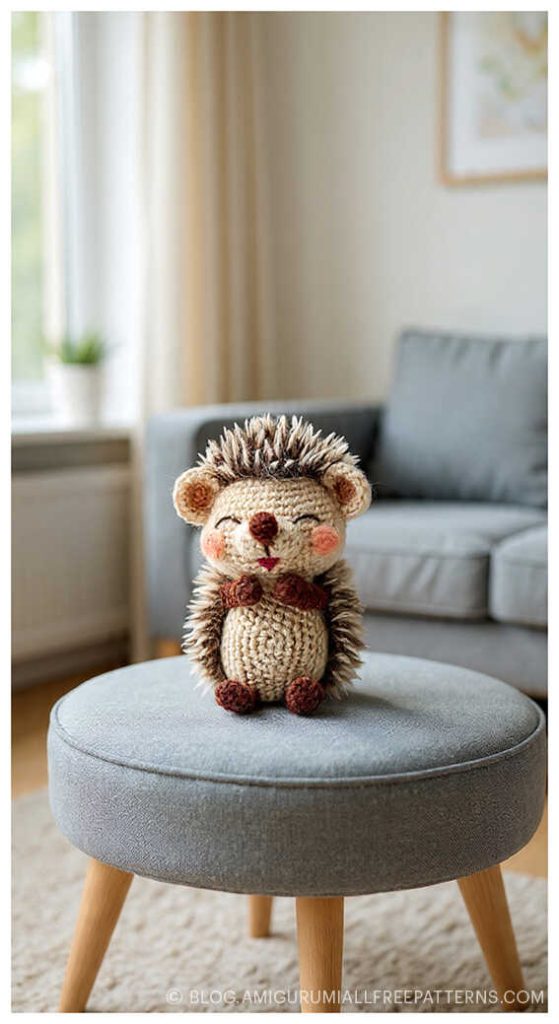
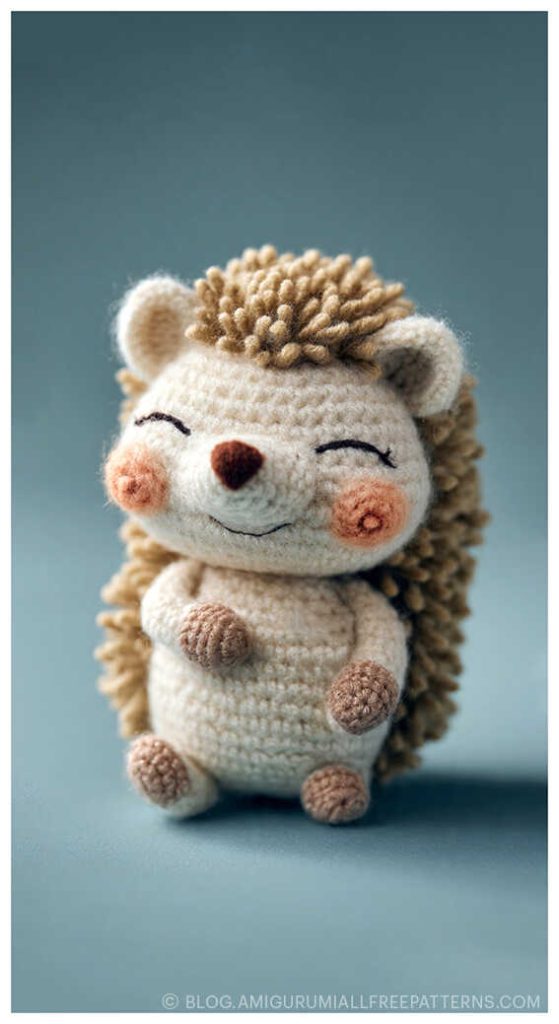
Looking for a cute and rewarding amigurumi project? This Amigurumi Hedgehog Free Crochet Pattern, designed by Darya Baysh, lets you create an adorable hedgehog boy or girl with removable clothes. Using smooth yarn for the body and clothes and grass-like yarn for the spikes, you can crochet each detail step by step. The spikes are worked directly onto the head, giving your hedgehog a realistic touch. With basic tools like a crochet hook, safety eyes, stuffing, stitch markers, pins, decorative buttons, and a sewing needle, this medium-level pattern is beginner-friendly and fun to make.
This free pattern guides you clearly through each step, making the process enjoyable and easy to follow. Thanks to Darya Baysh for this delightful design! Once finished, you’ll find plenty of inspiration for creating even more charming hedgehogs and unique amigurumi characters to expand your handmade toy collection.

Materials and Tools
- Smooth yarn (for hedgehog body)
- Grass yarn (for spikes)
- Crochet hook
- Safety eyes
- Stuffing
- Stitch markers
- Pins
- Decorative button
- Sewing needle
- Scissors
Abbreviations
AM – amigurumi magic ring
ch – chain
sl st – slip stitch
sc – single crochet
dc – double crochet
hdc – half double crochet
inc – increase
dec – decrease
(…) x n – repeat n times
HEDGEHOG AMIGURUMI PATTERN
Front Legs
R1. 2 ch, 6 sc in second ch from hook (6)
R2. 6 inc (12)
R3. (3 sc, inc) x 3 (15)
R4. 15 sc (15)
R5. dec, 13 sc (14)
R6. dec, 12 sc (13)
R7. dec, 11 sc (12)
R8. 12 sc (12)
R9. dec, 10 sc (11)
R10. dec, 9 sc (10)
R11. dec, 8 sc (9)
R12. 9 sc (9)
Stuff only the bottom part. Fold piece in half, crochet 4 sc together to close the opening, fasten off.
Back Legs + Body
R1. 2 ch, 6 sc in second ch from hook (6)
R2. 6 inc (12)
R3. (1 sc, inc) x 6 (18)
R4. (2 sc, inc) x 6 (24)
R5. (3 sc, inc) x 6 (30)
R6. 30 sc back loops only (30)
R7. 30 sc (30)
R8. 9 sc, 6 dec, 9 sc (24)
R9. 9 sc, 3 dec, 9 sc (21)
R10. (1 sc, dec) x 7 (14)
R11-R17. 14 sc (7 rows)
Crochet second piece in the same way. On second leg, do not cut yarn, start joining the legs:
R18. 4 ch, sl st to other leg, 13 sc on that leg, 4 sc on chain, 14 sc on other leg, 4 sc on chain (36)
R19. (5 sc, inc) x 6 (42)
R20-R23. 42 sc (4 rows)
R24. (5 sc, dec) x 6 (36)
R25. 36 sc (36)
R26. (4 sc, dec) x 6 (30)
R27-R28. 30 sc (2 rows)
R29. (3 sc, dec) x 6 (24)
R30-R31. 34 sc (3 rows)
R32. (2 sc, dec) x 6 (18)
R33. Optionally attach front legs. Place them where you want, crochet sc together with the leg (18)
R34. 18 sc (18)
Fasten off leaving a long tail for sewing.
Head
Stuff as you go. Place safety eyes between R8 and R9, spaced with 10–12 sc in between.
R1. 2 ch, 6 sc in second ch from hook (6)
R2. (1 sc, inc) x 3 (9)
R3. (2 sc, inc) x 3 (12)
R4. (3 sc, inc) x 3 (15)
R5. (4 sc, inc) x 3 (18)
R6. 6 sc, (2 hdc in next st) x 6, 6 sc (24)
R7. 6 sc, (1 hdc in next st) x 6, 6 sc (30)
R8. (4 sc, inc) x 6 (36)
R9. (5 sc, inc) x 6 (42)
R10. (6 sc, inc) x 6 (48)
R11-R16. 48 sc (6 rows)
R17. (6 sc, dec) x 6 (42)
R18. (5 sc, dec) x 6 (36)
R19. (4 sc, dec) x 6 (30)
R20. (3 sc, dec) x 6 (24)
R21. (2 sc, dec) x 6 (18)
R22. (1 sc, dec) x 6 (12)
R23. 6 dec
Nose
Use black yarn.
R1. 2 ch, 6 sc in second ch from hook (6)
R2. (1 sc, inc) x 3 (9)
R3. (1 sc, dec) x 3 (6)
Fasten off leaving an opening. Optional to leave unstuffed.
Ears
R1. 2 ch, 6 sc in second ch from hook (6)
R2. 6 inc (12)
R3-R6. 12 sc (4 rows)
Fold in half, sew bottom. Fasten off leaving a long tail. Attach ears around R15.
Spikes
Crochet after head is attached to body, or before. Use any yarn you like. Adjust chain lengths and spacing between stitches and rows as desired.
Dress (2 pieces)
Chain 10 + 3 ch for turning.
R1. dc in 4th ch from hook, 8 dc, 2 dc in last ch
R2. 3 ch, 1 dc in base, 10 dc, 2 dc in last ch
R3. 3 ch, dc in base, 12 dc, 2 dc in last ch
R4. 3 ch, dc in base, 14 dc, 2 dc in last ch
R5. 3 ch, dc in base, 16 dc, 2 dc in last ch
R6. 3 ch, dc in base, 18 dc, 2 dc in last ch
R7. 3 ch, dc in base, 20 dc, 2 dc in last ch
Fasten off leaving a long tail. Sew sides together leaving space for arms. Crochet bottom edge:
R1. Attach yarn, 3 ch, 2 dc in each st, sl st
R2. 3 ch, 2 dc in each st, sl st
Make two chains of any length, thread through top of dress, tie at sides. Dress is ready!
Headband with Rose
Chain 50, 3 ch, 49 dc.
Rose: chain 25, 3 ch, 4 dc in base, sc, (5 dc in one st, sc) repeat to end, twist rose, sew, attach to headband.
Pants (2 pieces)
R1. Chain 20
R2. 1 ch, 19 sc
R3. 1 ch, 19 sc
Optional: use a larger hook
R4. 2 ch, 19 dc
Cut yarn on first piece. On second piece, leave yarn, join halves:
R5. 4 ch, sl st to other half, 2 ch, 19 dc, 4 dc on chain, 20 dc, 4 dc on chain, sl st (48)
R6. 2 ch, 47 dc, sl st (48)
R7. 2 ch, 3 dc, dec, (4 dc, dec) x 7, sl st (40)
R8. 2 ch, 39 dc, sl st (40)
R9. 3 ch, 7 dc, dec, (8 dc, dec) x 3, sl st (36)
Fasten off. Crochet front waistband: count 8 stitches from center, 4 rows sc. Make 2 straps at edges, sew crossed at back. Pants are ready!
You may also like Amigurumi Little Mouse Free Crochet Pattern
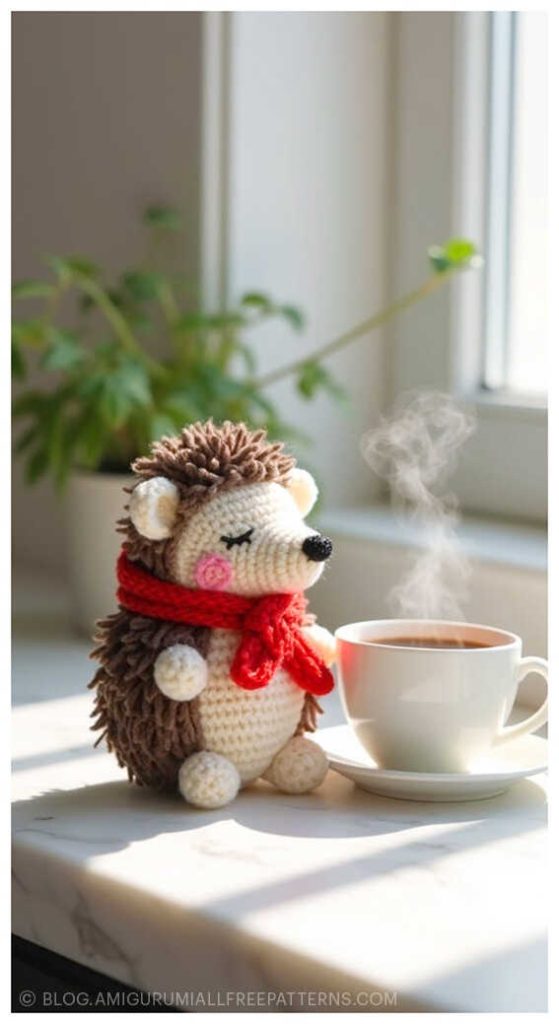
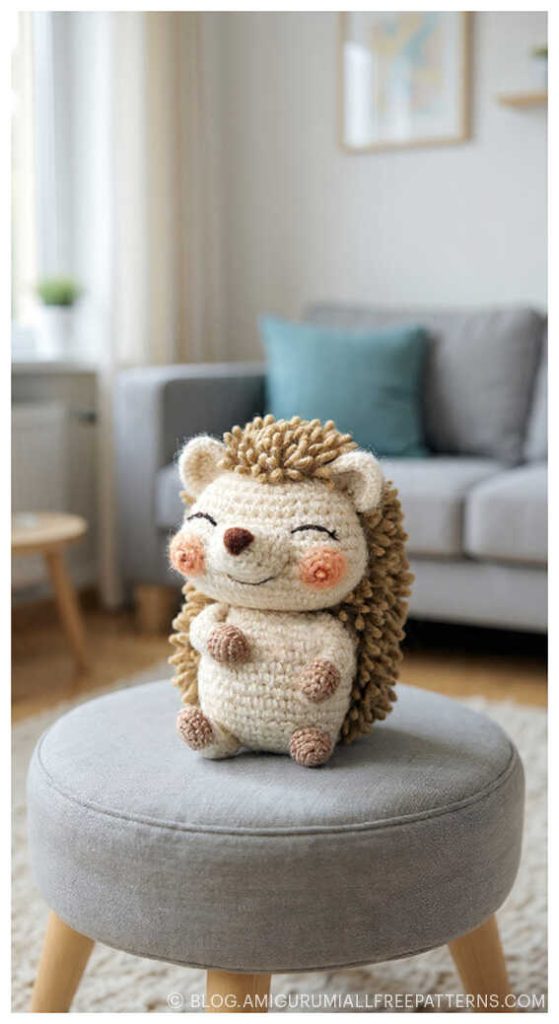
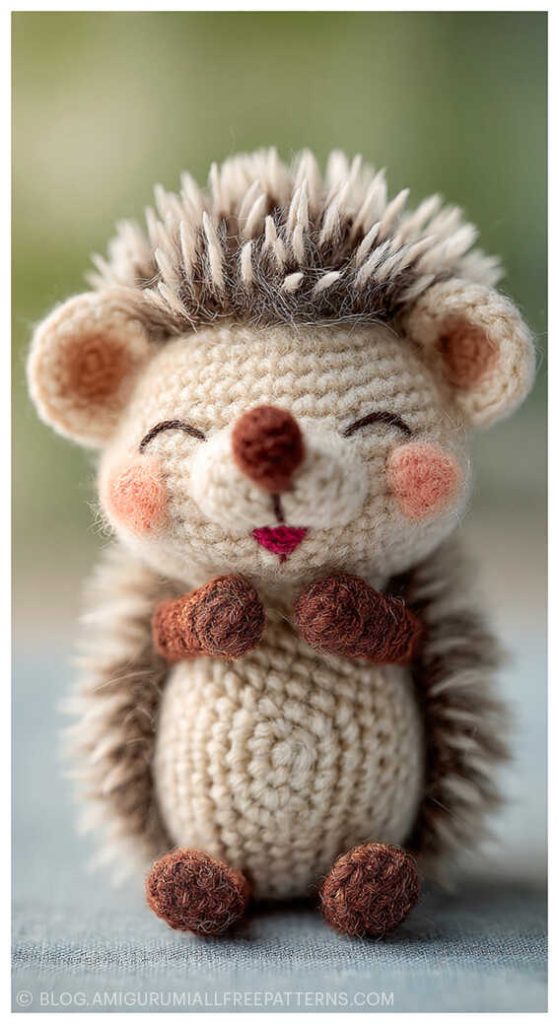
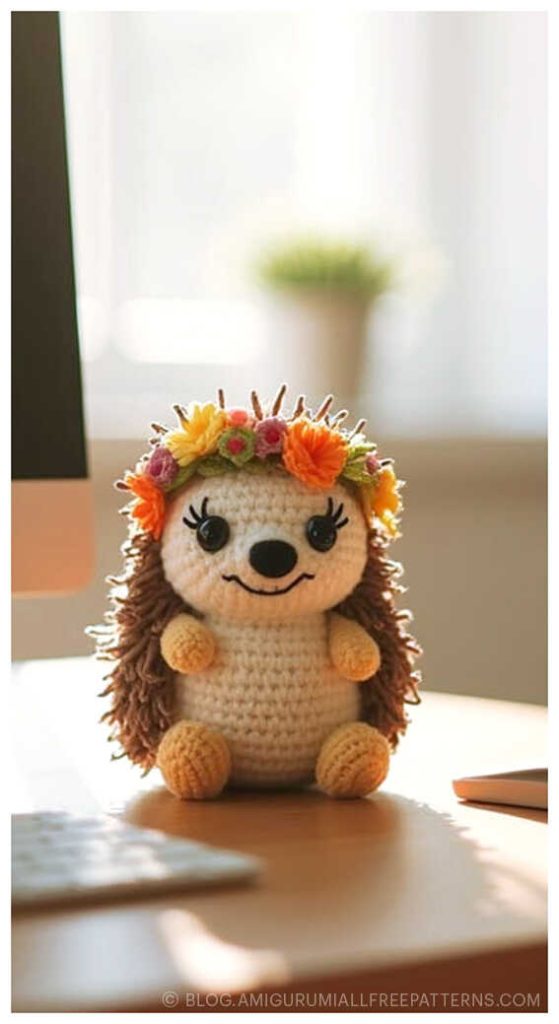
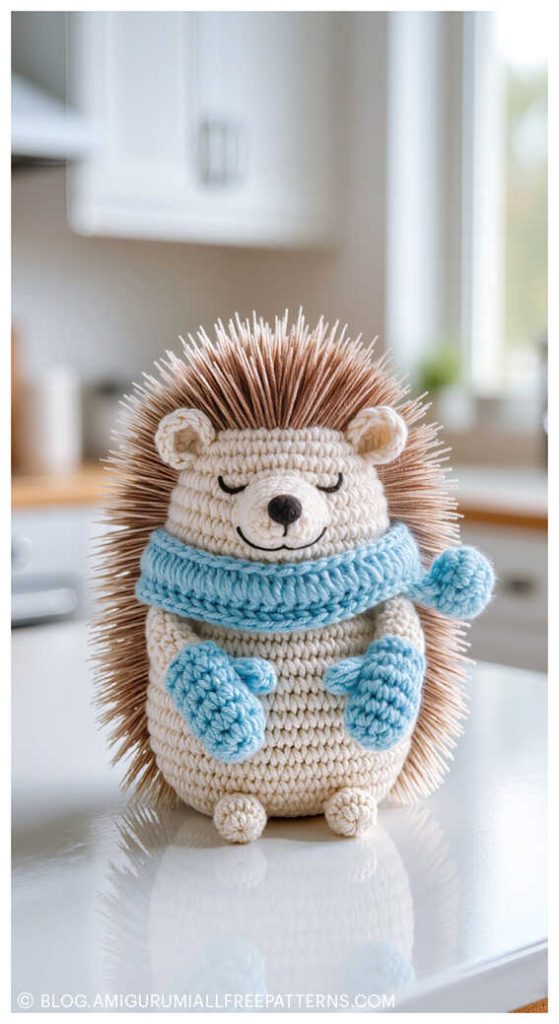
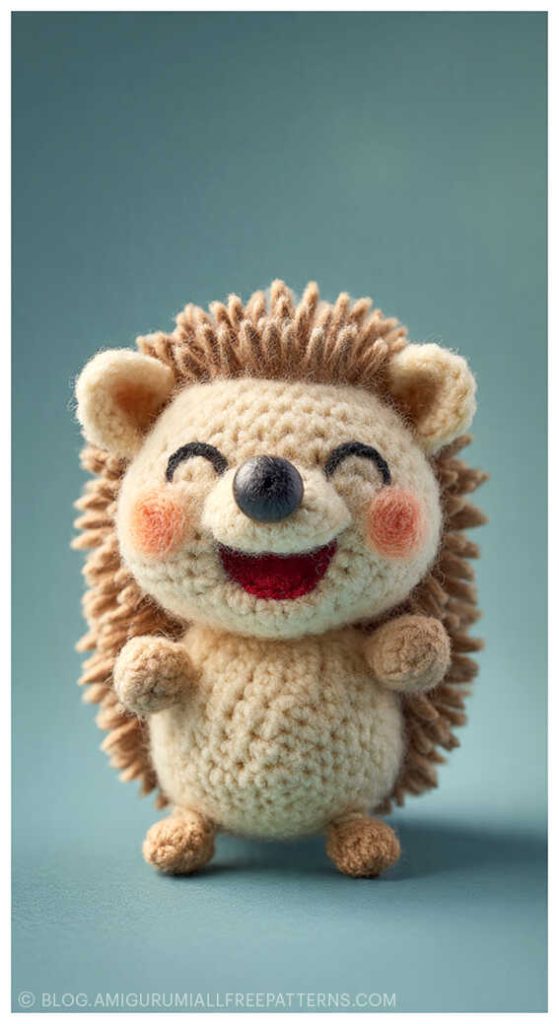
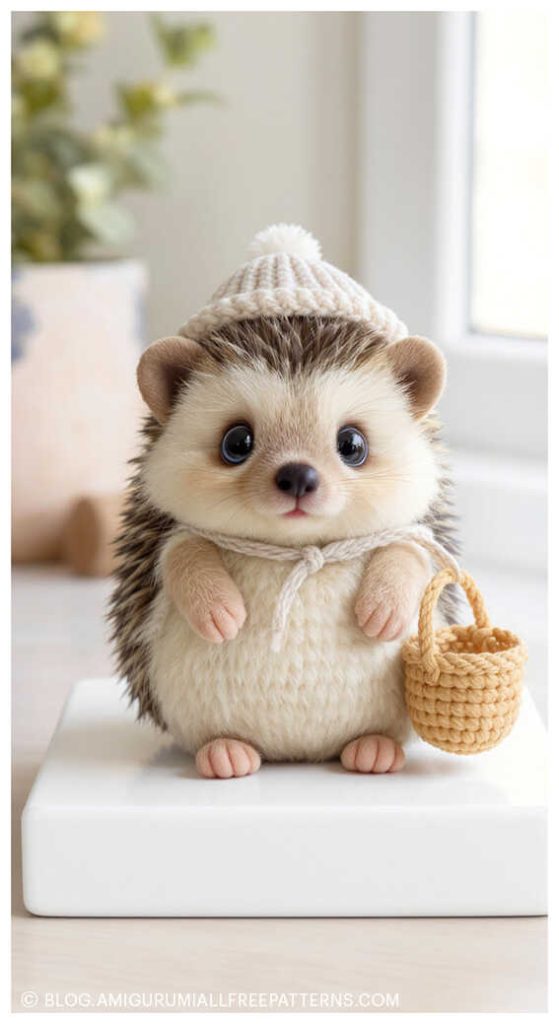
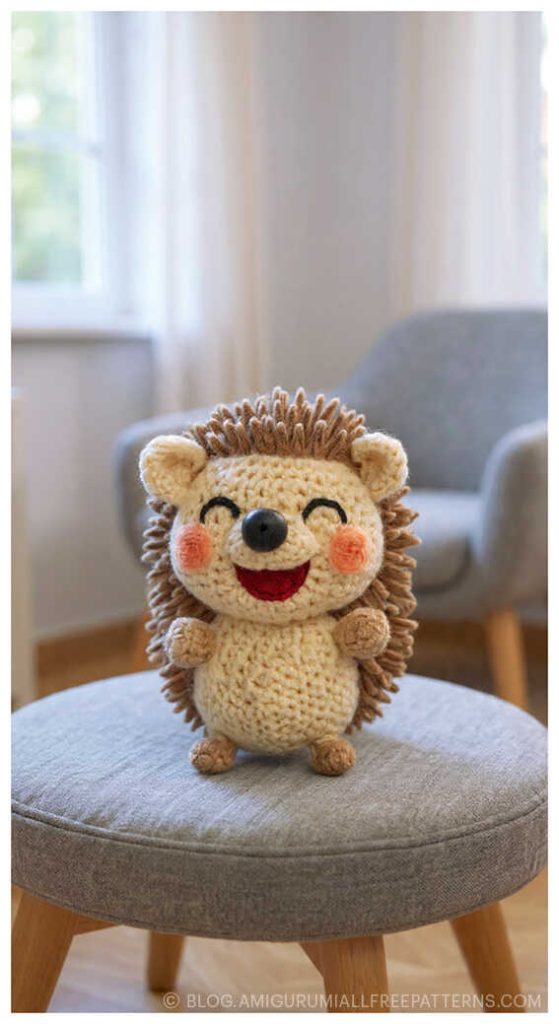
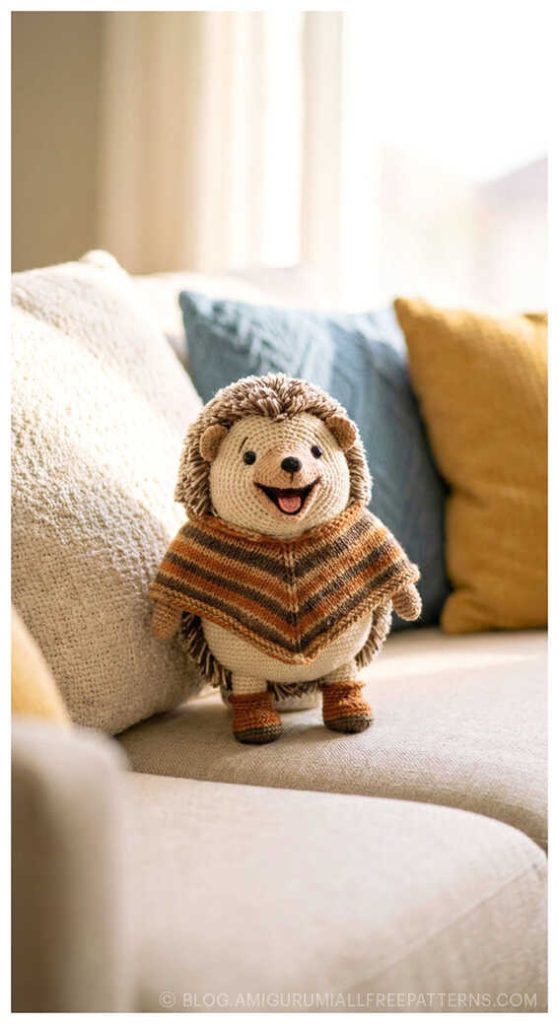
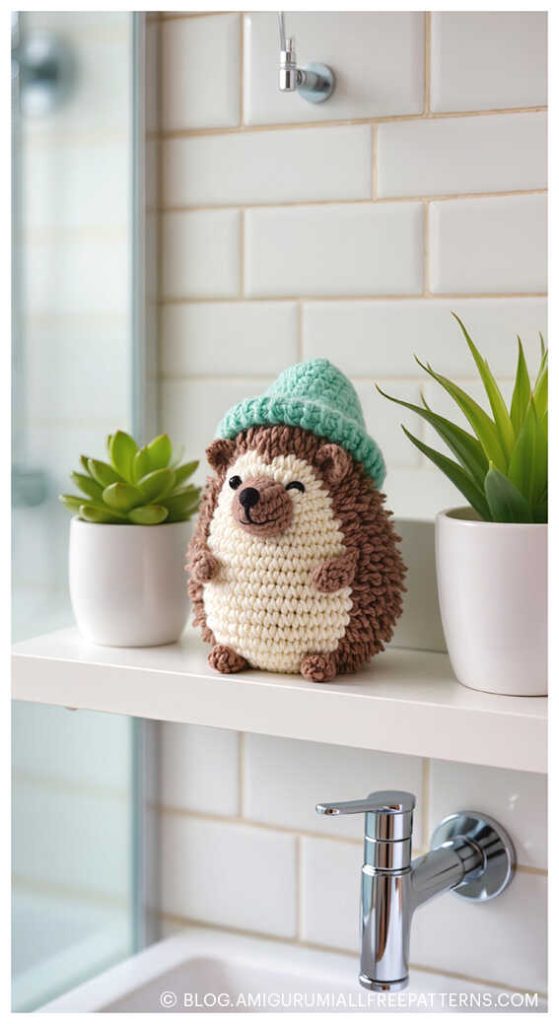
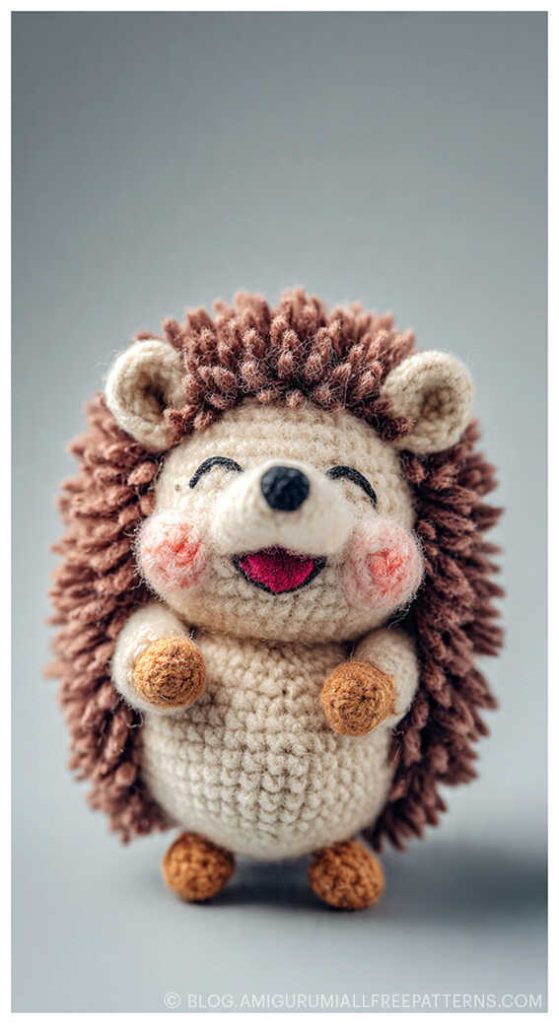
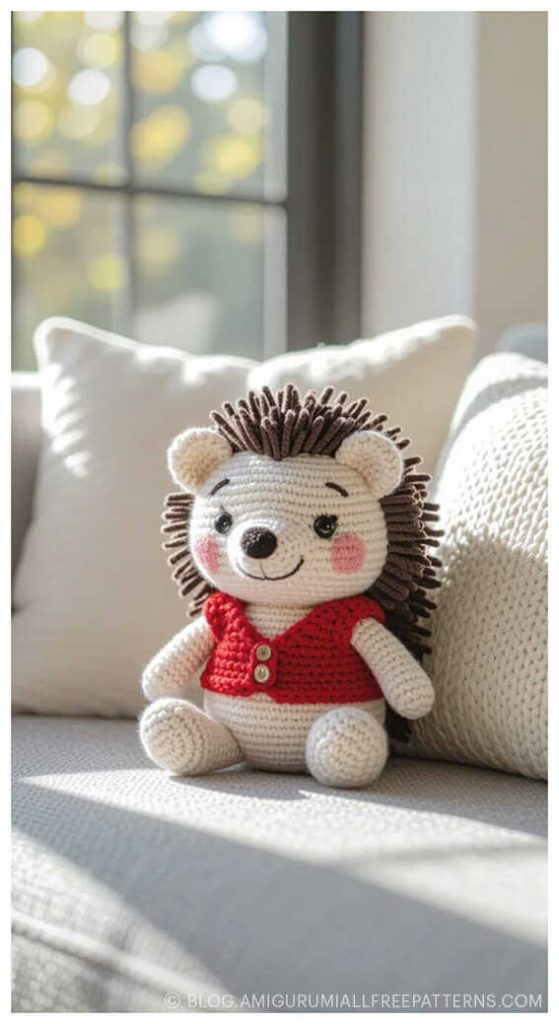
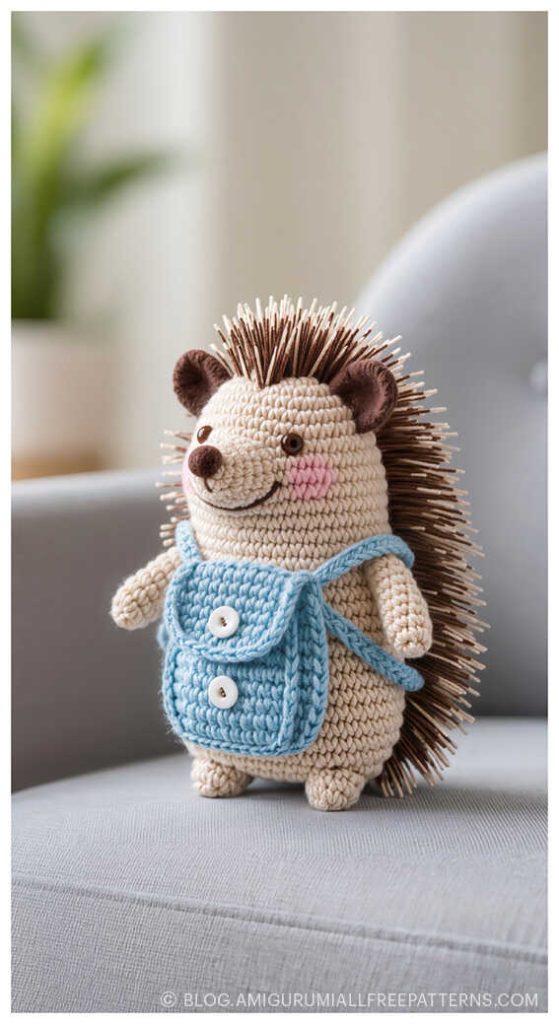
Amigurumi hedgehog ideas to try today:


Craft Your Own Amigurumi Wonderland
Step into a world of handmade charm with step-by-step tutorials for every amigurumi animal – from adorable amigurumi cats, amigurumi dogs, and amigurumi bunnies to magical amigurumi unicorns, gentle amigurumi elephants, and towering amigurumi giraffes. Explore patterns for amigurumi bears, amigurumi foxes, amigurumi pandas, amigurumi monkeys, amigurumi lambs, amigurumi pigs, amigurumi birds, amigurumi penguins, amigurumi llamas, amigurumi hippos, amigurumi dinosaurs, and whimsical amigurumi dolls and amigurumi clowns.
Each pattern includes clear instructions and inspiring images, perfect for beginners and experienced crocheters. Don’t miss out on the latest amigurumi creations – stay connected with us at blog.amigurumiallfreepatterns.com, join our Facebook page and Facebook group, and bring these delightful toys to life stitch by stitch!
Keywords: free amigurumi patterns, crochet toys, amigurumi animals, beginner-friendly crochet, amigurumi dolls, DIY crochet patterns, easy crochet