Designer: ellens_workshop
Hi there…
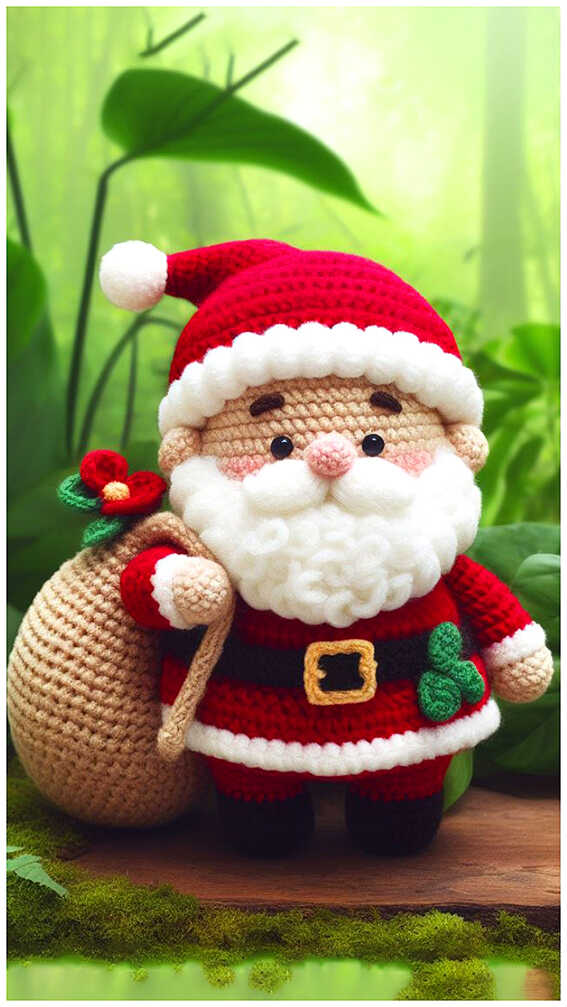
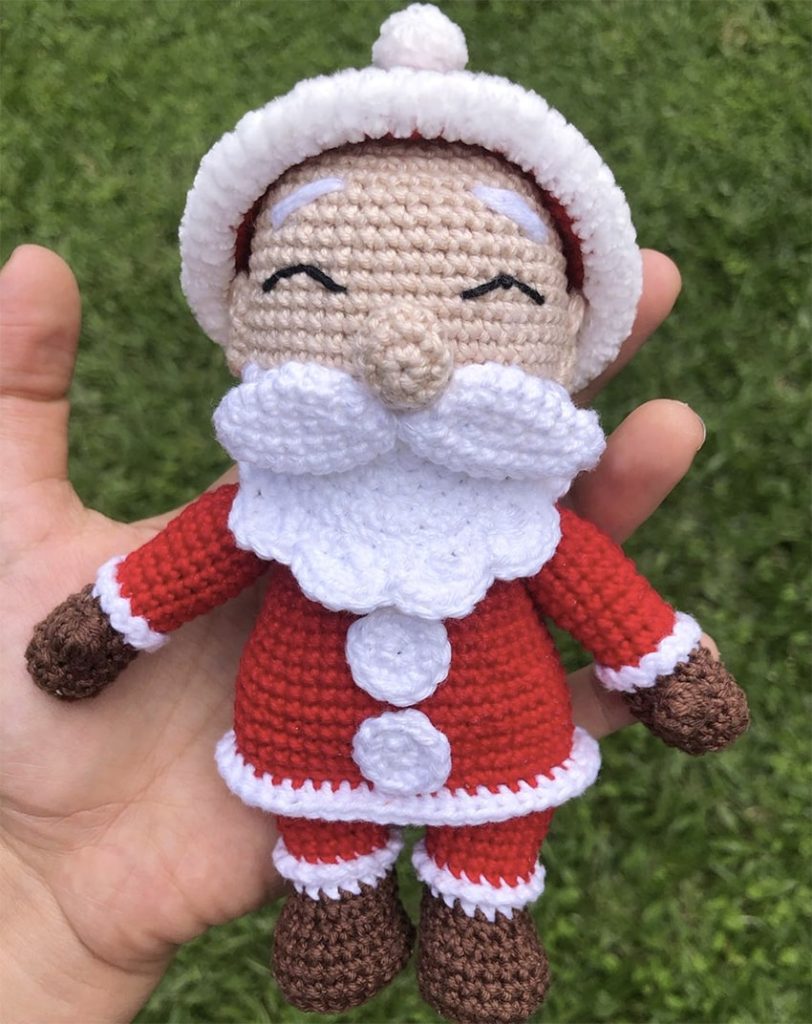
One of the free amigurumi crochet patterns we will share today is the amigurumi santa claus, whose photos and design belong to ellens_workshop. You can learn how to crochet these santa claus using the free amigurumi pattern. Thanks to ellens_workshop for this cute santa claus.

Amigurumi cats, amigurumi dolls, amigurumi dogs, amigurumi unicorns, amigurumi lambs, amigurumi dinosaurs, amigurumi foxes, amigurumi bears, amigurumi giraffes, amigurumi pigs, amigurumi penguins, amigurumi panda, amigurumi llama, amigurumi bunny, amigurumi clowns, amigurumi elephants, amigurumi hippos, amigurumi monkeys will not be difficult for you…
Materials
– Yarn in colors:
• Red
• Brown
• White
• Fluffy white yarn
• Skin color
• Black embroidering yarn
– Crochet hook
– Tapestry needle
– Fyber filling
– Wire to insert in arms (optional)
– Scissors
Size: amigurumi santa claus is 20 cm (about 8 inches) tall, from feet to hat.
Difficulty: Beginners.
Stitches
MR- Magic ring
Sc- Single crochet
Slst- Slip stitch
Dec- Decrease
Inc- Increase
Bst- Bobble stitch (5 dc closed together)
Bpsc- Back post single crochet
Dc- Double crochet
Hdc- Half double crochet
BLO- Work in the back loops of the stitch
FLO- Work in the front loops of the stitch

CROCHET SANTA CLAUS AMIGURUMI FREE PATTERN
Arms
Brown.
1. 6 sc on MR (6)
2. 6 inc (12)
3-4. 12 sc (12) (2 rows)
5. 5 sc, 1sc, 6 sc (12)
6. 12 sc (12)
Change to white.
7. 12 sc (12)
Change to red.
8. BLO: 12 sc (12)
9-10. 12 sc (12) (2 rows)
11. (3sc,1inc)x3 (15)
12-15. 15 sc (15) (4 rows)
16. (3sc,1dec)x3 (12)
17-18. 12 sc (12) (2 rows)
Finish off with invisible finish. If you want to insert wire in the arms, don’t put too much fyber filling.
We’ve completed the arms, now let’s move on to the legs.
Legs
Brown.
To make the legs, we will leave a long yarn in the beginning of the work. We will use a technique called cocave feet.
Thank you for visiting our website blog.amigurumiallfreepatterns.com.
1. Chain 5, 3 sc, 3 sc on the same stitch, 2 sc, 1 inc (10)
2. 1 inc, 2 sc, 3 inc, 2 sc, 2 inc (16)
3. 1 sc, 1 inc, 2 sc, (1sc,1inc)x3, 2 sc, (1sc,1inc)x2 (22)
4. 22 BPSC (22)
5-7. 22 sc (22) (3 rows)
8. 5sc, 2dec, 1sc, 2dec, 8 sc (18)
9. 5sc, 1dec, 1sc, 1dec, 8sc (16)
Change to white.
10-11. 16 sc (16) (2 rows)
Change to red.
12. BLO: 16 sc (16)
13. 16 sc (16)
14. 4sc, 1inc, 8sc, 1inc, 2 sc (18)
15. 18 sc (18)
16. 1sc, (3sc,1inc)x4, 1 sc (22)
Finish of on the first leg. On the second leg, continue crocheting to the body. Before doing so, make the details on the arms and legs:
Arms: On the loops left on the 8th row attach a new white yarn and (chain 1, 1 slst) to the end.
Legs: On the loops left on the 12th row, attach a new white yarn and (chain 1, 1 slst) to the end.
Body
From 2nd leg.
17. 2 sc on 2nd leg, 22 sc on 1ª leg, 20 sc on 2nd leg (44)
18. (10sc,1inc)x4 (48)
19. 48 sc (48)
20. BLO: (11sc,1inc)x4 (52)
21-22. 52 sc (52) (2 rows)
23. (11sc,1dec)x4 (48)
24-25. 48 sc (48) (2 rows)
26. (10sc,dec)x4 (44)
27-28. 44 sc (44) (2 rows)
29. (9sc,dec)x4 (40)
30-31. 40 sc (40) (2 rows)
32. (8sc,dec)x4 (36)
Now we will join the arms to the body.
Pay attention so the arms are in the sides of the body with the thumbs (bobble stitch) pointing forward.
It may be necessary to make some adjustments in the quantities of stitches so the arms are in the sides of the body. I made my this way:
33. 11 sc on the body, 6 sc joining a stitch of the arm to a stitch of the body, 12 sc on the body, 6 sc joining a stitch of the arm to a stitch of the body, 1 sc on the body (36)

34. 11 sc on the body, 6 sc on the rest of the stitches of the arm, 12 sc on the body, 6 sc on the rest of the stitches of the arm, 1 sc on the body (36)
If you want to insert wire in the arms, now is a good time to do so.
35. (4sc,1dec)x6 (30)
36. (3sc,1dec)x6 (24)
37. (2sc,1dec)x6 (18)
For the neck to be creased, we will work on the back loops of row 37, making 18 very tight slst. next, we will work the front loops of row 37, changing to skin color, to make row 38:
38. (1sc,1inc,1sc)x6 (24)
39. (3sc,1inc)x6 (30)
40. (2sc,1inc,2sc)x6 (36)
41. (5sc,1inc)x6 (42)
42. (3sc,1inc,3sc)x6 (48)
43-54. 48 sc (48) (12 rows)
55. (3sc,1dec,3sc)x6 (42)
56. (5sc,1dec)x6 (36)
57. (2sc,1dec,2sc)x6 (30)
58. (3sc,1dec)x6 (24)
59. (1sc,1dec,1sc)x6 (18)
60. (1sc,1dec)x6 (12)
61. 6 dec (6)
Close with inverted magic ring.
Beard
White.
The beard will be worked in rows to make a flat piece. In the end of each row, chain 1 and turn the work.
1. 3 sc on MR (3)
2. 3 inc (6)
3. (1sc,1inc)x3 (9)
4. 1sc,1inc,(2sc,1inc)x2, 1sc (12)
5. (3sc,1inc)x3 (15)
6. 2sc,1inc,(4sc,1inc)x2, 2sc (18)
7. (5sc,1inc)x3 (21)
8. 3sc,1inc, (6sc,1inc)x2, 3sc (24)
Now we will make the beard details.
9. Chain 2, turn, (skip 1, 5 dc in the same stitch, skip 1, 1 slst)x5, skip 1, 5 dc on the same stitch, skip 1, 1 hdc.
Thank you for visiting our website blog.amigurumiallfreepatterns.com.
To finish the beard, we will work single crochets on the straight part of the beard.
We sew the straight part of the beard on row 7 of the head, row 44 of the body.
Hat
Fluffy white yarn.
1. 6 sc on MR (6)
2. 6 inc (12)
3. 12 sc (12)
4. 6 dec (6)
Change to red regular yarn. I inserted a little fyber filling on the hat top.
5. 6 inc (12)
6. 12 sc (12)
7. (1sc,1inc)x6 (18)
8. 18 sc (18)
9. (2sc,1inc)x6 (24)
10. 24 sc (24)
11. (3sc,1inc)x6 (30)
12. 30 sc (30)
13. (4sc,1inc)x6 (36)
14. 36 sc (36)
15. (5sc,1inc)x6 (42)
16. 42 sc (42)
17. (6sc,1inc)x6 (48)
18. 48 sc (48)
19. (7sc,1inc)x6 (54)
20. 54 sc (54)
21. (8sc,1inc)x6 (60)
22. 60 sc (60)
23. 60 sc (60)
Change to fluffy white yarn.
24. 60 hdc (60)
Sew or glue on the head in the position you choose.
Nose
Skin color.
1. 6 sc in MR (6)
2. 6 inc (12)
3. 12 sc (12)
4. (2sc,1dec)x3 (9)
Finish and leave a long end for sewing. Sew between rows 8 and 11 of the head (rows 45 and 48 of the body).

Buttons
White.
Make three buttons and sew or glue on the belly.
1. 6 sc in MR (6)
2. 6 inc (12)
Close with invisible finish.
Jacket detail
White.
On the loops of row 20, attach a new white yarn and make hdc to the end.
Left ear
Skin color.
1. 5 sc on MR, turn (don’t chain) (5)
2. 5 inc, 1 slst on the center of the MR (10)
Finish of and leave a long end for sewing.
Right ear
Skin color.
1. 5 sc on MR, 1 slst on the center of the MR (don’t turn) (5)
2. 5 inc (10)
Finish of and leave a long end for sewing. The ears are sewed 10 stitches away from the nose, between rows 7 and 12 of the head.
After sewing the ears, I added a little glue so the ears wouldn’t stick out.
Mustache
White.
Make two and sew on the beard, with the nose between them.
1. 6 sc on MR (6)
2. 6 sc (6)
3. 3 inc, 3 sc (9)
4. 9 sc (9)
5. (1sc,1inc)x3, 3sc (12)
6-7. 12 sc (2 rows)
8. (1sc,1dec)x3, 3 sc (9)
9. 3 dec, 3 sc (6)
Close with inverted magic ring. Leave a long end for sewing.
The mustaches are sewed on the beard, next to the nose.
Eyes
Black embroidering yarn.
I embroided the eyes with a back yarn. I started the eyes entering the head with the yarn and exiting one stitch away and up from the nose, entering 5 stitches to the side, securing the middle of the eyes one row up, so it would look curved, as if he was smilling. You can also use safety eyes, if you wish so.
Eyebrows
White.
The eyebrows were embroided as wide as the eyes, using the eyes as reference to entering and exiting stitches to start and end the eyebrows. The eyebrows go down diagonally 2 rows. I made 3 loops with the white yarn so the eyebrows would look thick.
Congratulations, you have completed the amigurumi santa claus pattern.
Thank you for visiting our website blog.amigurumiallfreepatterns.com.
More amigurumi santa claus ideas: