Designer: Happy Toys by Yulya
Instagram: @happy_toys_by_yulya
Looking for a new amigurumi to crochet? I’ve got you…
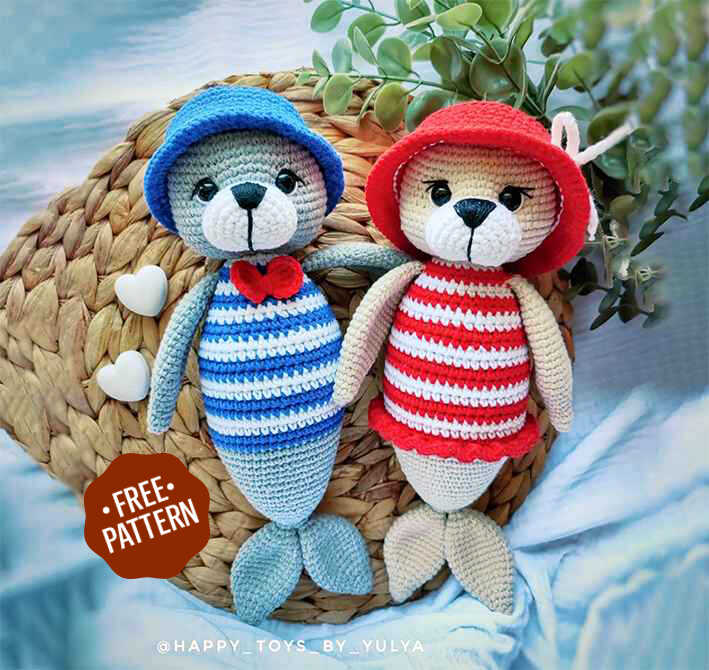
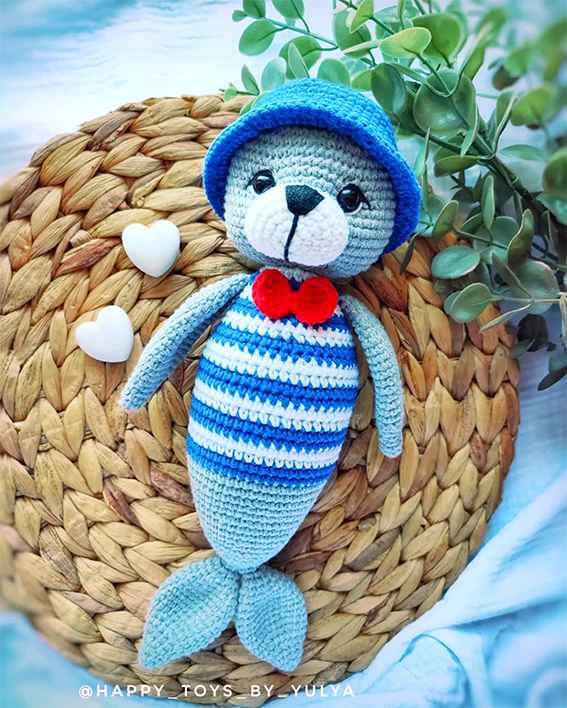
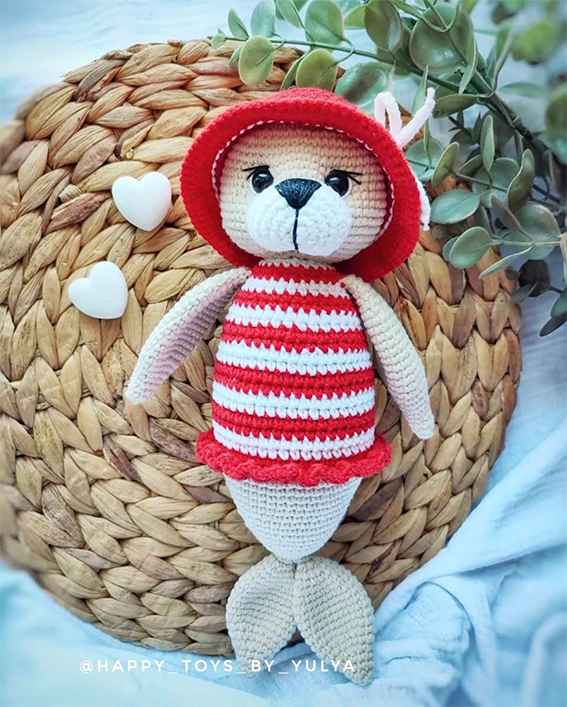
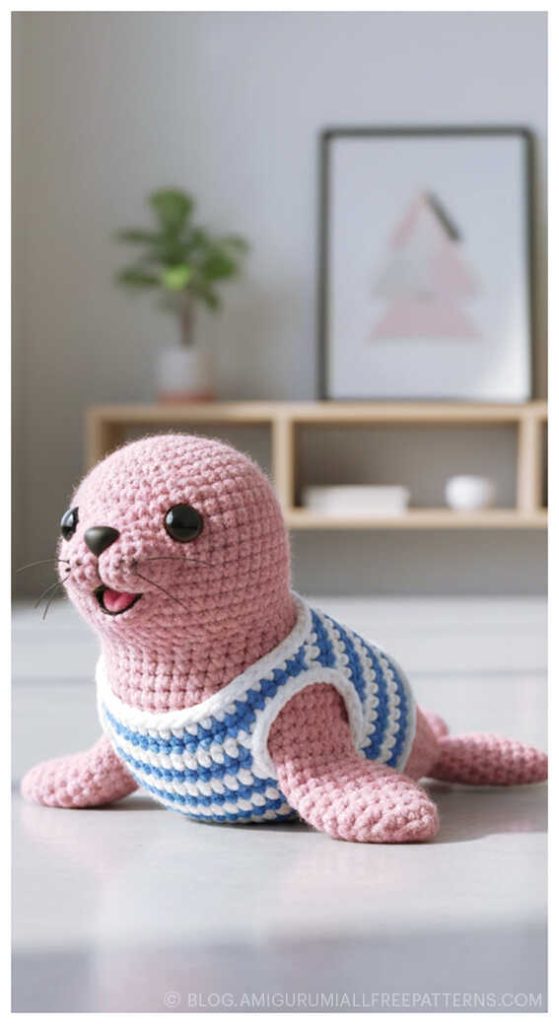
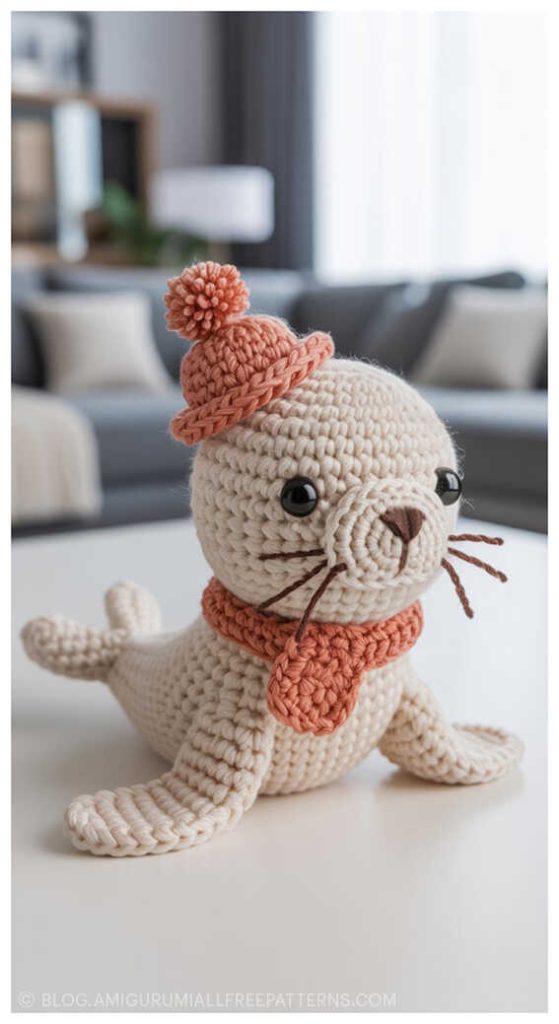
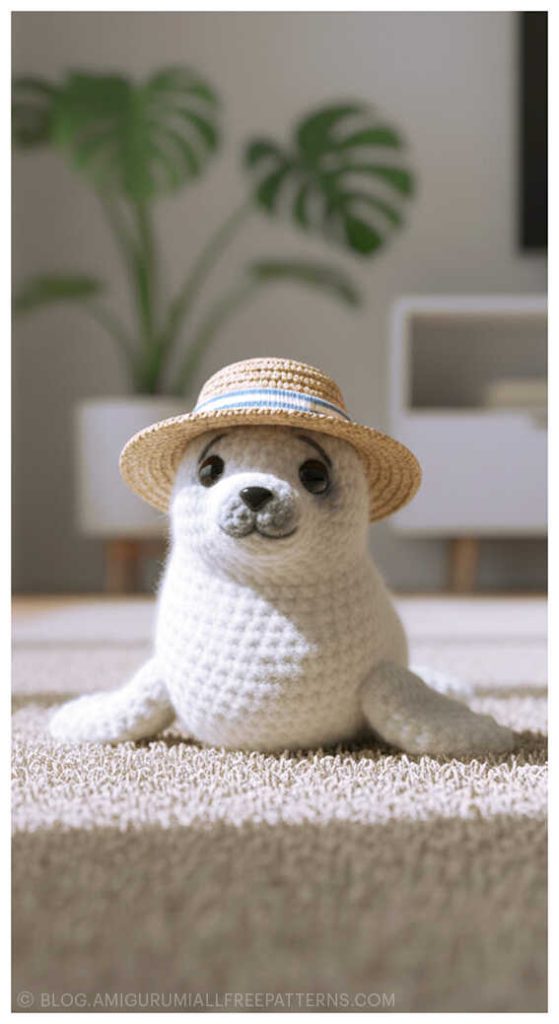
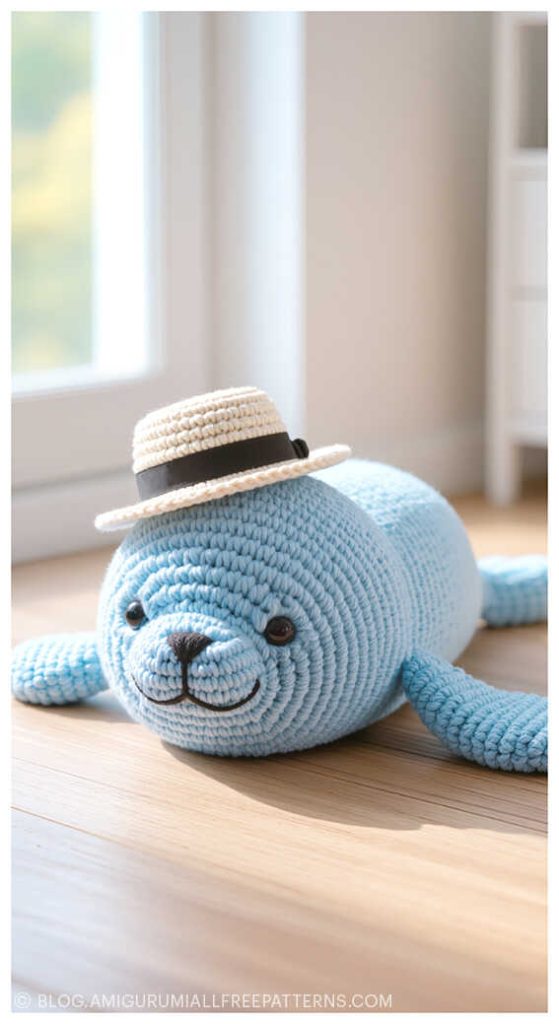
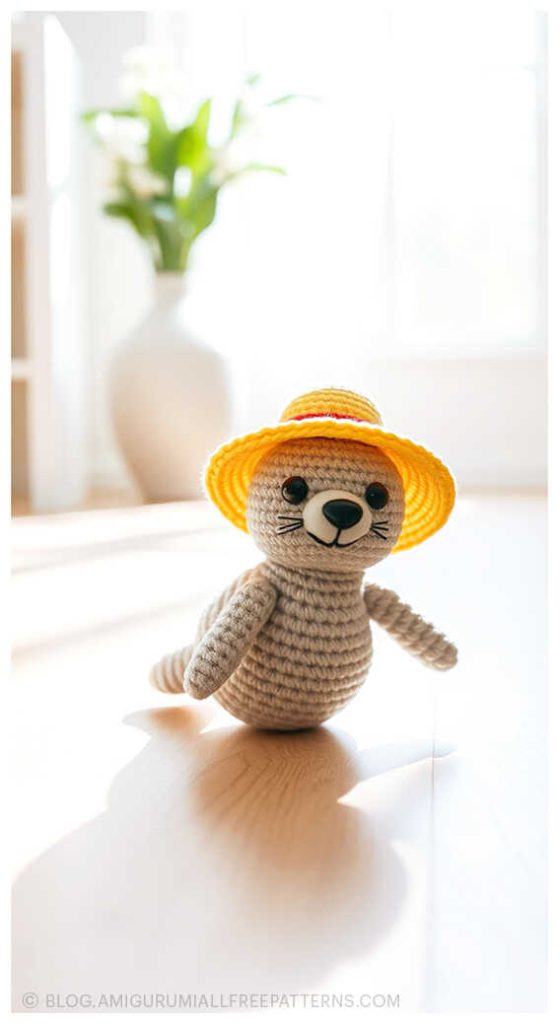
Bring a touch of oceanic charm to your crochet collection with this delightful Amigurumi Fur Seal Free Pattern, designed by Happy Toys by Yulya (VK). Perfectly sized at about 25 cm (9.8″) when finished, this adorable fur seal is crafted with Yarn Art Jeans yarn (a soft blend of 55% cotton and 45% acrylic) and comes in playful color combinations for both boys and girls. With accessories like a panama hat, bow tie, or skirt, plus the cute embroidered details using YarnArt Iris yarn, this project is not only charming but also step by step and beginner-friendly, making it ideal for both newcomers and experienced crocheters looking for a fun, rewarding project.
This free pattern guides you through creating a lovable fur seal with 2.0 mm crochet hook, 10 mm safety eyes, fiberfill, and basic sewing tools, ensuring each detail—from the muzzle to the expressive eyes—is perfectly crafted. Whether you’re making it as a gift or a new addition to your amigurumi collection, you’ll find fantastic ideas for styling and customizing your fur seal at the end of the pattern. Huge thanks to Happy Toys by Yulya for sharing this adorable, step-by-step pattern that brings a touch of marine magic to your crochet world!
Materials:
- Yarn Art Jeans yarn (55% cotton, 45% acrylic, 50 g/160 m), colors:
- for a boy: #46 (head and body), #01 (muzzle and stripes), #47 (panama hat and stripes) and #90 (bow tie)
- for a girl: #05 (head and body), #01 (muzzle and stripes), #90 (panama hat, skirt and stripes)
- 2.0 mm crochet hook
- 10 mm safety eyes
- YarnArt Iris yarn (black) for embroidering a nose and eye lashes
- Needle for sewing details together
- Yarn needle for eye tightening
- Scissors
- Fiberfill
Abbreviations:
R = row
mc = magic circle (magic ring)
ch = chain
sl st = slip stitch
sc = single crochet
dc = double crochet
dtr = double treble crochet
inc = 2 sc in the next stitch
dec = single crochet 2 stitches together
BLO = back loop only
FLO = front loop only
F. o. = finish off
(12) = number of stitches you should have at the end of the round/row
( ) * 6 = repeat whatever is between the brackets the number of times stated
AMIGURUMI FUR SEAL FREE PATTERN
Head
With main yarn:
R 1: 6 sc in mc (6)
R 2: (inc) * 6 (12)
R 3: (1 sc, inc) * 6 (18)
R 4: 1 sc, inc, (2 sc, inc) * 5, 1 sc (24)
R 5: (3 sc, inc) * 6 (30)
R 6: 2 sc, inc, (4 sc, inc) * 5, 2 sc (36)
R 7: (5 sc, inc) * 6 (42)
R 8: 3 sc, inc, (6 sc, inc) * 5, 3 sc (48)
R 9: (7 sc, inc) * 6 (54)
R 10-20: 54 sc (11 rows)
Insert safety eyes between R 13 and R 14 at the distance of 10 st from each other.
R 21: (7 sc, dec) * 6 (48)
R 22: 3 sc, dec, (6 sc, dec) * 5, 3 sc (42)
R 23: (5 sc, dec) * 6 (36)
R 24: 2 sc, dec, (4 sc, dec) * 5, 2 sc (30)
R 25: (3 sc, dec) * 6 (24)
Stuff with fiberfill.
F. o.
Muzzle
With white yarn:
R 1: 6 sc in mc (6)
R 2: (inc) * 6 (12)
R 3: (1 sc, inc) * 6 (18)
R 4: 1 sc, inc, (2 sc, inc) * 5, 1 sc (24)
R 5: (3 sc, inc) * 6 (30)
R 6-7: 30 sc (2 rows)
F. o. and leave a long tail for sewing.
Fore flippers (make 2)
With main yarn:
R 1: 6 sc in mc (6)
R 2: (1 sc, inc) * 3 (9)
R 3: 9 sc
R 4: 1 sc, inc, (2 sc, inc) * 2, 1 sc (12)
R 5: 12 sc
R 6: (1 sc, inc) * 6 (18)
R 7: 18 sc
R 8: 1 sc, inc, (2 sc, inc) * 5, 1 sc (24)
R 9-19: 24 sc (11 rows)
R 20: 1 sc, dec, (2 sc, dec) * 5, 1 sc (18)
R 21: 18 sc
R 22: (1 sc, dec) * 6 (12)
R 23: 12 sc
R 24: 1 sc, dec, (2 sc, dec) * 2, 1 sc (9)
R 25: 9 sc
Do not stuff.
F. o.
Hind flippers and body (one piece)
Hind flippers (make 2)
With main yarn:
R 1: 6 sc in mc (6)
R 2: (1 sc, inc) * 3 (9)
R 3: 9 sc
R 4: 1 sc, inc, (2 sc, inc) * 2, 1 sc (12)
R 5: (1 sc, inc) * 6 (18)
R 6: 18 sc
R 7: 1 sc, inc, (2 sc, inc) * 5, 1 sc (24)
R 8-13: 24 sc (6 rows)
R 14: 1 sc, dec, (2 sc, dec) * 5, 1 sc (18)
R 15: 18 sc
R 16: (1 sc, dec) * 6 (12)
R 17: 12 sc
R 18: (dec) * 6 (6)
Do not stuff.
F. o.
Don’t cut the yarn when you’ll finish the second flipper!
Join the two flippers in the next row:
R 19: 6 on the first flipper, 6 sc on the second flipper (12)
R 20: 12 sc
R 21: (1 sc, inc) * 6 (18)
R 22: 1 sc, inc, (2 sc, inc) * 5, 1 sc (24)
R 23: 24 sc
R 24: (3 sc, inc) * 6 (30)
R 25-26: 30 sc (2 rows)
R 27: 2 sc, inc, (4 sc, inc) * 5, 2 sc (36)
R 28-29: 36 sc (2 rows)
R 30: (5 sc, inc) * 6 (42)
R 31-32: 42 sc (2 rows)
R 33: 3 sc, inc, (6 sc, inc) * 5, 3 sc (48)
R 34-35: 48 sc (2 rows)
From the next row we will alternate two colors blue/red and white to get stripes.
For a boy: blue and white, for a girl: red and white.
For a girl crochet R 36 in BLO!
R 36-37: 48 sc – blue/red
R 38-39: 48 sc – white
R 40-41: 48 sc – blue/red
R 42-43: 48 sc – white
R 44-45: 48 sc – blue/red
R 46-47: 48 sc – white
R 48: 3 sc, dec, (6 sc, dec) * 5, 3 sc (42) – blue/red
R 49: 42 sc – blue/red
R 50: (5 sc, dec) * 6 (36) – white
R 51: 36 sc – white
R 52: 36 sc – blue/red
R 53: 2 sc, dec, (4 sc, dec) * 5, 2 sc (30) – blue/red
54-55: 30 sc – white
In the next row we will crochet the fore flippers into the body.
R 56: 5 sc, 4 sc together with sc of the 1st flipper, 11 sc, 4 sc together with sc of the 2nd flipper, 6 sc (30) – blue/red
R 57: (3 sc, dec) * 6 (24) – blue/red
R 58-59: 24 sc – white
Stuff the body with fiberfill.
F. o. and leave a long tail for sewing.
Skirt
Attach the red yarn to the front loop of the R 36 and crochet in FLO:
R 36: 2 ch, (3 dc in one st, 2 dc in one st) * repeat to the end of the row, sl st
F. o.
Panama hat
With 2.5 mm crochet hook and blue/red yarn:
R 1: 6 sc in mc (6)
R 2: (inc) * 6 (12)
R 3: (1 sc, inc) * 6 (18)
R 4: (2 sc, inc) * 6 (24)
R 5: (3 sc, inc) * 6 (30)
R 6: (4 sc, inc) * 6 (36)
R 7: (5 sc, inc) * 6 (42)
R 8: (6 sc, inc) * 6 (48)
R 9: (7 sc, inc) * 6 (54)
R 10: BLO: 54 sc
R 11-16: 54 sc (6 rows)
R 17: (2 dc in one st, 1 dc) * repeat to the end of the row, sl st
For a girl’s panama hat crochet R 18: 1 sc in every st to the end of the row.
You can decorate the girl’s panama hat with sl st around the R 10 using a white yarn.
Crochet 50 ch with a white yarn, make a bow and sew it on the panama hat
Bow tie
With red yarn:
In a magic circle: 3 ch, 4 dtr, 3 ch, sl st, 3 ch, 4 dtr, 3 ch, sl st.
Pull the magic circle.
Wrap the middle of the bow a few times with yarn.
F.o. and leave a long tail for sewing.
Sew the bow tie to the toy.
Assembly
Sew the head to the body.
Make eye tightening.
Sew the muzzle to the head between R 13 and R 22. Add a some stuffing when you’re ¾ done with sewing it on.
Embroider a nose and eye lashes with a black yarn, eye whites with a white yarn.
You may also like Crochet Baby Shark Amigurumi Free Pattern
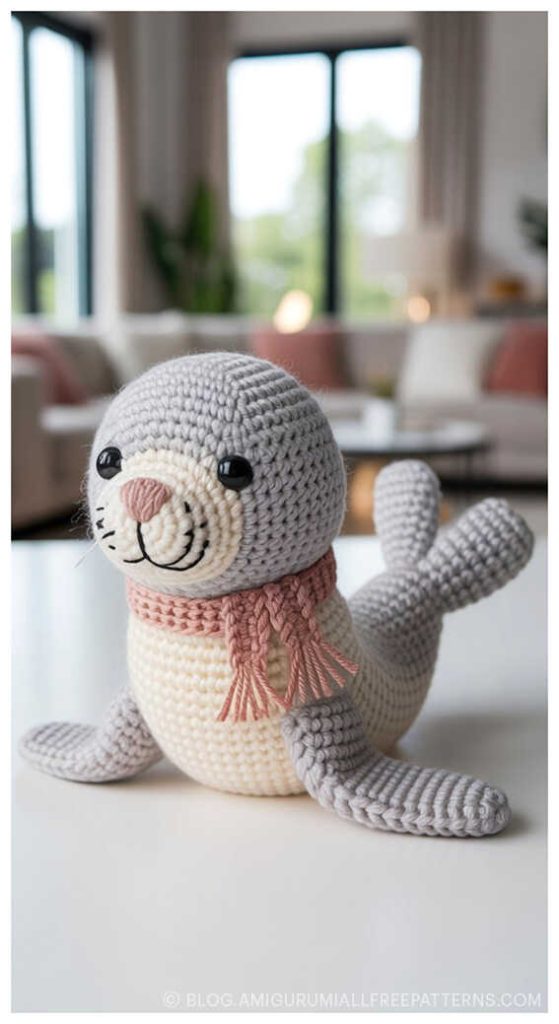
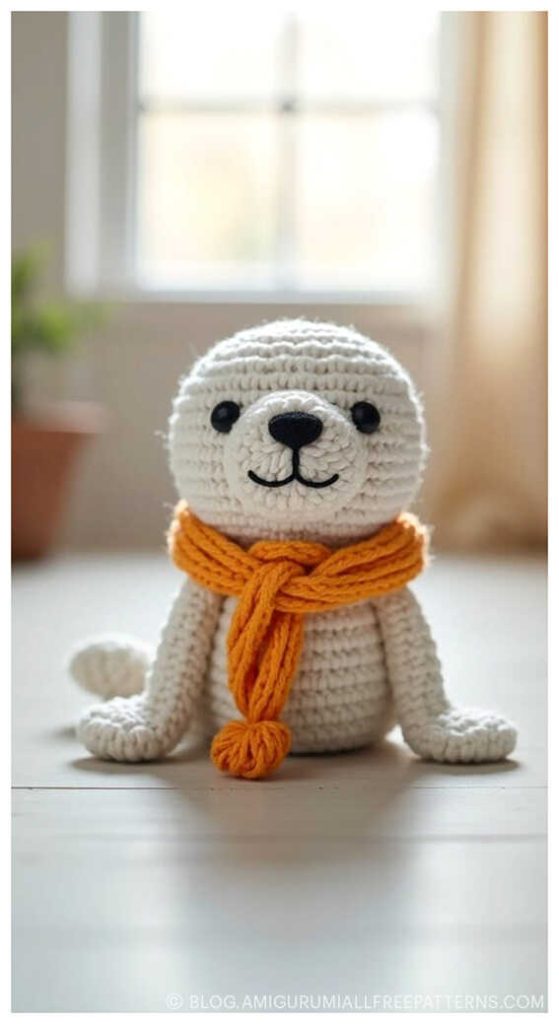
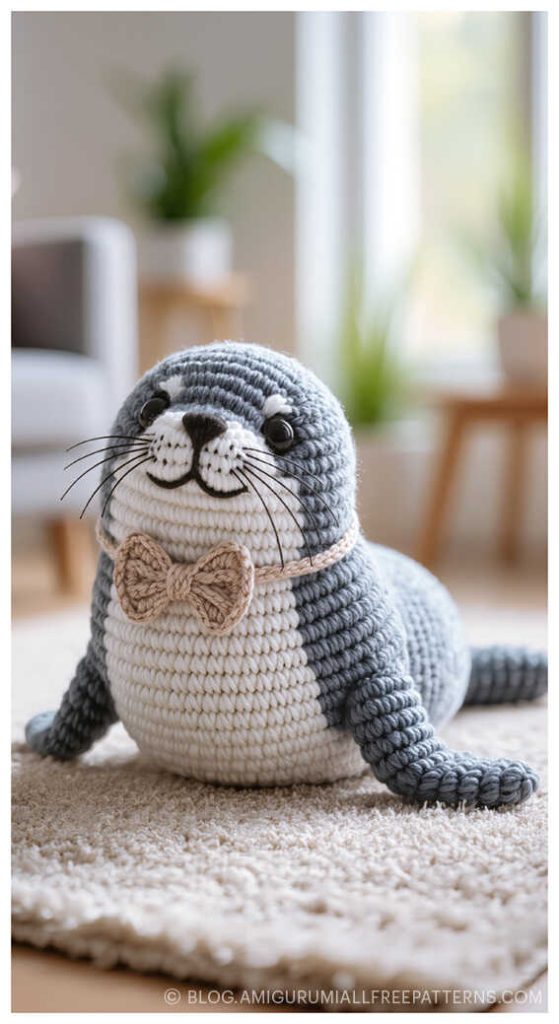
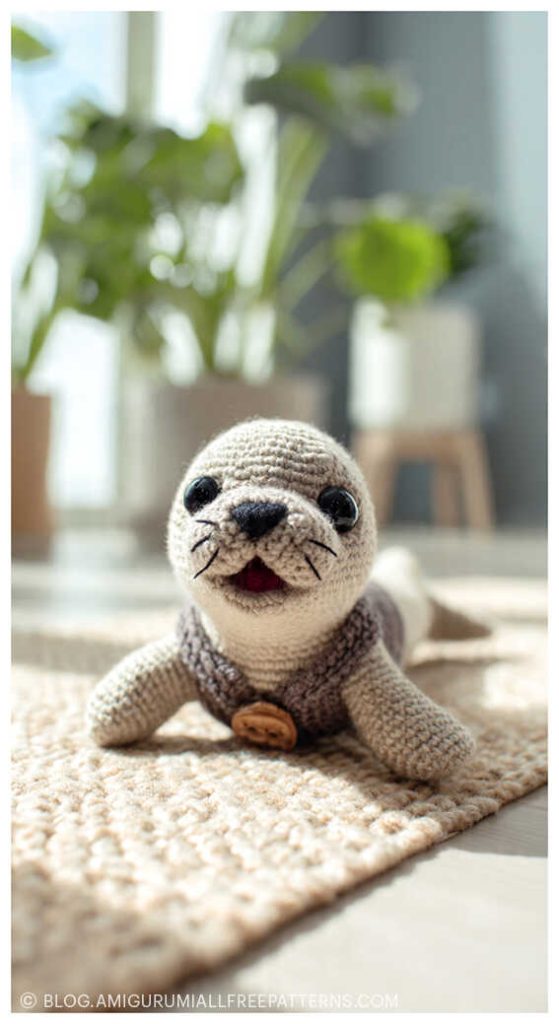
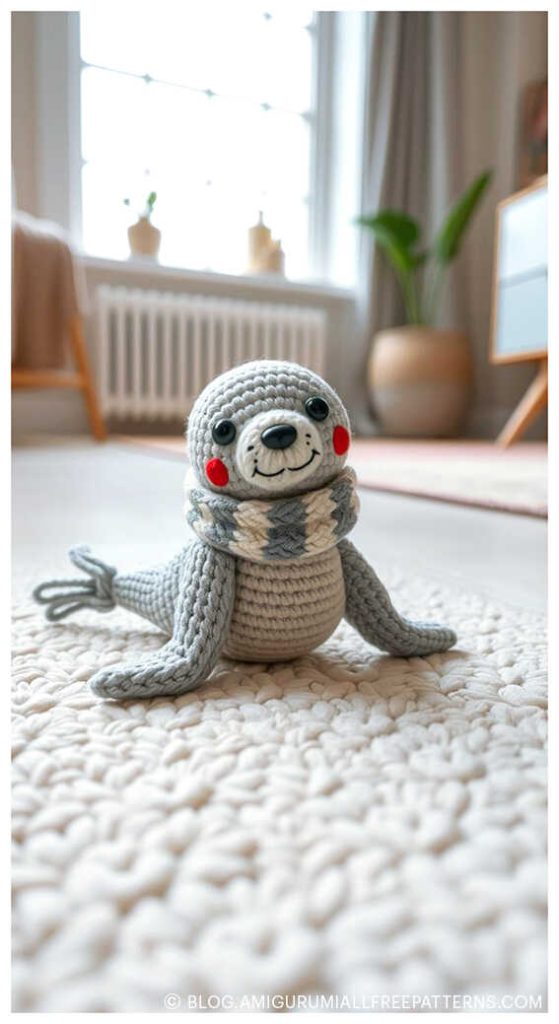
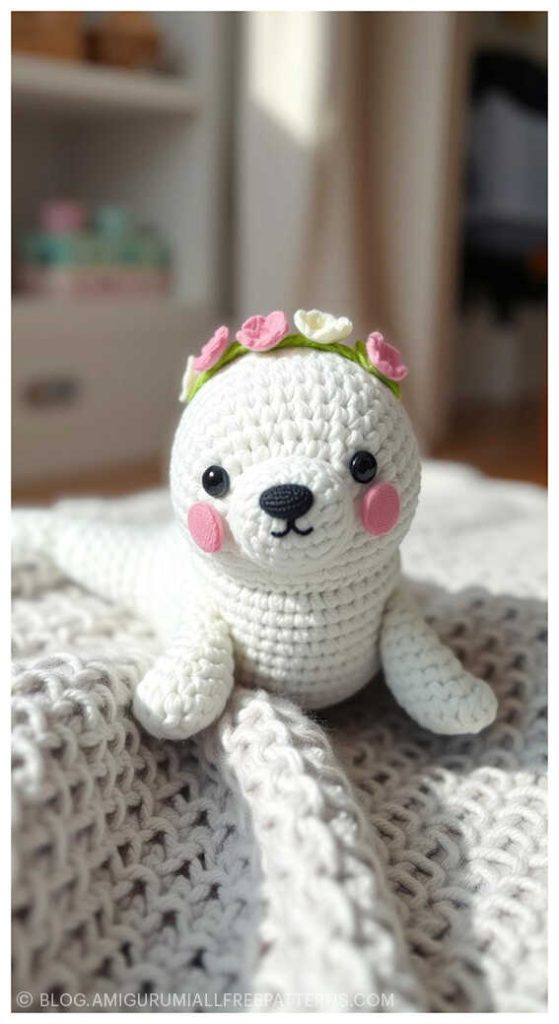
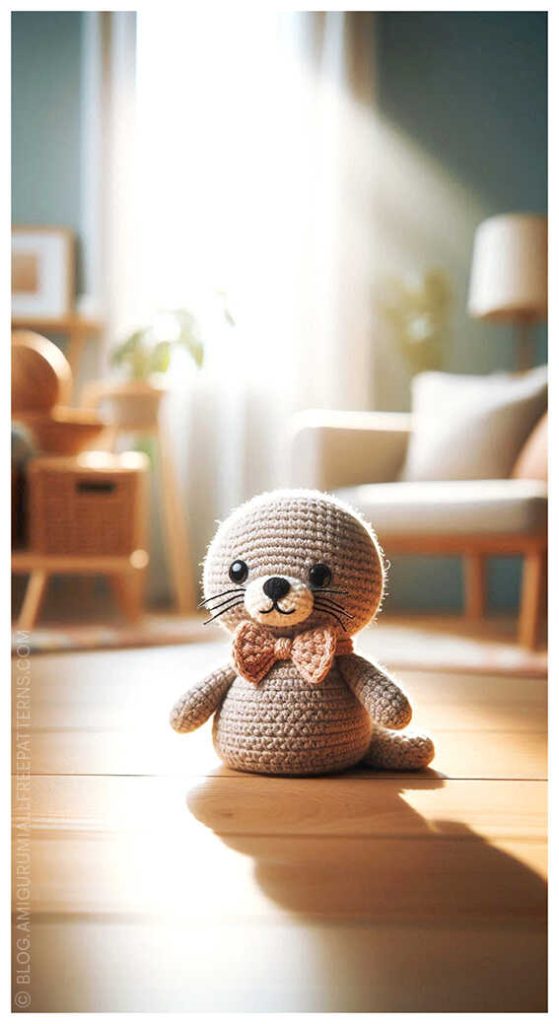
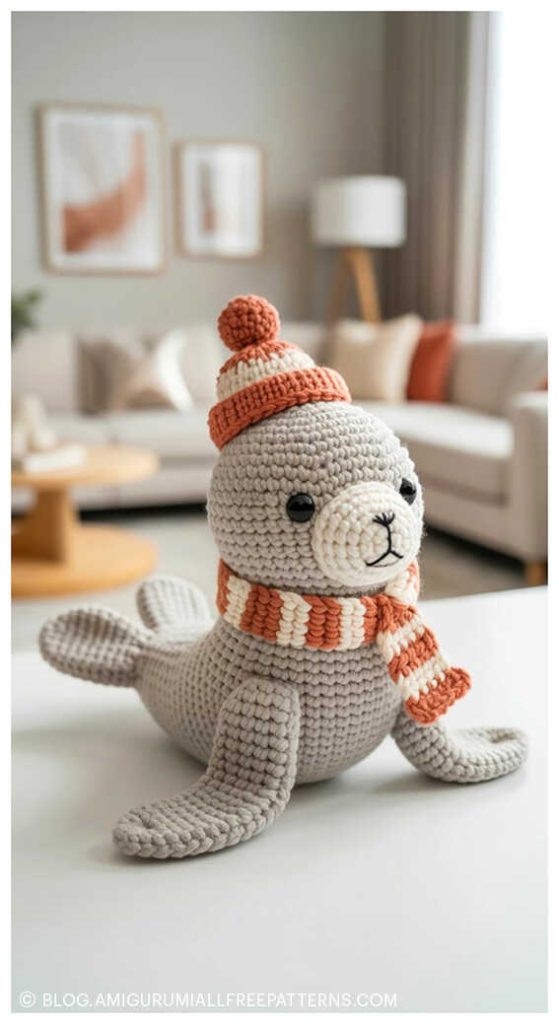
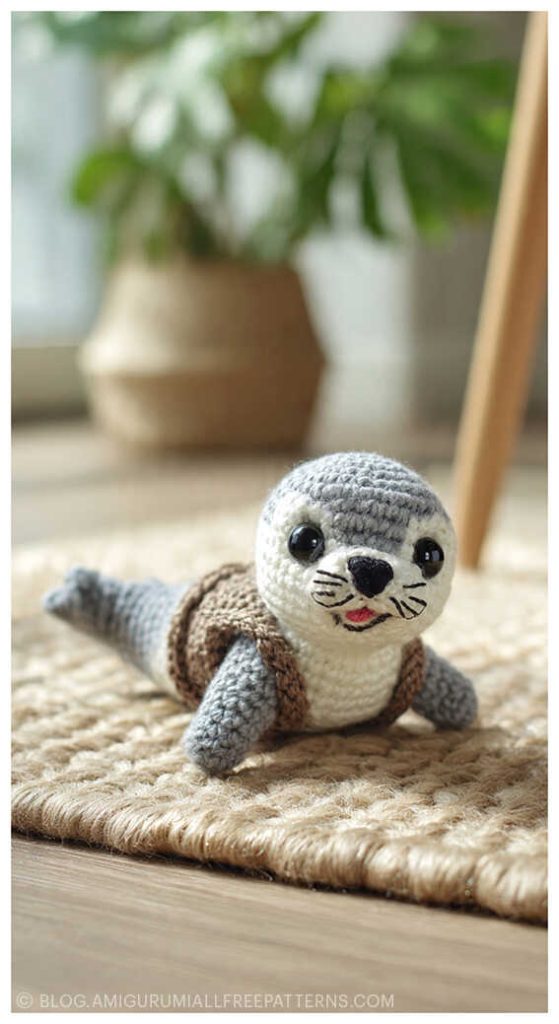
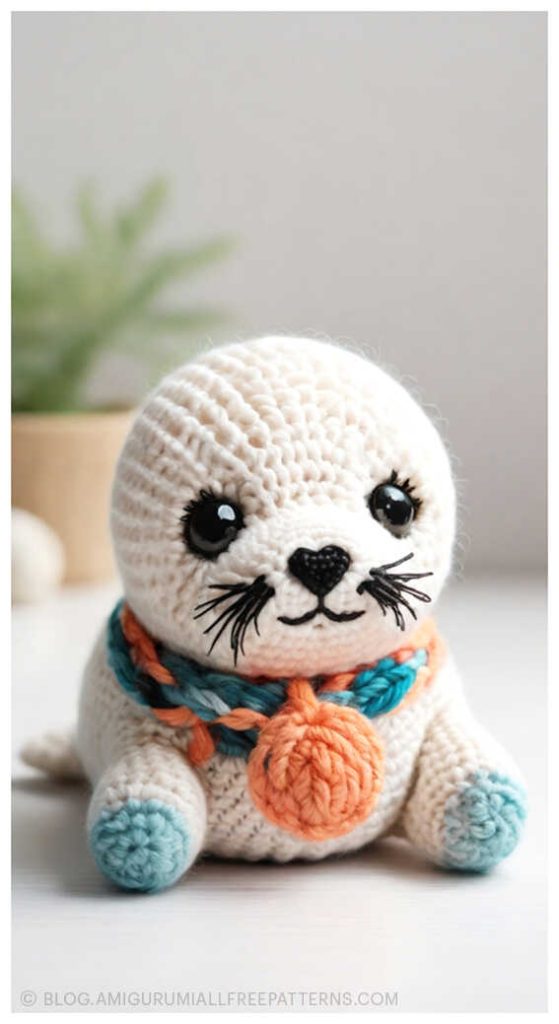
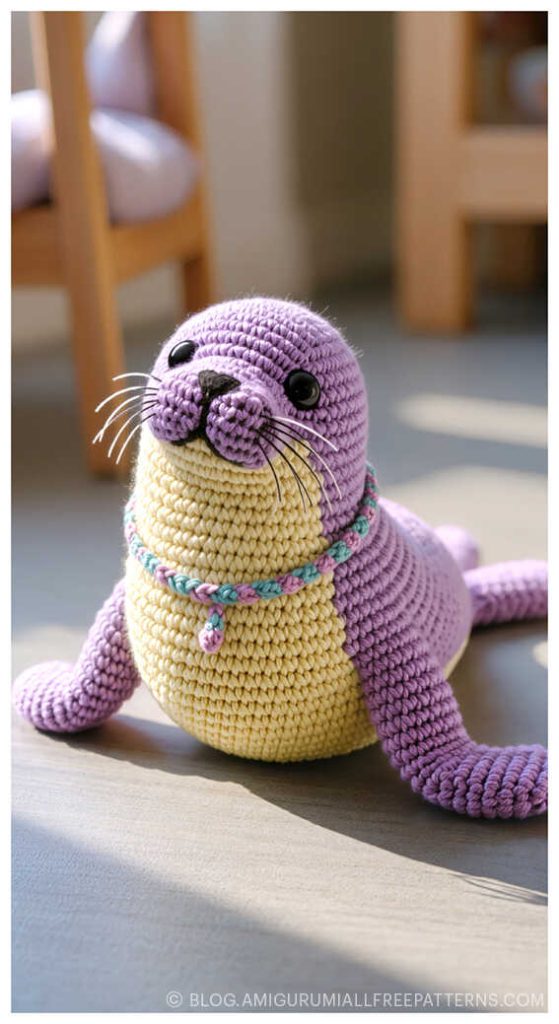
Charming amigurumi seal ideas:

Craft Your Own Amigurumi Wonderland
Step into a world of handmade charm with step-by-step tutorials for every amigurumi animal – from adorable amigurumi cats, amigurumi dogs, and amigurumi bunnies to magical amigurumi unicorns, gentle amigurumi elephants, and towering amigurumi giraffes. Explore patterns for amigurumi bears, amigurumi foxes, amigurumi pandas, amigurumi monkeys, amigurumi lambs, amigurumi pigs, amigurumi birds, amigurumi penguins, amigurumi llamas, amigurumi hippos, amigurumi dinosaurs, and whimsical amigurumi dolls and amigurumi clowns.
Each pattern includes clear instructions and inspiring images, perfect for beginners and experienced crocheters. Don’t miss out on the latest amigurumi creations – stay connected with us at blog.amigurumiallfreepatterns.com, join our Facebook page and Facebook group, and bring these delightful toys to life stitch by stitch!
Keywords: free amigurumi patterns, crochet toys, amigurumi animals, beginner-friendly crochet, amigurumi dolls, DIY crochet patterns, easy crochet