Designer: Teirin Evenstar
Instagram: @teirin_evenstar
Here’s a new amigurumi pattern for you to enjoy…
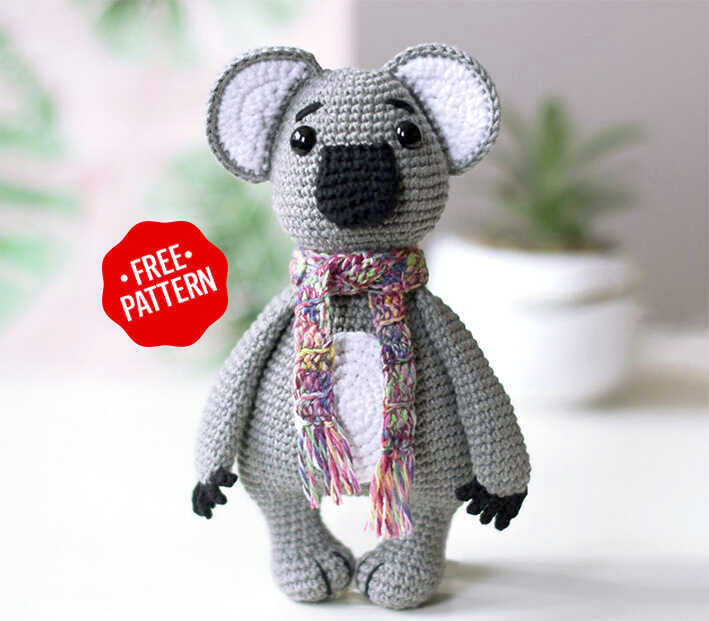
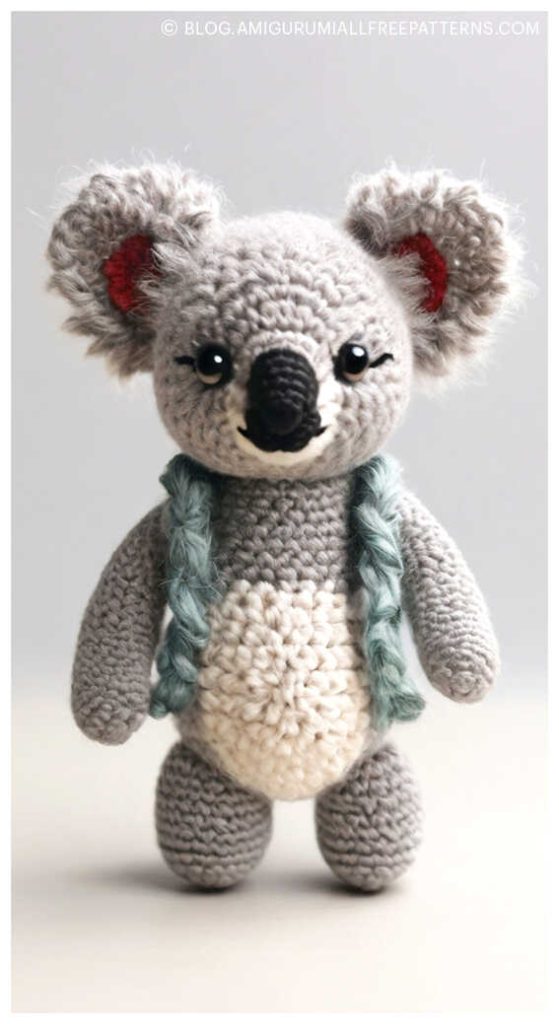
Wrap up your yarn and hooks for one of the sweetest woodland friends — the Free Crochet Koala with Scarf Amigurumi Pattern designed by the talented Teirin Evenstar (YouTube). This step-by-step, beginner-friendly crochet project is perfect for anyone who loves cute and cozy handmade toys. With its soft gray body, fluffy ears, and colorful little scarf, this amigurumi koala makes a delightful gift or decor piece. Using YarnArt Jeans yarn in gray, black, white, and your favorite scarf color, along with a 2 mm hook, 8–10 mm safety eyes, toy filler, and a large eye needle, you’ll have everything you need to bring this adorable koala to life.
This free crochet pattern guides you through each step with clear instructions, making it ideal for beginners and experienced crafters alike. At the end of the tutorial, you’ll also find some inspiring amigurumi koala ideas to customize your own creation with different scarf colors and accessories. A warm thank you to Teirin Evenstar for sharing this charming and easy-to-follow pattern that adds a touch of Aussie charm to your handmade collection!
Materials and tools:
Hook number 2;
Large eye needle;
Safety 8-10 mm;
Filler for toys;
YarnArt Jeans yarn: gray, black, white and any color for a scarf.
AMIGURUMI KOALA FREE PATTERN
Head:
(with gray yarn):
1) 6 sc in MR [6]
2) 6 inc [12]
3) (1 sc, inc)*6 [18]
4) (inc, 2 sc)*6 [24]
5) (3 sc, inc)*6 [30]
6 – 7) 30 sc [30] – 2 rows
8) (inc, 4 sc)*6 [36]
9 – 10) 36 sc [36] – 2 rows
11) (5 sc, inc)*6 [42]
12 – 13) 42 sc [42] – 2 rows
14) 3 sc, inc, (6 sc, inc)*5, 3 sc [48]
15) 48 sc [48]
16) (inc, 6 sc)*6 [54]
17) 54 sc [54]
18) (dec, 7 sc)*6 [48]
19) 48 sc [48]
20) 3 sc, dec, (6 sc, dec)*5, 3 sc [42]
Here we will stop for now, tie the nose, sew it to the head, attach the eyes and embroider the eyebrows.
We insert the eyes and fix them between 10 and 11 rows from the top of the head at a distance of 8 sc from each other. Eyebrows are embroidered with black thread above the eyes through the 7th and 8th row from the crown.
Nose:
(black yarn):
1) 5 ch (4 main loops and 1 turning chain) – on one side of the pigtail from the ch: 2 sc in the second loop from the hook, 2 sc, 3 sc in the last loop; on the second side of the pigtail: 2 sc, 1 sc in the loop into which we crocheted the first 2 sc [10]
2) 2 inc, 2 sc, 3 inc, 2 sc, 1 inc [16]
3 – 5) 16 sc [16] – 3 rows
6) 1 sc (here is now a new beginning of the series), (2 sc, dec)*4 [12]
We fold the part, sew it, crocheting a row of 6 sc. We fasten and cut the thread, leaving a long tip in order to sew the nose to the head.
Sew the edge of the nose from 6 sc in the 11th row of the head from the crown between the eyes (at a distance of 1 sc from each eye), and make a few stitches along the canvas between the 11th and 18th rows of the head to secure the nose well.
We continue to crochet the head:
21) (dec, 5 sc)*6 [36]
22) 2 sc, dec, (4 sc, dec)*5, 2 sc [30]
23) (3 sc, dec)*6 [24]
24) 1 sc, dec, (2 sc, dec)*5, 1 sc [18]
25) (dec, 1 sc)*6 [12]
26) 6 dec [6]
We fix, cut and hide the thread.
Ears (2 parts):
(White yarn):
We crochet in turning rows.
1) 3 sc in MR [3]
2) 1 ch, turn, 3 inc [6]
3) 1 ch, turn, inc, 1 sc, 2 inc, 1 sc, inc [10]
4) 1 ch, turn, inc, 1 sc, inc, 4 sc, inc, 1 sc, inc [14]
5) 1 ch, turn, inc, 2 sc, inc, 1 sc, inc, 2 sc, inc, 1 sc, inc, 2 sc, inc [20]
Without turning the crocheting, we make 1 ch and tie the bottom edge next to 10 sc. We fasten and cut the thread.
We crochet another exactly the same part of gray color, but we do not cut the thread.
We put together the white and gray parts and sew them together, tying the sc along the side of the semicircle and along the straight side (we make ch in the corners). We fix and cut the thread, leaving a long tip for sewing the ear to the head.
The second ear is crocheted in the same way.
We sew the ears on the sides of the head (bending the details slightly) between 3 and 15 rows from the crown.
Legs (2 parts):
(with gray yarn):
1) 6 sc in MR [6]
2) 6 inc [12]
3) (1 sc, inc)*6 [18]
4) (inc, 2 sc)*6 [24]
5 – 6) 24 sc [24] – 2 rows
7) (2 sc, dec)*6 [18]
8) 5 sc, 4 dec, 5 sc [14]
9 – 13) 14 sc [14] -5 rows – SLST in the next loop, fasten and cut the thread.
We crochet the second leg in the same way, but we do not cut the thread.
At the end of the 13th row, we crochet another 9 sc on the second leg (here we will have a new beginning of the row and we will start crocheting the body, we still do not cut the thread).
Body:
14) 6 ch from second leg, 1 sc in 5 loop from SLST on the first leg, 4 sc, inc, 2 sc, inc, 6 sc, inc, 2 sc, inc, 6 sc, inc, 2 sc, inc, 6 sc, inc, 2 sc, inc, 1 sc [48]
15) (7 sc, inc)*6 [54]
16) 9 sc, inc, 10 sc, inc, 3 sc, inc, 10 sc, inc, 11 sc, inc, 3 sc, inc, 2 sc [60]
17 – 24) 60 sc [60] – 8 rows
25) (dec, 8 sc)*6 [54]
26 – 27) 54 sc [54] – 2 rows
28) (dec, 7 sc)*6 [48]
29 – 30) 48 sc [48] – 2 rows
31) (dec, 6 sc)*6 [42]
32 – 33) 42 sc [42] – 2 rows
34) (dec, 5 sc)*6 [36]
35 – 36) 36 sc [36] – 2 rows
37) (dec, 4 sc)*6 [30]
38 – 39) 30 sc [30] – 2 rows
40) (dec, 3 sc)*6 [24] – SLST in the next loop. We fix, cut the thread, leaving a long tip for sewing the body and head together.
We sew the body to the head for the 4th row from the end of crocheting the head. We embroider the toes on the hind legs with black yarn.
You may also like Crochet Squirrel Amigurumi Free Pattern
Spot and Belly:
(White yarn):
1) 6 sc in MR [6]
2) 4 sc in 1 st, 2 sc, 4 sc in 1 st , 2 sc [12]
3) 1 sc, 3 inc, 3 sc, 3 inc, 2 sc [18]
4) 2 sc, 3 inc, 6 sc, 3 inc, 4 sc [24]
5) 3 sc, (inc, 1 sc)*3, 6 sc, (inc, 1 sc)*3, 3 sc [30]
6) 4 sc, (inc, 1 sc)*3, 9 sc, (inc, 1 sc)*3, 5 sc [36] – SLST in the next loop. Leave a long end of the thread and cut it off. We sew a spot to the body (in the middle) between 6 and 22 rows from the end of crocheting the body.
Front legs (2 parts):
(with gray yarn):
1) 4 ch (3 main and 1 lifting loop), 2 sc in the second loop from the hook, 1 sc, 3 sc in the last loop, 1 sc in the second side of the pigtail, 1 sc in the loop that was the first [8]
2) 2 inc, 1 sc, 3 inc, 1 sc, inc [14]
3 – 6) 14 sc [14] – 4 rows
Here we stop for now to crochet the fingers (we do not fasten or cut the thread).
We take black yarn and attach the thread to the side of the paw in the 3rd row from the beginning with the help of SLST, 3 ch, starting from the second loop from the hook we make 2 SLST, we join the second row with the help of SLST, 3 ch, 2 SLST from the second loop from the hook.
Then we join with the help of SLST already in the first row (in the middle of the pigtail from the initial ch), 4 ch, 3 SLST from the second loop from the hook, we join the row, 4 ch, 3 SLST starting from the second loop from the hook, we join. And 3 more ch, then 2 SLST from the second loop from the hook, we join.
We hide the ends of the threads and continue to crochet the paw.
7 – 10) 14 sc [14] – 4 rows
11) dec, 5 sc, dec, 5 sc [12]
12 – 19) 12 sc [12] – 8 rows
20) dec, 4 sc, dec, 4 sc [10]
21) 10 sc [10]
22) 1 sc (here is the new beginning of the series).
The upper paws are practically not stuffed with filler, add a little to the place where the koala has brushes.
Fold the upper part of the paw together and sew with a row of 5 sc. fasten, cut the thread, leaving a long end for sewing the paw to the body.
We sew both upper paws to the body slightly at an angle (the edge that is on the front of the body should be higher than the one on the back), between 2 and 6 rows from the end of crocheting the body.
Scarf:
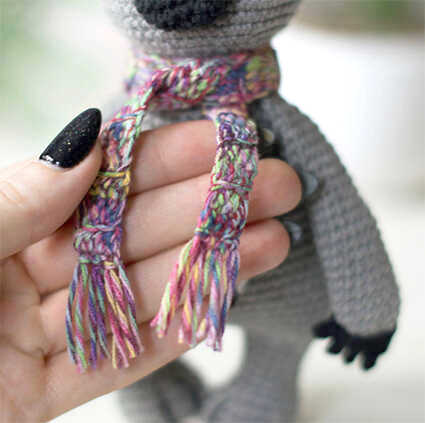
(with yarn of any color you like):
We crochet in turning rows.
1) 4 ch (3 main loops, 1 turning chain), 3 hdc starting from the second loop from the hook [3]
2) 1 ch, turn crocheting, 3 hdc BLO [3]
3 – 52) Just like the second row [3] – 50 rows.
We fix the thread, hide the ends and make a fringe on both sides.
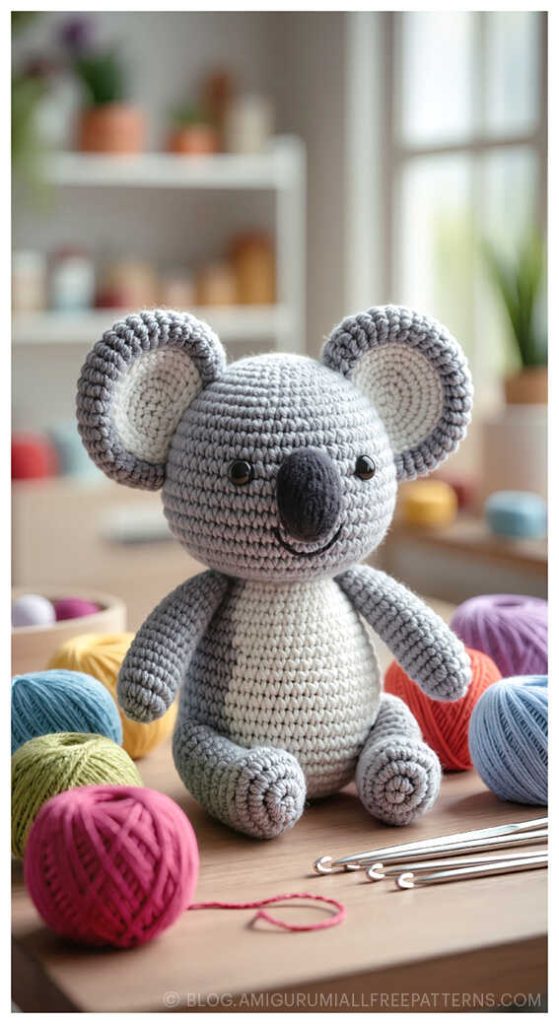
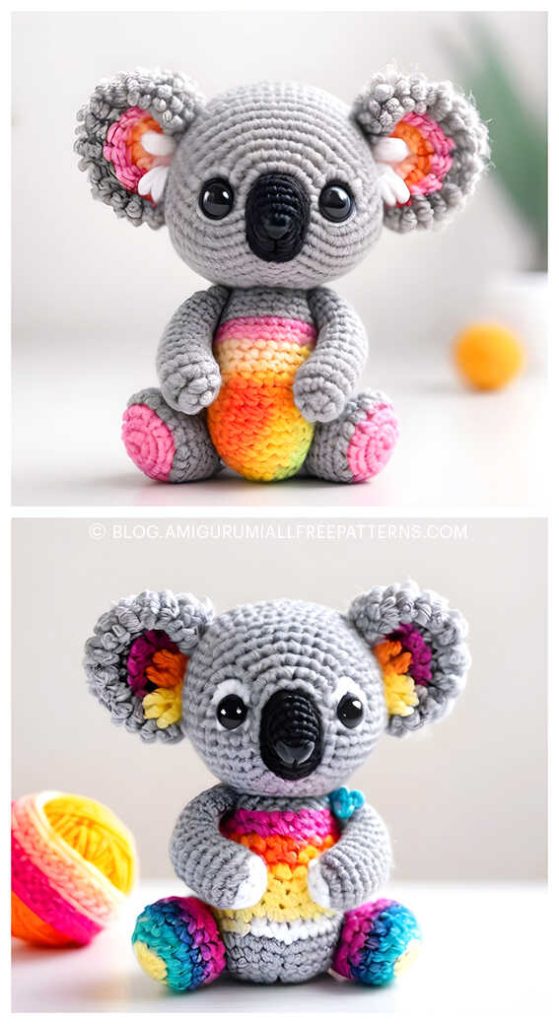
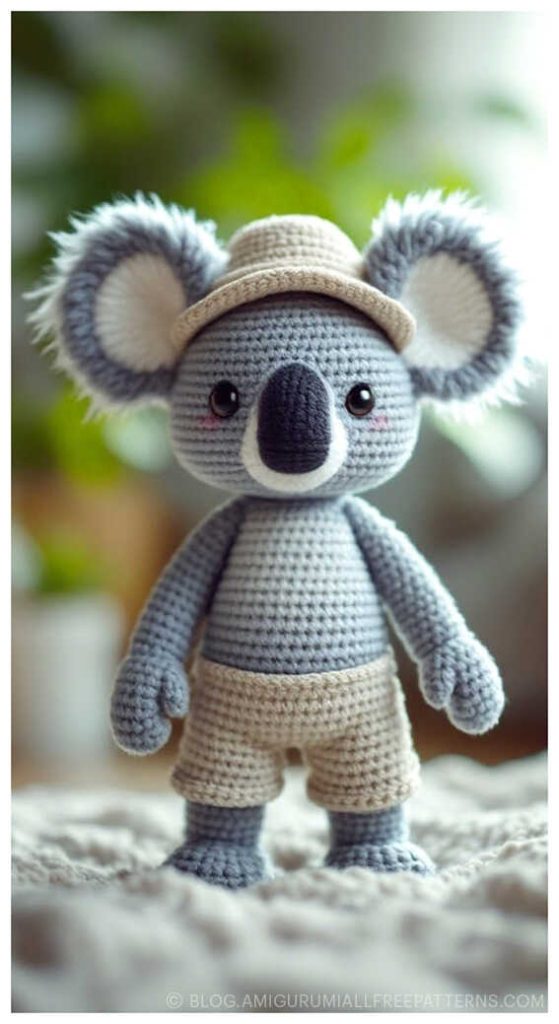
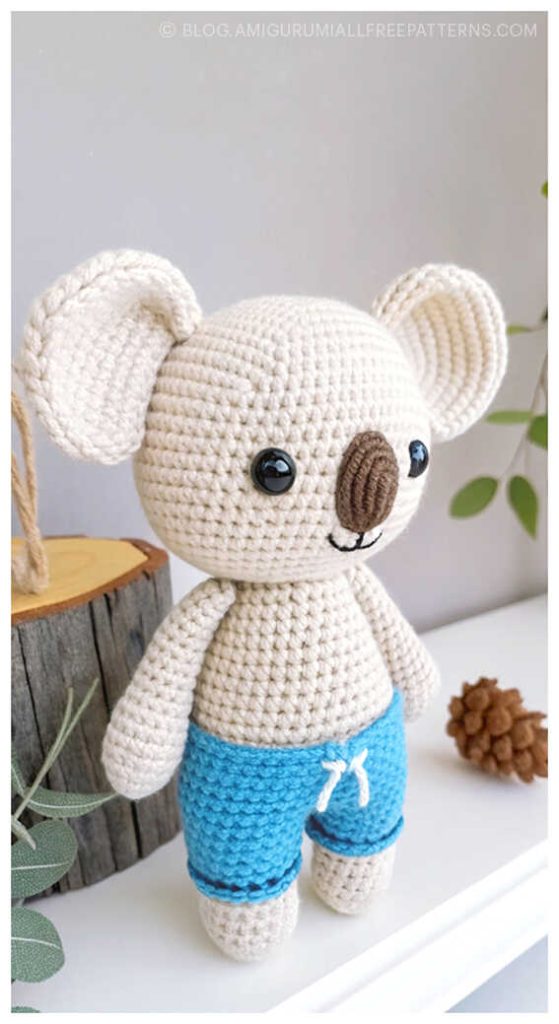
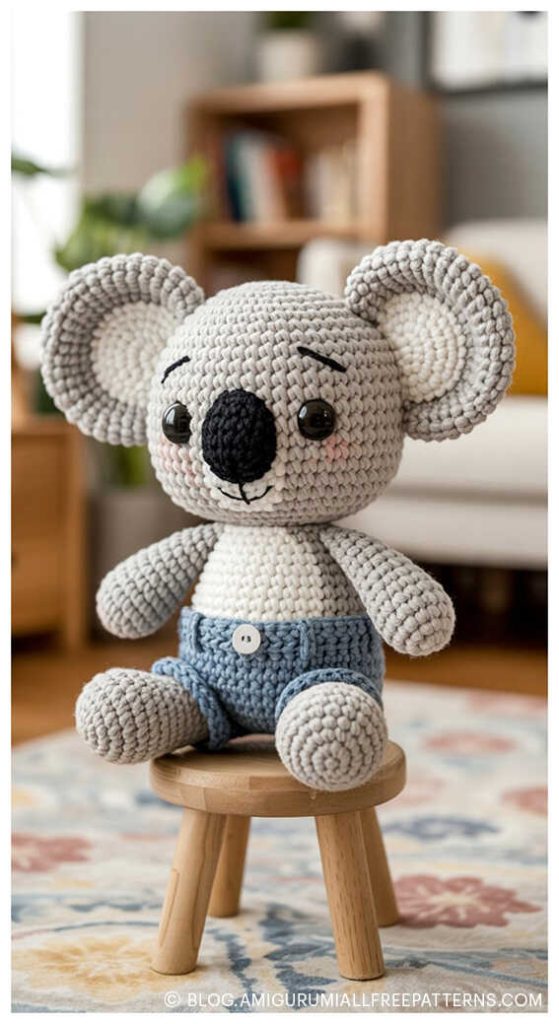
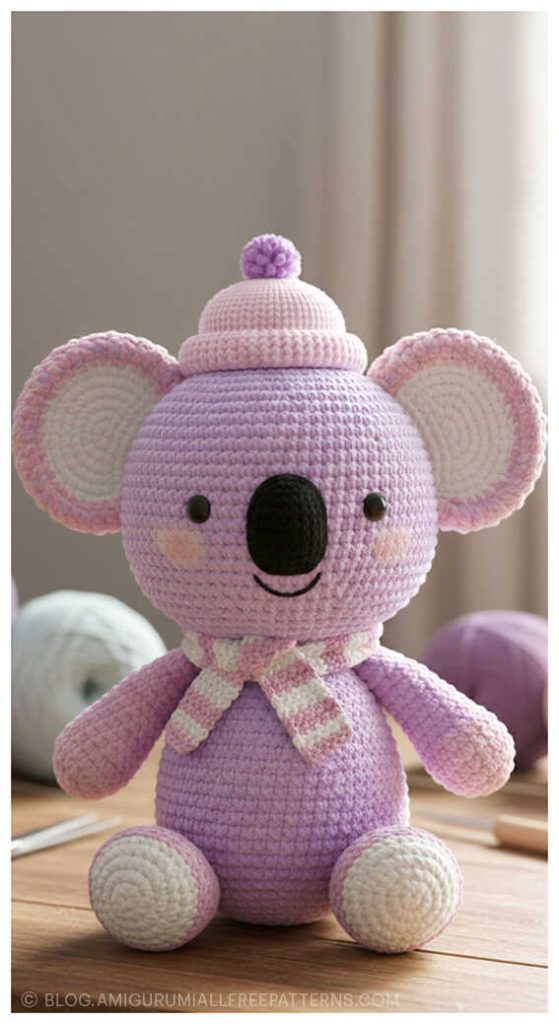
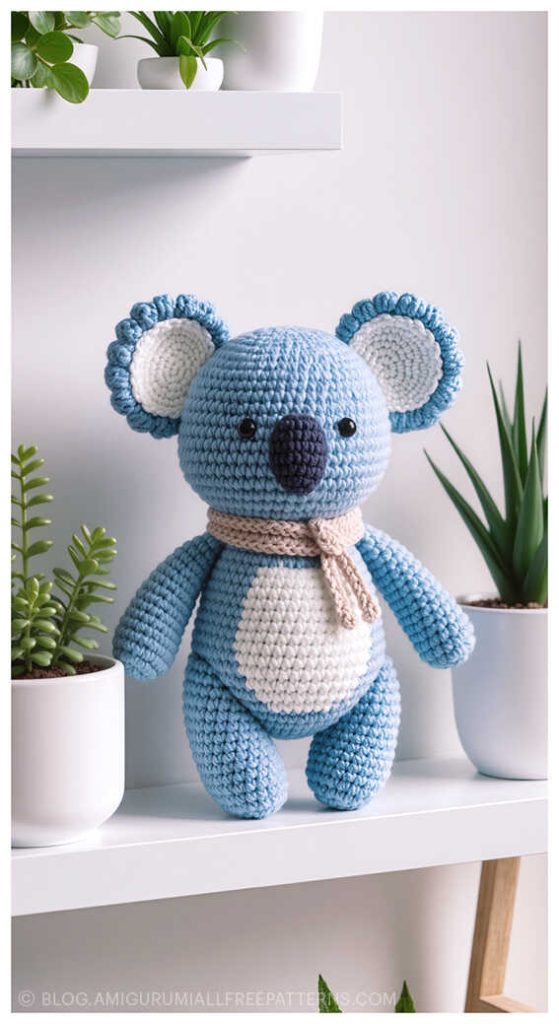
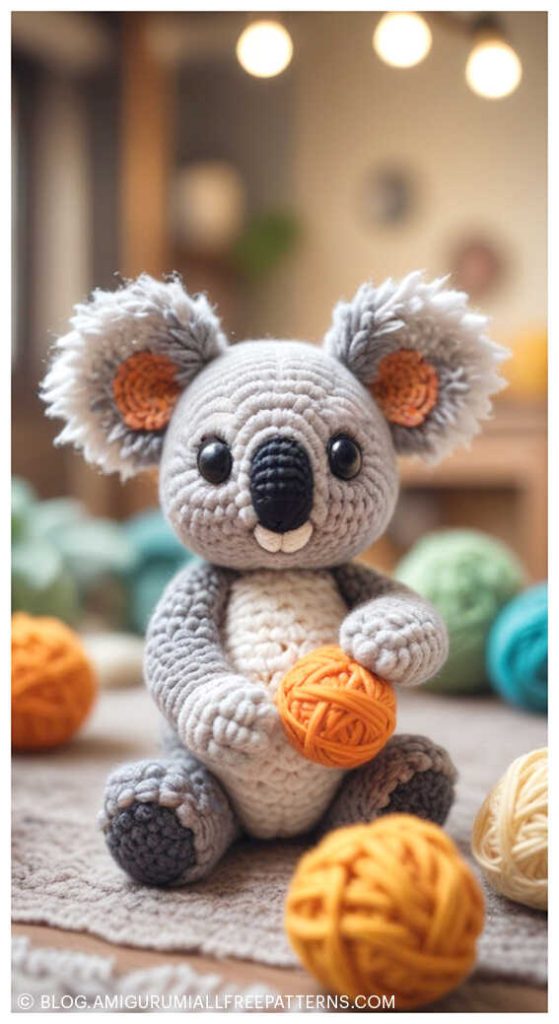
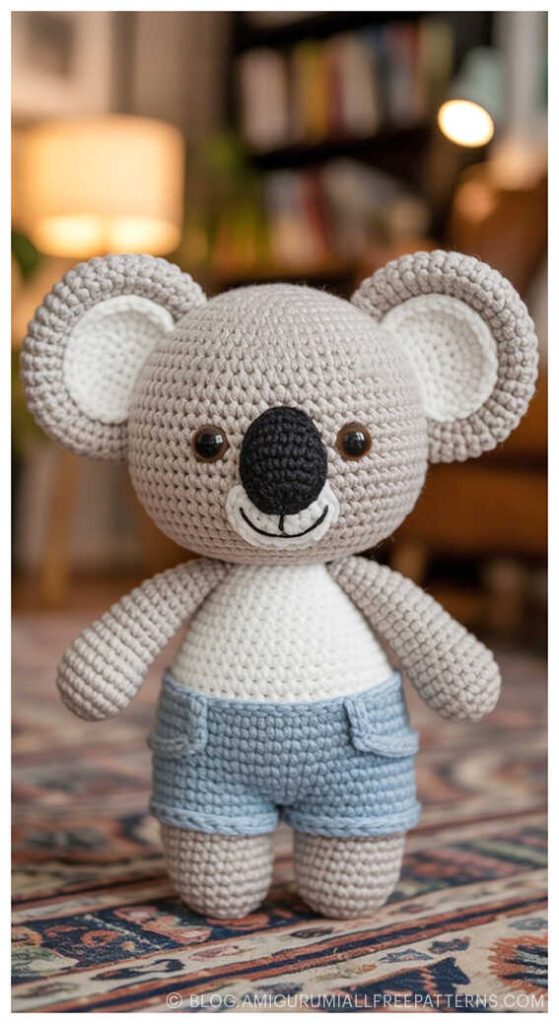
Unique amigurumi koala ideas:

Craft Your Own Amigurumi Wonderland
Step into a world of handmade charm with step-by-step tutorials for every amigurumi animal – from adorable amigurumi cats, amigurumi dogs, and amigurumi bunnies to magical amigurumi unicorns, gentle amigurumi elephants, and towering amigurumi giraffes. Explore patterns for amigurumi bears, amigurumi foxes, amigurumi pandas, amigurumi monkeys, amigurumi lambs, amigurumi pigs, amigurumi birds, amigurumi penguins, amigurumi llamas, amigurumi hippos, amigurumi dinosaurs, and whimsical amigurumi dolls and amigurumi clowns.
Each pattern includes clear instructions and inspiring images, perfect for beginners and experienced crocheters. Don’t miss out on the latest amigurumi creations – stay connected with us at blog.amigurumiallfreepatterns.com, join our Facebook page and Facebook group, and bring these delightful toys to life stitch by stitch!
Keywords: free amigurumi patterns, crochet toys, amigurumi animals, beginner-friendly crochet, amigurumi dolls, DIY crochet patterns, easy crochet
After study a few of the blog posts on your website now, and I truly like your way of blogging. I bookmarked it to my bookmark website list and will be checking back soon. Pls check out my web site as well and let me know what you think.
I think other web-site proprietors should take this website as an model, very clean and great user genial style and design, let alone the content. You’re an expert in this topic!