Designer: Olga Romakhina
VK: @o.romakhina
Difficulty Level: Intermediate
A tiny handmade bird can instantly bring a soft, joyful touch to any corner of your home.
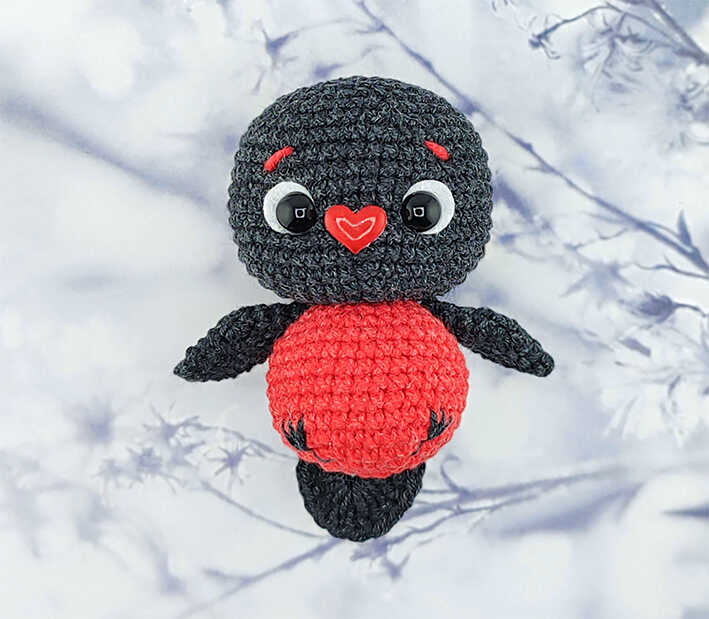
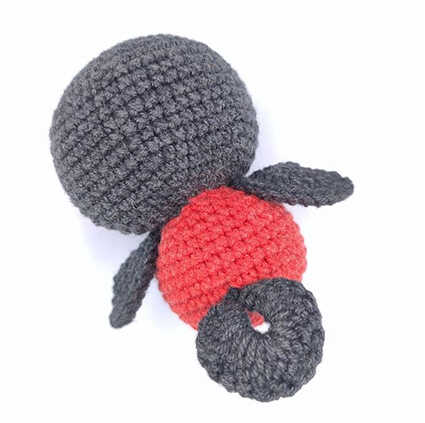
Designed by Olga Romakhina, this Adorable Amigurumi Bird with Minimal Sewing is inspired by charming garden birds and is perfect for small decor, gift toppers, or thoughtful handmade surprises. It blends naturally into DIY Crochet Gift Ideas and Easy Crochet Projects, while keeping sewing to a minimum for a clean and polished result. This is a free crochet pattern, and at the end of the pattern you’ll also find lovely amigurumi bird ideas that show how different colors can completely change the character. Many thanks to the designer for sharing this original work.
This pattern is created for crocheters who already have basic amigurumi skills and enjoy clear, step by step instructions. If you’ve been wondering how to crochet an amigurumi bird that looks adorable yet remains compact and expressive, this project fits that goal beautifully. The toy is crocheted in continuous rounds, does not include basic crochet lessons, and is best suited for those seeking a Quick to Make Amigurumi with Difficulty Level: Intermediate.
The bird is worked using fine cotton yarn such as YarnArt Jeans, paired with a suitable crochet hook, fiberfill stuffing, and simple details like felt or safety eyes and a small beak. While the pattern is designed with cotton yarn for a crisp finish, it also works beautifully with velvet yarn for a plush effect—just note that the finished toy will be much larger. The finished size is approximately 6–7 cm, and if you enjoy small animal projects like this, you might also like exploring this adorable little kitten amigurumi for another cozy crochet idea.
Materials and Tools
• Crochet hook suitable for your yarn
• YarnArt Jeans yarn: color 28 (black), color 26 (red)
• Fiberfill stuffing
• For eyes: felt circles 10 mm, beads, half beads, or safety eyes (author used 7 mm half beads)
• Heart-shaped half bead, drop-shaped bead, or ready-made beak
• Yarn needle, scissors, pins, stitch marker, transparent universal glue
Note: Your crochet tension may differ from the author’s. In this case, the final size of the toy may vary.
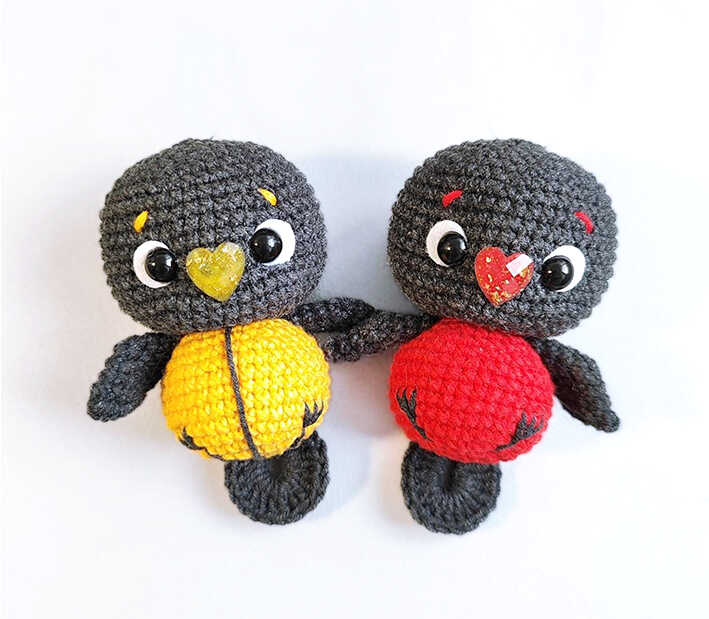
By changing yarn colors, you can crochet different birds such as bullfinches, tits, or sparrows. This pattern is shown using a bullfinch as an example.
Abbreviations
MR – magic ring
sc – single crochet
hdc – half double crochet
dc – double crochet
tr – treble crochet
sl st – slip stitch
inc – increase
dec – decrease
ch – chain
st – stitch
(…) x n – repeat the instructions in parentheses n times
The number after the equals sign (=) indicates the total number of stitches in the round.
EASY AMIGURUMI BIRD FOR CUTE HANDMADE GIFTS
Body and Head
Crocheted in one piece, from bottom to top.
Start with red yarn (color 26).
R1: 6 sc in MR = 6
R2: inc x 6 = 12
R3: inc x 12 = 24
R4: (3 sc, inc) x 6 = 30
R5: (4 sc, inc) x 6 = 36
R6–R11: 36 sc
R12: (4 sc, dec) x 6 = 30
R13: (3 sc, dec) x 6 = 24
R14: (2 sc, dec) x 6 = 18
R15: (1 sc, dec) x 6 = 12
Stuff the body. Change yarn color to black (color 28).
R16: inc x 12 in front loops only = 24
R17: (3 sc, inc) x 6 = 30
R18: (4 sc, inc) x 6 = 36
R19: (5 sc, inc) x 6 = 42
R20: (6 sc, inc) x 6 = 48
R21–R28: 48 sc
R29: (6 sc, dec) x 6 = 42
R30: (5 sc, dec) x 6 = 36
R31: (4 sc, dec) x 6 = 30
R32: (3 sc, dec) x 6 = 24
R33: (2 sc, dec) x 6 = 18
R34: (1 sc, dec) x 6 = 12
R35: dec x 6 = 6

Finish stuffing, close the opening, and weave the yarn end inside the toy.
Wings (make 2)
Use black yarn (color 28).
R1: 6 sc in MR = 6
R2: inc x 6 = 12
R3: (1 sc, inc) x 6 = 18
R4: (2 sc, inc) x 6 = 24
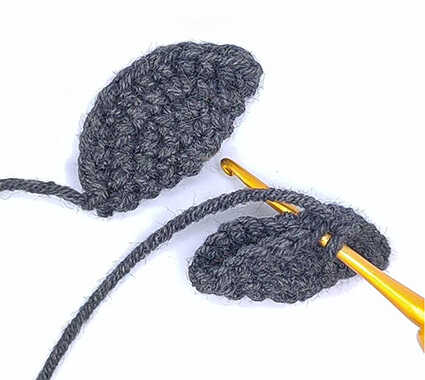
Fold in half and join by crocheting 11 sc through both layers.
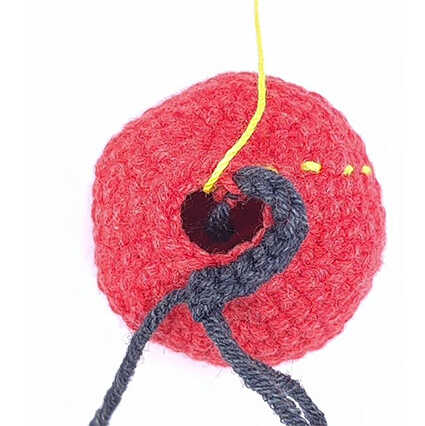
Sculpting and Assembly
Mark 6 points with pins.
Between R23 and R24 for the eye sockets (points 2, 3, 4, 5).
Between R15 and R16 (points 1 and 6).
Distances between points:
Between points 2 and 3, and between points 4 and 5: 2 stitches.
Between points 3 and 4: 6 stitches.
Between points 1 and 6: 1–2 stitches.
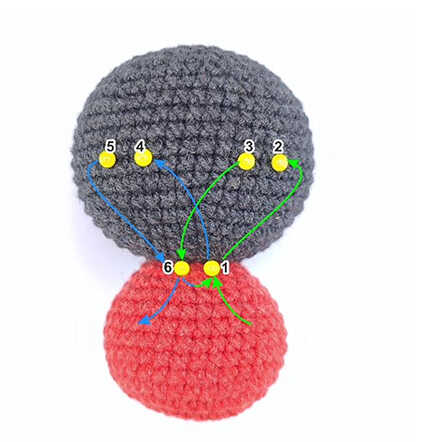
Leave a yarn tail of about 25–30 cm. Insert the needle at point 1 and bring it out at point 2.
Then insert the needle at point 3 and bring it out at point 6.
Without cutting the yarn, insert again at point 1, bring it out at point 4, then insert at point 5 and bring it out at point 6.
Tighten, secure firmly with 2–3 knots, and hide the remaining yarn ends inside the head.
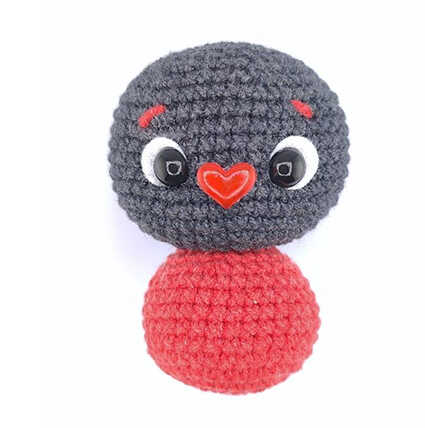
Glue or sew on the eyes and beak.
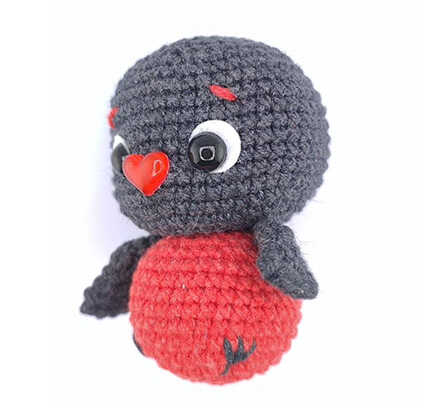
Sew the wings in place or attach them with thread joints.
Embroider the feet.
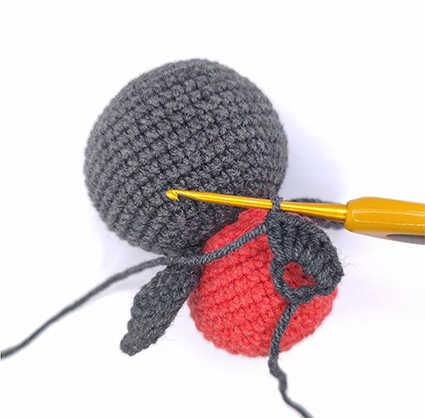
Tail
The tail is crocheted directly onto the toy.
At the center of the back, attach the yarn around R6 and chain 10.
Join back to the starting point to form a loop.
Crochet into the loop:
1 sc, 1 hdc, 15 dc, 1 hdc, 1 sc.
If desired, you can crochet an additional “feather” in the same or a different color.
Hide all yarn ends inside the toy.
By changing the color scheme, you can crochet any type of bird.
Copyright & Credits
This pattern is designed by Olga Romakhina; you may sell finished toys made from this pattern, but please credit the designer by linking to her social media when sharing your work.